It was mid-July, the kind of heat where the pavement feels like it’s trying to melt your shoes, and I had just made the biggest mistake of my life. I decided to fire up my oven for a traditional baked cheesecake. Big mistake. I spent two hours preheating, another hour mixing batter, and then another hour baking, only to realize halfway through that my kitchen had turned into a sauna. I was sweating through my shirt, the house smelled like burnt sugar, and when I finally pulled it out, it was cracked. Just cracked. A giant, ugly fissure right down the middle.
I stared at that cracked cheesecake for a solid ten minutes, feeling defeated. I didn’t have the energy to make another one, and I definitely didn’t have the patience to wait for it to cool down in the sweltering heat. That’s when I looked at the carton of strawberries sitting on the counter, bright red and begging to be used, and I had an epiphany. Why was I fighting the summer weather when the answer was staring me in the face?
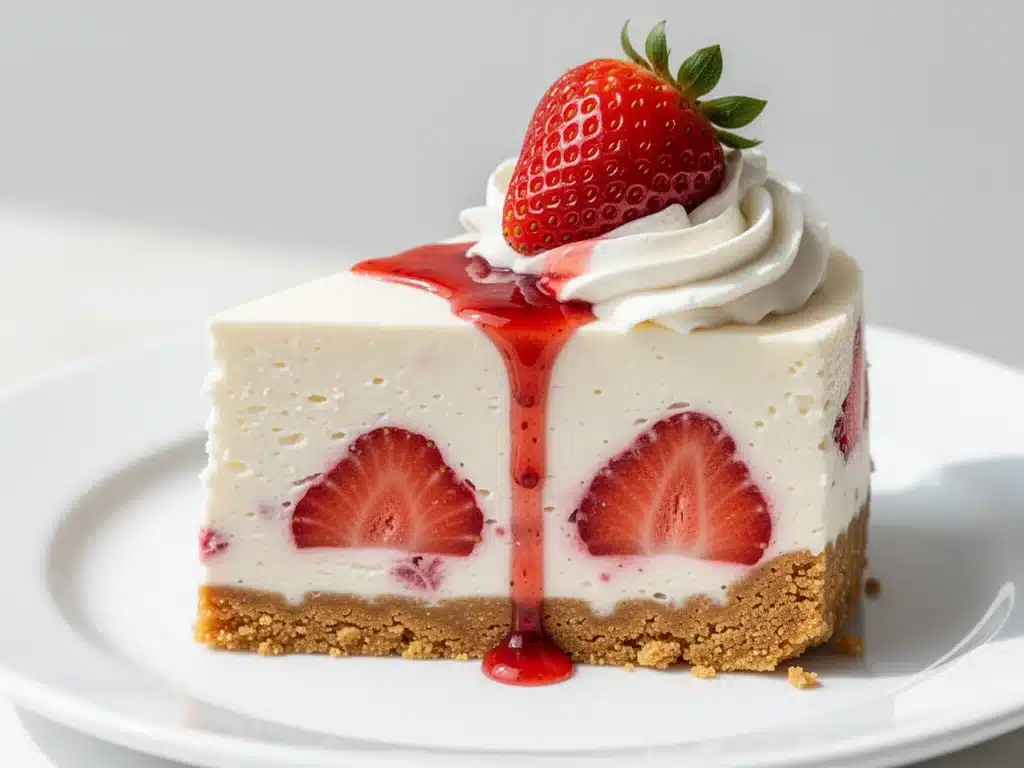
I threw out the baked recipe and grabbed my food processor. In about twenty minutes, I had a creamy, tangy, no-bake strawberry cheesecake that looked like it came from a high-end patisserie but required zero oven time. I chilled it for a few hours, sliced it, and took a bite. It was cool, refreshing, and absolutely perfect. My family devoured it without asking why it wasn’t baked. My husband even asked if I’d finally mastered the “real” stuff.
This no-bake strawberry cheesecake has been my summer savior ever since. It’s the dessert I make when I don’t want to heat up the house. It’s the crowd-pleaser that looks impressive but is actually stupid simple. I’ve made this at least a dozen times over the last few summers, tweaking the crust and the filling until it was flawless. If you’re tired of dry, cracked baked cakes and want something that actually tastes like summer, this is the one. Trust me. Once you try this, you’ll never go back to the oven method in July.
Why You’ll Love This No-Bake Strawberry Cheesecake
There are about ten reasons I keep making this dessert, but if you’re skeptical about skipping the oven, here are the big ones that sold me:
- Zero Oven Heat — Seriously, if you can blend ingredients, you can make this. I’ve made this on days when my AC was acting up, and I refused to turn on the oven. The result is a cool, creamy dessert that doesn’t raise your home’s temperature by ten degrees.
- Lightning Fast Prep — It takes about 20 minutes of active work. The rest is just waiting in the fridge. I make this on weeknights after dinner while the kids are watching TV. It’s not “lazy,” it’s efficient cooking.
- Restaurant-Quality Texture — Because it’s not baked, the texture is incredibly smooth and dense, almost like a mousse. It melts in your mouth in a way baked cheesecake just doesn’t. I’ve served this to friends who are serious cheesecake snobs, and they couldn’t tell the difference.
- Make-Ahead Friendly — This is the ultimate make-ahead dessert. I usually make it the morning of the party, or even the night before. It gets better as it sits, letting the flavors meld together. I deliberately make extra for lunch the next day because it’s that good.
- Summer-Fresh Flavor — The combination of tart cream cheese, sweet graham cracker crust, and fresh strawberries is pure summer. It’s light enough that you don’t feel sluggish after eating it, which is a huge win for hot weather desserts.
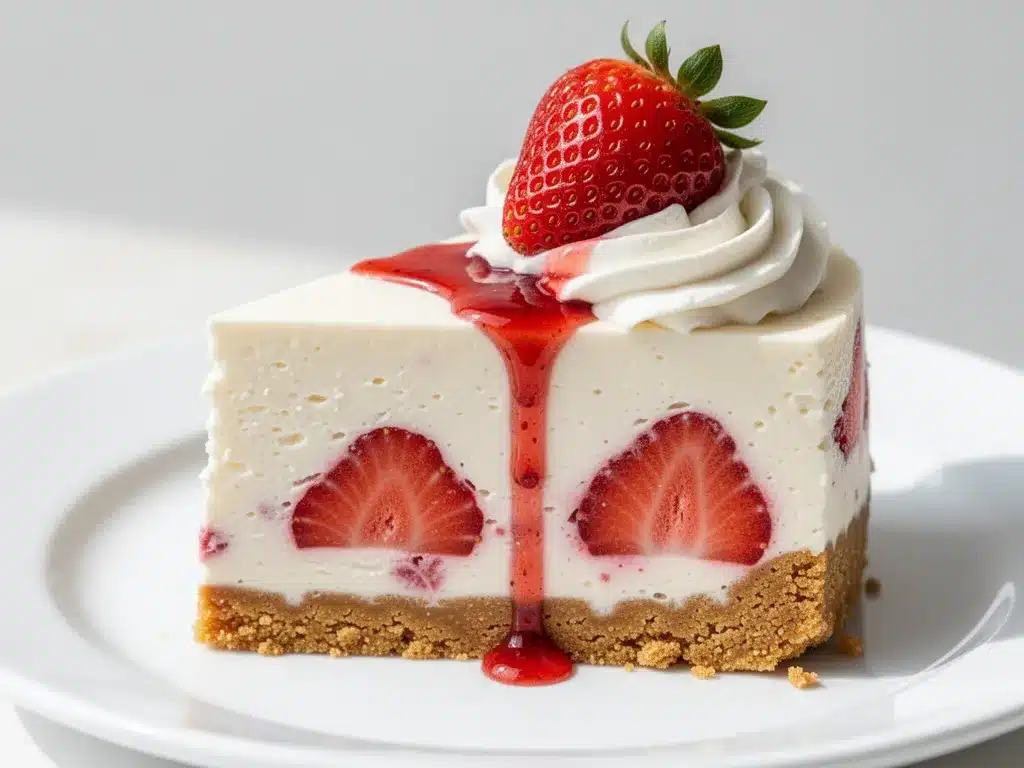
- Visual Stunner — The bright pink swirls against the white cream look incredible. I’ve gotten more compliments on this simple cake than on some of my more complicated baked goods. It photographs beautifully, too (great for Pinterest, if I do say so myself).
This is my go-to when I need a dessert that just works. No complicated techniques, no waiting for the oven to preheat, just reliable, delicious food that makes everyone happy. It’s the kind of dessert that feels like a treat but doesn’t require a treat-sized effort.
Ingredients You’ll Need
Here’s the best part: you probably have most of this already in your fridge and pantry. This no-bake strawberry cheesecake relies on simple, high-quality ingredients. I’m particular about three things here, and I’ll tell you exactly why.
For the Crust
Graham cracker crumbs (1 ½ cups / 150g) — You can buy pre-made crumbs or crush them yourself. I prefer crushing them because you control the texture. Use standard honey graham crackers for that classic sweet flavor. Don’t use the cinnamon ones; they clash with the strawberries.
Unsalted butter (6 tablespoons / 85g, melted) — This binds the crust. Use real butter, not margarine. Margarine can make the crust greasy. Melt it in the microwave or a small saucepan. Let it cool for a minute so it’s warm, not boiling, before mixing.
Granulated sugar (2 tablespoons / 25g) — Graham crackers are already sweet, so you don’t need much. Just enough to bring it all together. If you’re using very sweet crackers, you can skip this.
For the Filling
Cream cheese (24 ounces / 680g) — This is the star. Use full-fat block cream cheese, not the spread in a tub. The spread has too much air and moisture, and your cheesecake will be runny. Let it sit at room temperature for 30 minutes before whipping. This is non-negotiable for smooth texture.
Powdered sugar (1 cup / 120g) — Also called icing sugar. This dissolves instantly in the cream cheese, unlike granulated sugar which might leave gritty bits. Sift it if it’s clumpy.
Heavy cream (1 ½ cups / 360ml) — Cold heavy cream is essential. Whip it to stiff peaks. This gives the filling its light, airy structure. If you use half-and-half, it won’t hold its shape.
Vanilla extract (2 teaspoons) — Use pure vanilla. I know it’s pricey, but the artificial stuff tastes chemical in a delicate dessert like this. It adds that classic cheesecake aroma.
For the Strawberry Topping
Fresh strawberries (1 pound / 450g) — Ripe, red, and fragrant. If they’re hard or white at the tips, they’ll be sour. Wash and hull them. Reserve 1 cup for the topping, and mash the rest for the swirl.
Strawberry jam (¼ cup / 60g) — I use a good quality seedless jam. It adds shine and concentrated strawberry flavor to the topping. If you don’t have jam, you can cook down mashed strawberries with a little sugar, but jam is easier.
Water (1 tablespoon) — To thin the jam slightly for easier spreading.
Optional Garnish: Whole mini strawberries, mint leaves, or a dusting of powdered sugar. I like the visual pop of whole berries on top.
Equipment Needed
You don’t need fancy equipment for this. Here’s what I actually use:
9-inch Springform Pan — This is the classic cheesecake pan. The sides pop off for easy removal. If you don’t have one, a 9-inch pie dish works, but you’ll have to lift the slices out carefully. Grease the bottom of the springform pan with a little butter or line it with parchment paper for easy cleanup.
Food Processor — For crushing graham crackers quickly. If you don’t have one, put them in a zip-top bag and crush with a rolling pin. It takes a few minutes of arm work, but it’s satisfying.
Mixer — A stand mixer with a paddle attachment or a hand mixer. You need to whip the cream cheese and heavy cream properly. Mixing by hand is possible but requires serious elbow grease and time. I’ve tried it; don’t do it unless you want a workout.
Large Bowl — For whipping the heavy cream. Make sure it’s cold.
Spatula — A rubber spatula is essential for folding the whipped cream into the cream cheese mixture without deflating it. Gentle folds only.
Measuring Cups and Spoons — Precision matters in cheesecake. Don’t guess.
Plastic Wrap — To cover the cheesecake while it sets in the fridge.
How to Make It: Step-by-Step
Alright, let’s make this! I’m walking you through exactly how I do it, including the little tricks I’ve picked up over the years.
Step 1: Prep Your Pan and Crust (10 minutes)
First, grease the bottom and sides of your 9-inch springform pan. I use a little butter or non-stick spray. Then, make the crust. If you’re using whole graham crackers, pulse them in a food processor until they’re fine crumbs. If you’re using pre-made crumbs, skip this.
In a medium bowl, mix the crumbs, melted butter, and sugar. It should look like wet sand. If you squeeze it, it should hold together. If it’s too dry, add a teaspoon more butter. Press this mixture firmly into the bottom of the pan. Use the bottom of a measuring cup to pack it down tight. You want an even layer. No cracks! Place the pan in the fridge while you make the filling. This helps the crust set.
Step 2: Whip the Cream Cheese (5 minutes)
Take your room-temperature cream cheese out of the fridge. It should be soft enough to press a finger into easily. If it’s still cold and firm, microwave it in 10-second bursts until it’s pliable. This is crucial. Cold cream cheese leads to lumps.
Place the cream cheese in your mixer bowl. Add the powdered sugar and vanilla. Beat on medium-high speed for 3-4 minutes until it is completely smooth and creamy. Scrape down the sides and bottom of the bowl with a spatula. Make sure there are no streaks of unmixed cheese. This step takes patience, but it’s worth it.
Step 3: Whip the Heavy Cream (3 minutes)
In a separate large, cold bowl, pour the heavy cream. Whip it on high speed until stiff peaks form. This means when you lift the beaters, the cream stands up straight and doesn’t droop. Don’t over-whip it into butter, though. Stop just when it holds its shape.
Step 4: Fold It Together (2 minutes)
Gently fold the whipped cream into the cream cheese mixture. Use your spatula to cut down through the middle and fold over. Rotate the bowl and repeat. Do this until just combined. You want to keep as much air in the mixture as possible. If you mix too vigorously, you’ll deflate it and get a dense, heavy cheesecake. It’s okay if there are a few tiny streaks; they’ll disappear as you spread it.
Step 5: Assemble the Cheesecake (5 minutes)
Spread the filling over the chilled crust. Use an offset spatula or a regular spatula to smooth the top. It should be flat and even. Now for the fun part: the strawberry swirl.
Take 1 cup of fresh strawberries and mash them roughly with a fork. In a small bowl, mix the mashed strawberries with the jam and water until smooth. Drizzle this strawberry mixture over the cheesecake filling. Use a knife or a skewer to swirl it gently. Don’t over-mix; you want pretty pink and white marbling, not a uniform pink mess.
Step 6: Chill and Set (4-6 hours)
Cover the cheesecake loosely with plastic wrap. Place it in the fridge for at least 4 hours, but overnight is best. This gives it time to firm up. If you cut it too soon, it will be messy. Be patient. The longer it chills, the better the flavor develops.
Step 7: Garnish and Serve
Once set, run a thin knife around the edge of the pan to loosen it. Unlatch the springform and remove the ring. If you want, garnish with whole strawberries or mint leaves. Slice with a sharp knife dipped in hot water for clean cuts. Serve cold.
Expert Tips & Tricks
Here’s everything I’ve learned from making this dozens of times. These tips will save you from my mistakes.
Room Temperature is King
I can’t stress this enough. Your cream cheese MUST be room temperature. If it’s cold, you’ll get lumps. I learned this the hard way with a lumpy, grainy cheesecake that looked awful. If you forget, cut it into cubes and microwave for 10-15 seconds. It should be soft, not melted.
Cold Bowl for Whipping Cream
Keep your heavy cream and mixing bowl cold. If the cream gets warm, it won’t whip to stiff peaks. I sometimes put my bowl in the fridge for 10 minutes before starting. This ensures a light, airy texture.
Don’t Over-Mix
Once you add the whipped cream to the cream cheese, fold gently. Over-mixing deflates the air you worked so hard to whip in. The result will be dense and heavy. You want a mousse-like texture, not a brick.
The Knife Trick
For clean slices, dip your knife in hot water and wipe it dry before each cut. This prevents the cheesecake from sticking to the blade. It’s a small trick, but it makes a huge difference in presentation.
Save the Strawberry Tops
When hulling strawberries, save the green tops. They’re great for composting or adding flavor to infused waters. Don’t waste them!
Variations & Substitutions
Once you’ve nailed the basic version, here’s how you can mix it up. I’ve tried all of these.
Blueberry Cheesecake
Swap the strawberries for blueberries. Mash 1 cup of blueberries with ¼ cup jam and a splash of lemon juice. The tartness of blueberries pairs beautifully with the cream cheese.
Raspberry Swirl
Raspberries are a bit tart, so add a teaspoon of honey to the mashed fruit. The color is stunning against the white cream.
Chocolate Chip
Skip the fruit topping and fold ½ cup of mini chocolate chips into the filling. It’s like a dessert pizza, but better. My kids love this version.
Oreo Crust
Replace graham crackers with Oreo cookies (remove the filling if you want a pure chocolate crust, or leave it in for extra sweetness). Crush them finely and mix with butter. It’s a richer, more decadent base.
Gluten-Free
Use gluten-free graham crackers or almond flour for the crust. Check your jam label to ensure it’s gluten-free. Everything else is naturally gluten-free.
Dairy-Free
Use dairy-free cream cheese blocks (like Kite Hill or Miyoko’s) and coconut cream instead of heavy cream. Coconut cream needs to be chilled overnight so the solid part separates. Whip the solid part. It’s different but still tasty. My lactose-intolerant friend requests this version.
Serving & Storage
I usually serve this straight from the springform pan at the dinner table—it looks rustic and stays cool. But here are other ways I’ve enjoyed it:
Side Dishes
This is a dessert, so it stands alone. But if you’re serving a full meal, pair it with something light. I like it with grilled watermelon feta skewers as an appetizer, or after a main like maple bourbon ribs where the richness balances out.
Toppings Bar
When I have guests, I put out: extra fresh berries, whipped cream, chocolate shavings, and crushed graham crackers. Everyone customizes their slice.
Storage Instructions
Refrigerator: Store in an airtight container or covered with plastic wrap for up to 5 days. It actually tastes better on day 2 as the flavors meld.
Freezing: This doesn’t freeze well. The texture of the whipped cream and cream cheese can change, becoming grainy or watery upon thawing. I recommend eating it fresh or storing in the fridge.
Reheating: Do not reheat. This is a cold dessert. Serve it straight from the fridge.
Nutrition Information
I’m not a nutritionist, but here’s the breakdown if you’re tracking. This is per slice (1/12th of the cake).
- Calories: 280
- Protein: 4g
- Carbs: 22g
- Fiber: 1g
- Sugar: 18g
- Fat: 18g
- Saturated Fat: 11g
- Cholesterol: 55mg
- Sodium: 220mg
What’s Good: It’s relatively low in protein, but the fresh strawberries add some vitamin C. It’s a treat, so enjoy it in moderation.
What to Know: Higher in calories from the cream cheese and butter. Contains dairy and gluten. Moderate sodium.
My Take: Look, this is cheesecake. It’s not a diet food. It’s rich, creamy, and delicious. But it’s way better than store-bought versions, which often have weird preservatives. When I want to make it lighter, I use less sugar and more fruit. But usually? I just eat a reasonable slice and enjoy it.
Final Thoughts
So that’s my go-to no-bake strawberry cheesecake! I’ve probably talked your ear off at this point, but when you make a recipe this often, you have a lot to say about it.
This has saved summer dinners more times than I can count. It’s my answer to “what’s for dessert” when I’m tired, don’t want to bake, and still want something that tastes really good. My kids are happy, my husband’s happy, and I’m happy because I’m not stressed about cooking.
Make it yours! Try different fruit swirls, swap in your favorite crust, or adjust the sweetness. The best recipes are the ones you adapt to your family’s tastes. If you make this, drop a comment and let me know what you think! I love hearing how recipes turn out in your kitchen. And if something doesn’t work, tell me that too—I’m here to help troubleshoot.
Happy cooking! And I hope your kitchen smells half as good as mine does right now (with fresh strawberries and vanilla).
Frequently Asked Questions
Can I use frozen strawberries?
You can, but fresh is best. Frozen strawberries release a lot of water, which can make the topping runny and the cheesecake watery. If you must use frozen, thaw them completely, drain the excess liquid, and mash them. Pat them dry with a paper towel before mixing with the jam. It’s not ideal, but it works in a pinch.
Why is my cheesecake runny?
Usually, this means the cream cheese wasn’t fully softened before mixing, or you didn’t chill it long enough. Another common cause is over-mixing the whipped cream, which deflates it. Make sure you use full-fat cream cheese and heavy cream, and chill the cheesecake for at least 4 hours, preferably overnight.
Can I make this ahead for a party?
Absolutely! This is actually better when made ahead. I usually make it the night before. It keeps well in the fridge for up to 5 days. Just add fresh garnishes right before serving so they don’t wilt.
How do I get clean slices?
Dip a sharp knife in hot water and wipe it dry before each cut. The heat helps the knife glide through the cold cheesecake without sticking or tearing. Clean the knife between cuts for the prettiest slices.
Can I use a different pan?
A springform pan is ideal because it releases easily. If you don’t have one, use a 9-inch pie dish. Line it with parchment paper so you can lift the whole cheesecake out once it’s set. You’ll have to slice it in the dish, but it works fine.
Why did my crust fall apart?
This usually happens if the butter wasn’t melted enough, or if you didn’t press the crust down firmly enough. The mixture should look like wet sand and hold together when squeezed. Press it down tightly with the bottom of a measuring cup.
Pin This Recipe!
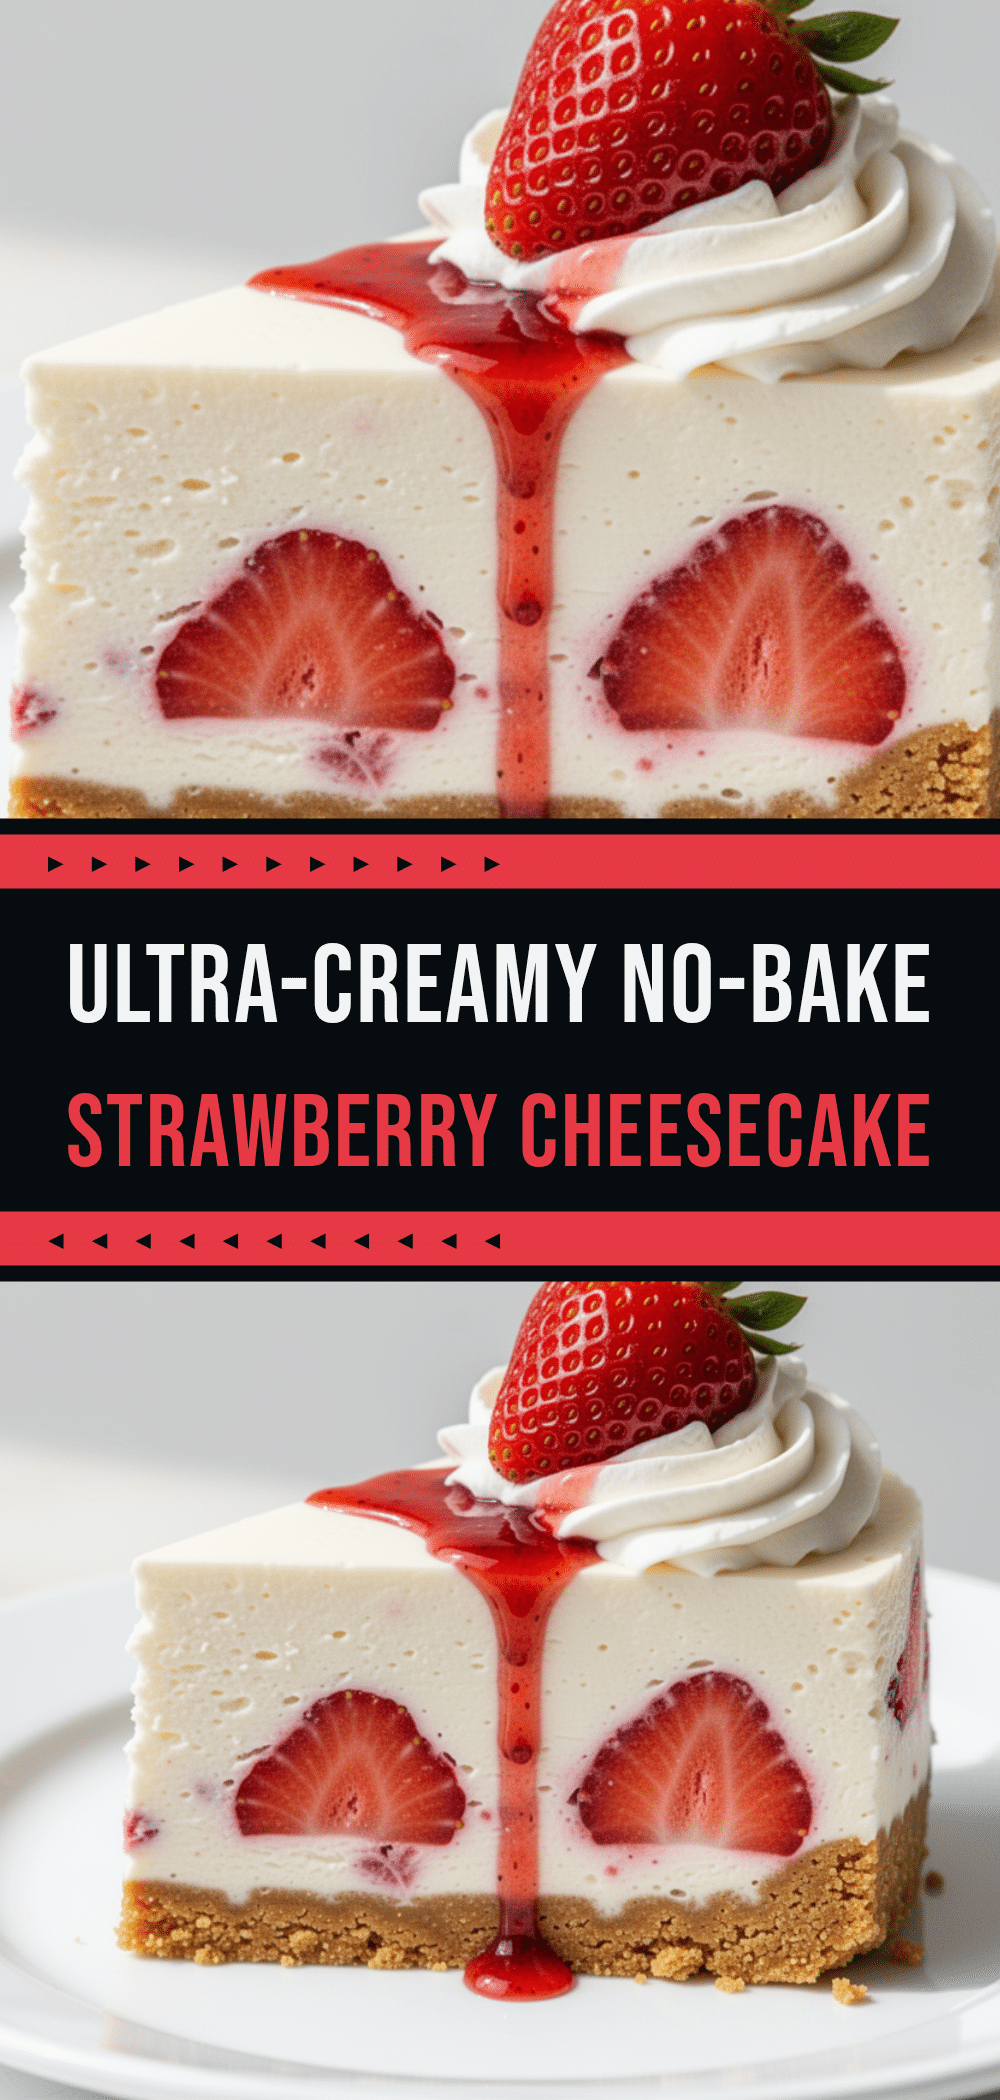
No-Bake Strawberry Cheesecake: Best Easy Summer Dessert
- Total Time: 4 hours 20 minutes
- Yield: 12 servings 1x
Description
A cool, creamy, and refreshing no-bake strawberry cheesecake that requires zero oven time. This easy summer dessert features a graham cracker crust, a light whipped cream cheese filling, and a fresh strawberry swirl.
Ingredients
- 1 ½ cups (150g) graham cracker crumbs
- 6 tablespoons (85g) unsalted butter, melted
- 2 tablespoons (25g) granulated sugar
- 24 ounces (680g) full-fat block cream cheese, room temperature
- 1 cup (120g) powdered sugar
- 2 teaspoons pure vanilla extract
- 1 ½ cups (360ml) cold heavy cream
- 1 pound (450g) fresh strawberries, hulled
- ¼ cup (60g) seedless strawberry jam
- 1 tablespoon water
Instructions
- Grease the bottom and sides of a 9-inch springform pan with butter or non-stick spray.
- Mix graham cracker crumbs, melted butter, and granulated sugar in a medium bowl until it resembles wet sand.
- Press the crust mixture firmly and evenly into the bottom of the pan. Place in the fridge to set.
- Beat the room-temperature cream cheese, powdered sugar, and vanilla extract on medium-high speed for 3-4 minutes until completely smooth. Scrape down the sides.
- In a separate cold large bowl, whip the heavy cream on high speed until stiff peaks form.
- Gently fold the whipped cream into the cream cheese mixture using a spatula until just combined, being careful not to deflate the air.
- Spread the filling over the chilled crust and smooth the top.
- Mash 1 cup of fresh strawberries with the jam and water until smooth. Drizzle over the filling and swirl gently with a knife to create a marbled effect.
- Cover loosely with plastic wrap and refrigerate for at least 4 hours, preferably overnight, until firm.
- Run a thin knife around the edge to loosen, remove the springform ring, and slice with a hot, dry knife for clean cuts.
Notes
Ensure cream cheese is at room temperature to avoid lumps. Keep the mixing bowl and heavy cream cold for best whipping results. Do not over-mix the whipped cream into the cheese mixture to maintain a light texture. For clean slices, dip the knife in hot water and wipe dry before each cut. This dessert does not freeze well.
- Prep Time: 20 minutes
- Cook Time: 0 minutes
- Category: Dessert
- Cuisine: American
Nutrition
- Serving Size: 1 slice (1/12th of t
- Calories: 280
- Sugar: 18
- Sodium: 220
- Fat: 18
- Saturated Fat: 11
- Carbohydrates: 22
- Fiber: 1
- Protein: 4
Keywords: no-bake cheesecake, strawberry cheesecake, summer dessert, easy dessert, make-ahead dessert, gluten-free option, dairy-free option


