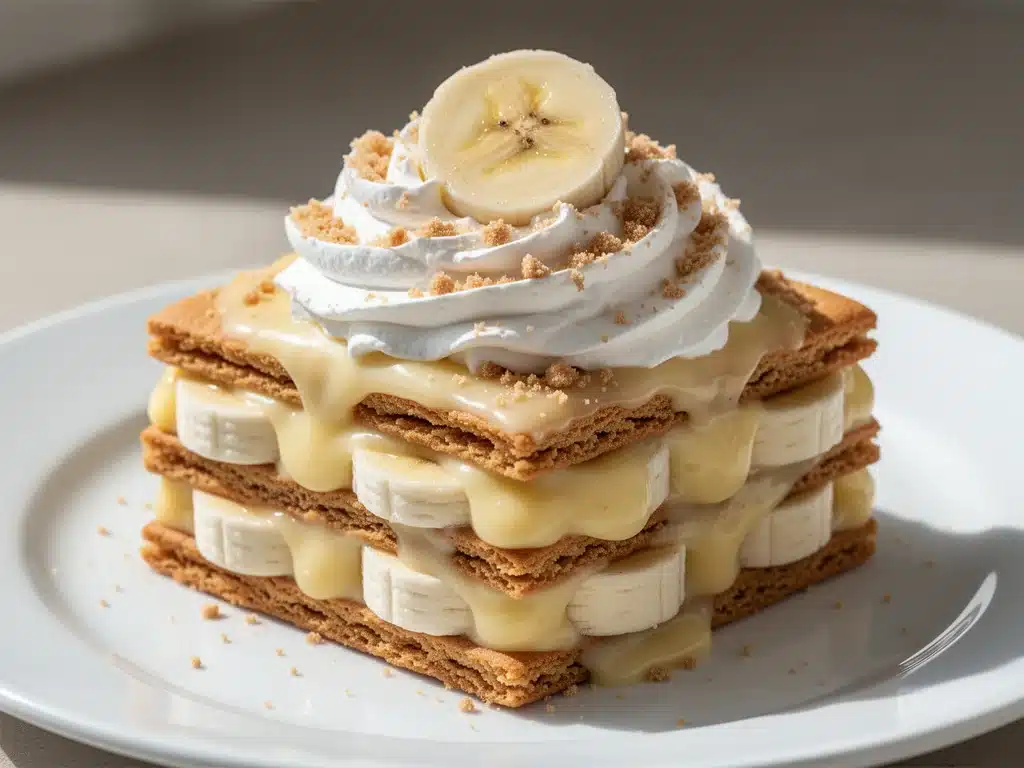
I still remember the first time I made this banana pudding icebox cake. It was a sweltering July evening, the kind where the AC is broken and the only thing keeping you sane is a cold drink and a sweet treat. I didn’t have the energy to turn on the oven, and I definitely didn’t have the patience to fold meringue peaks until my arms fell off. I just wanted something creamy, cold, and ridiculously easy.
So, I raided the pantry. I grabbed a box of vanilla wafers, a carton of ripe bananas, a tub of whipped topping, and a package of instant banana pudding mix. I layered them in a 9×13 dish, gave it a quick stir, and threw it in the fridge. Four hours later, I took it out, expecting a soggy mess. Instead, I got a dessert that tasted like it had been chilling in a Southern grandmother’s kitchen for three days. It was cool, crunchy, creamy, and perfectly sweet. My family devoured it before I could even take a photo.
This banana pudding icebox cake has been a staple in my house ever since. It’s the kind of dessert that saves you when you’re hosting a last-minute dinner or just need a little comfort food on a Tuesday night. Unlike other no-bake desserts that require complex techniques or hard-to-find ingredients, this one relies on simple pantry staples. It’s hands-down the best way to enjoy the classic flavors of banana pudding without the hassle.
I’ve tested this recipe dozens of times, tweaking the layering order and the ratio of pudding to whipped topping. I’ve learned exactly how long it needs to chill for the cookies to soften just right—crisp enough to hold their shape, but tender enough to melt in your mouth. It’s my go-to when I want to impress guests without spending hours in the kitchen. And honestly? It’s even better than the store-bought version, mostly because you control the sweetness and get those perfectly ripe bananas in every bite.
Why You’ll Love This Recipe
There are about ten reasons I keep making this banana pudding icebox cake, but here are the big ones that keep it on my rotation week after week.
No-Bake Simplicity
Seriously, if you can open a box and slice a banana, you can make this. There’s no oven, no mixing bowls (except for one), and no waiting for things to cool down. I’ve made this during power outages and on days when the heat was so intense I couldn’t bear to stand by the stove. It’s the ultimate low-effort, high-reward dessert.
Make-Ahead Magic
This dessert actually tastes better the next day. The flavors meld together, the cookies absorb the pudding, and everything becomes incredibly cohesive. I love making this the morning of a party or even the night before. It means zero stress when guests arrive. I actually deliberately make extra for lunch throughout the week because it’s that good cold.
Pantry-Friendly Ingredients
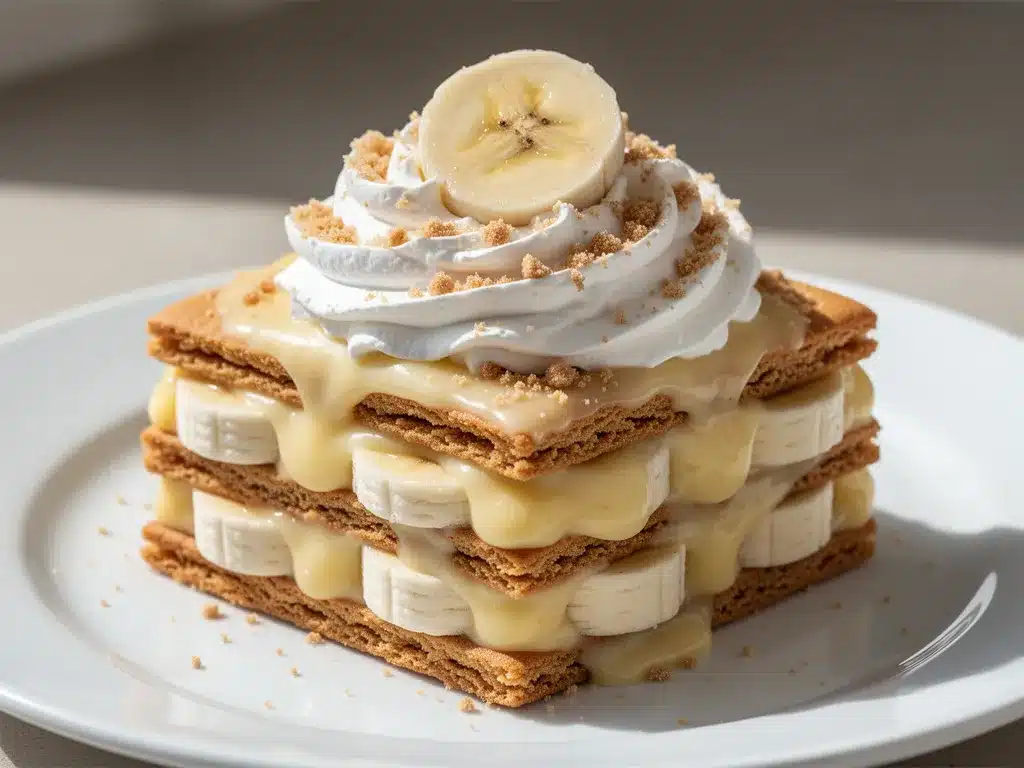
You probably have 80% of these ingredients already. Vanilla wafers, instant pudding mix, whipped topping, and bananas. That’s it. No fancy cheese, no obscure spices, no expensive butter. It’s budget-smart and incredibly accessible. I keep the key items stocked just so I can make this on a whim when I need a sweet fix.
Crowd-Pleaser Factor
I’ve served this to picky kids, dessert snobs, and people who claim they “don’t like banana pudding.” Everyone loves it. The texture is unique—creamy yet slightly crunchy in a good way. It feels fancy because of the presentation, but it’s humble enough for a potluck. It’s my answer to “what’s for dessert?” when I’m tired, don’t want takeout, and still want something that tastes really good.
Light and Refreshing
Unlike heavy cheesecakes or rich chocolate tortes, this feels light. The whipped topping and bananas keep it from being too dense. It’s perfect for summer gatherings, holiday tables, or just a cozy night in. It’s not a diet recipe, obviously, but it’s not overwhelmingly heavy either. A small square is a perfect serving size.
Ingredients You’ll Need
Here’s the best part: you probably have most of this already. This looks like a short list, but the quality of these few ingredients makes all the difference. I’m particular about three items here, and I’ll tell you exactly why.
For the Base Layers
Vanilla Wafers (1 package / 14.4 oz) — I use Nabisco or a store-brand equivalent. They need to be sturdy enough to hold up to the moisture but thin enough to soften. Do not use shortbread cookies; they’re too rich and won’t soften the same way. The vanilla flavor is key here.
Ripe Bananas (4-5 medium) — This is crucial. You want bananas that are yellow with some brown spots. They need to be sweet and soft. If they’re too green, they’ll be tart and firm. If they’re too black, they’ll turn to mush. Slice them just before layering to prevent browning, or toss them with a little lemon juice if you’re prepping ahead.
For the Creamy Filling
Instant Banana Pudding Mix (2 boxes / 3.4 oz each) — Use the dry instant kind, not the cook-and-serve. Jell-O or store brand both work fine. I always buy the two-box packs because one isn’t enough to coat all those wafers. This provides the signature banana flavor and thickens the milk.
Whole Milk (3 cups / 720ml) — Use cold whole milk. The fat content helps the pudding thicken properly and adds richness. Skim milk will make the pudding runny. I take the milk out of the fridge right before starting so it’s cold but not freezing.
Whipped Topping (1 container / 8 oz) — Cool Whip or store-brand frozen whipped topping. Thaw it according to package directions. I prefer the original flavor because it’s sweet enough on its own. If you use a different brand, check the sweetness level.
For the Topping
Extra Vanilla Wafers (1 package) — For the top layer. These won’t soften as much, so they provide a nice crunch contrast.
Sliced Bananas (1-2 bananas) — For garnish. Place them neatly on top for presentation.
Optional: Crushed Vanilla Wafers — For sprinkling on top like crumbs. Adds texture and visual appeal.
Personal Tips:
- Brand Recommendations: I always use Nabisco vanilla wafers. They have the perfect vanilla flavor and texture. Other brands can be too dry or too soft.
- Shopping Shortcuts: Buy pre-sliced bananas if you’re in a hurry, but fresh slices taste better. I buy the tub of pre-sliced bananas at the grocery store for convenience.
- Substitutions: No banana pudding mix? You can use vanilla pudding mix and add mashed banana to the milk, but the flavor won’t be as intense. I’ve tried it, and it’s okay, but not as good.
- Storage: Vanilla wafers keep for months in the pantry if sealed well. Bananas should be used immediately or they’ll brown.
Common Questions:
- Can I use fresh whipped cream? Yes, but it’s softer and less stable. Fold it gently into the pudding mixture. It will still work, but the cake won’t hold its shape as firmly.
- Where do I find banana pudding mix? In the baking aisle, near the gelatin and cake mixes. It’s usually near the vanilla pudding mix.
- Can I make this ahead? Absolutely. It needs at least 4 hours to set, but overnight is best.
Equipment Needed
You don’t need fancy equipment for this. Here’s what I actually use.
9×13 Inch Baking Dish — I use a glass Pyrex dish. It’s easy to see the layers and clean up. A metal pan works too, but glass distributes heat evenly if you happen to put it in the oven briefly (though you won’t need to).
Large Mixing Bowl — One big bowl to whisk the pudding mix and milk together. I use a 4-quart bowl. Any large bowl works.
Whisk — For mixing the pudding. A balloon whisk works best to avoid lumps.
Spatula — For folding in the whipped topping. A silicone spatula is perfect. It scrapes the bowl clean and folds gently without deflating the topping.
Slicing Knife — For slicing bananas. A small paring knife is best. Make sure it’s sharp for clean slices.
Cutting Board — Any size works. I use a small plastic board for the bananas.
Measuring Cups — For the milk. Standard liquid measuring cup works fine.
Optional but nice:
- Pastry Brush — Not needed, but some people brush the wafers with milk. I skip this step.
- Zester — Not needed, but if you want to add a little lemon zest for brightness, a zester comes in handy.
Tool Tips:
- Don’t have a 9×13 dish? A 9×9 square dish works, but the layers will be thicker. Adjust the chilling time accordingly.
- I’m obsessed with my silicone spatula — It’s cheap and makes folding the whipped topping so much easier.
How to Make It: Step-by-Step
Alright, let’s make this! I’m walking you through exactly how I do it, including the little tricks I’ve picked up.
Step 1: Prepare the Pudding Mixture (5 minutes)
Start by whisking the instant banana pudding mix and cold milk together in your large bowl. Whisk vigorously for about 2 minutes until it thickens slightly and becomes smooth. There should be no lumps. Set this aside while you prepare the other components. The pudding will continue to thicken as it sits.
Step 2: Prepare the Whipped Topping (2 minutes)
Thaw the whipped topping according to package directions. If it’s too stiff, let it sit at room temperature for 5 minutes. If it’s too soft, chill it for 10 minutes. You want it fluffy and spreadable. Do not over-whip it or it will become grainy.
Step 3: Fold the Mixtures Together (2 minutes)
Gently fold the whipped topping into the pudding mixture. Use your spatula to fold from the bottom up, turning the bowl as you go. Be gentle so you don’t deflate the whipped topping. The mixture should be light, creamy, and uniform in color. It will look like a thick, fluffy mousse.
Step 4: Layer the Bottom (3 minutes)
Arrange a single layer of vanilla wafers in the bottom of your 9×13 dish. You may need to break some cookies in half to fit the corners. Don’t worry if they don’t fit perfectly; they’ll soften. This is your foundation.
Step 5: Add First Cream Layer (2 minutes)
Spread half of the pudding-whipped topping mixture over the wafers. Use your spatula to create an even layer. Don’t be too precise; it’s a rustic dessert. Just make sure the wafers are mostly covered.
Step 6: Add Banana Layer (2 minutes)
Slice your bananas and arrange them over the cream layer. Try to distribute them evenly so every square has a banana. If you have extra slices, tuck them in the gaps. The bananas will release some juice, which helps soften the wafers.
Step 7: Repeat Layers (5 minutes)
Add another layer of vanilla wafers on top of the bananas. Then, spread the remaining pudding mixture over the wafers. Finally, add the last layer of vanilla wafers on top. Press them down gently so they adhere to the cream.
Step 8: Garnish and Chill (4+ hours)
Slice the remaining bananas and arrange them on top of the final wafer layer. You can also sprinkle crushed vanilla wafers over the top for extra texture. Cover the dish tightly with plastic wrap or aluminum foil. Refrigerate for at least 4 hours, but overnight is best. This allows the cookies to soften and the flavors to meld.
Step 9: Serve
Slice into squares and serve chilled. You can add a dollop of extra whipped topping or a few fresh banana slices on each plate if you want to be fancy. Enjoy immediately.
Total Time: About 20 minutes active, plus 4+ hours chilling.
Built-in Troubleshooting:
- Cookies too hard? They need more time. Let it chill overnight. If it’s been 4 hours and they’re still crunchy, wait another hour.
- Soggy bottom? This can happen if the pudding is too thin. Make sure you whisk the pudding mix thoroughly and let it thicken before folding in the whipped topping.
- Bananas browning? Toss banana slices with a little lemon juice before layering. This prevents oxidation.
Visual/Sensory Cues:
- The mixture should look light and airy, not dense or heavy.
- The bananas should be bright yellow, not brown or mushy.
- The finished dish should look creamy and inviting, with visible layers.
Expert Tips & Tricks
Here’s everything I’ve learned from making this dozens of times. These tips will save you from my mistakes.
The Pudding Ratio
Do not skimp on the pudding mix. Two boxes are necessary to get the right consistency. If you use one box, the mixture will be too runny and the cookies will dissolve into mush. I’ve tried it, and it’s a disaster. Stick to the two-box ratio.
Chilling Time is Key
Patience pays off. This dessert needs time to set. If you eat it too soon, it’s just cold pudding and crunchy cookies. After 4 hours, the cookies soften. After 8 hours, they’re tender but still have some bite. Overnight is the sweet spot. I set a timer so I don’t forget.
Banana Selection
Use ripe bananas. Sweet, ripe bananas add natural sweetness and flavor. If your bananas are too green, the dessert will taste bland. If they’re too brown, they’ll disintegrate. Aim for yellow with brown speckles. This is the gold standard.
Folding Technique
Be gentle when folding the whipped topping into the pudding. Over-mixing deflates the topping, making the cake dense. Use a light hand and fold until just combined. It’s okay if there are a few streaks; they’ll blend out during chilling.
Common Mistakes (and how to avoid them):
- Mistake: Dessert is too sweet Fix: Use unsweetened whipped topping or reduce the amount of pudding mix slightly. Or, use less ripe bananas if you’re watching sugar.
- Mistake: Layers slide apart Fix: Press the wafers down gently after layering. This helps them stick to the cream. Also, ensure the pudding is thick enough to act as glue.
- Mistake: Top layer is dry Fix: Make sure the top layer of wafers is well-covered by the cream or garnished with banana slices. The bananas add moisture to the top.
Pro Tricks I’ve Learned:
- For Extra Flavor Add a teaspoon of vanilla extract to the pudding mixture. It enhances the banana flavor.
- For Better Texture Crush some vanilla wafers and sprinkle them on top before serving. Adds a nice crunch.
- Make-Ahead Strategy Make this the night before. It tastes best after 12 hours in the fridge. Plan accordingly.
Variations & Substitutions
Once you’ve nailed the basic version, here’s how you can mix it up. I’ve tried all of these.
Chocolate Banana Version
Use chocolate pudding mix instead of banana pudding. The combination of chocolate and banana is amazing. I’ve made this for my kids, and they love it. It’s like a banana split in a dish.
Strawberry Banana Version
Use strawberry pudding mix and layer with sliced strawberries and bananas. The colors are pretty, and the flavor is refreshing. Great for spring parties.
Coconut Banana Version
Add shredded coconut to the pudding mixture. Use coconut whipped topping if you want a dairy-free option. The coconut pairs beautifully with banana.
Caramel Banana Version
Drizzle caramel sauce between the layers. Or use caramel pudding mix. It’s indulgent and rich. Perfect for special occasions.
Dietary Modifications:
- Gluten-Free Use gluten-free vanilla wafers. Everything else is naturally gluten-free. I’ve used Gluten Free Everything wafers, and they work well.
- Dairy-Free Use coconut milk instead of dairy milk, and coconut whipped topping. The flavor will be slightly different, but still delicious. My lactose-intolerant friend requests this version.
- Lower-Sugar Use sugar-free pudding mix and whipped topping. Use less ripe bananas. It’s not as sweet, but it works.
- Vegan Use plant-based milk, vegan pudding mix, and coconut whipped topping. Add fresh bananas. It’s surprisingly good.
Different Toppings:
- Whipped cream (homemade or store-bought)
- Chocolate shavings
- Chopped nuts (pecans or walnuts)
- Fresh mint leaves for garnish
- Crushed graham crackers instead of wafers
Serving & Storage
I usually serve this straight from the refrigerator at the dinner table—it looks rustic and stays cold. But here are other ways I’ve enjoyed it:
How to Serve:
Slice into squares using a sharp knife. Wipe the knife between cuts for clean slices. Serve with a dollop of whipped topping and a fresh banana slice on top. It’s elegant enough for guests but casual enough for family dinners.
Side Dishes:
- Simple green salad with vinaigrette (balances the sweetness)
- Grilled chicken or pork (for a full meal)
- Fresh fruit platter (for a lighter option)
Wine Pairing:
Not a wine expert, but my wine-snob friend says a sweet Riesling or Moscato works great with this. It complements the banana and vanilla flavors.
Storage Instructions:
Refrigerator: Store in an airtight container or covered with plastic wrap for up to 5 days. The flavors continue to meld, so it gets better each day.
Reheating: Do not reheat. Serve chilled. This is a cold dessert. Reheating will make the cookies soggy and the whipped topping melt.
Freezing: Honestly, this doesn’t freeze well because of the dairy and banana texture. The whipped topping separates, and the bananas become mushy. Make it fresh or store in the fridge for up to 5 days.
Meal Prep: Make the entire dish on Sunday. It keeps for the whole week. Perfect for busy weekdays.
Pro tip: If the top layer of wafers dries out, cover it with plastic wrap directly touching the surface. This prevents air exposure.
Nutrition Information
I’m not a nutritionist, but here’s the breakdown if you’re tracking.
Per Serving (based on 12 servings):
- Calories: 220
- Protein: 3g
- Carbs: 35g
- Fiber: 1g
- Sugar: 22g
- Fat: 8g
- Saturated Fat: 4g
- Cholesterol: 5mg
- Sodium: 180mg
- Calcium: 60mg
What’s Good:
- Contains bananas, which provide potassium and vitamin B6
- Relatively low in fat compared to other desserts
- Easy to control portions (small squares)
What to Know:
- Higher in sugar from the pudding mix and bananas
- Contains dairy and gluten
- Moderate sodium
My Take:
Look, this is a dessert. It’s sweet, creamy, and indulgent. It’s not a health food. But it’s better than buying a pre-made cake from the store, and you know exactly what’s in it. When I want to make it lighter, I use sugar-free pudding and less whipped topping. But usually? I just enjoy a square and savor it.
Dietary Notes:
- Contains: gluten, dairy
- Can be made: gluten-free, vegetarian
- Not suitable for: vegan (without modifications), dairy-free (without modifications)
Final Thoughts
So that’s my banana pudding icebox cake! I’ve probably talked your ear off at this point, but when you make a recipe this often, you have a lot to say about it.
This has saved summer dinners more times than I can count. It’s my answer to “what’s for dessert?” when I’m tired, don’t want to bake, and still want something that tastes really good. My family is happy, my guests are happy, and I’m happy because I’m not stressed about cooking.
Make it yours! Try different variations, swap in your favorite toppings, adjust the sweetness. The best recipes are the ones you adapt to your tastes. If you make this, drop a comment and let me know what you think! I love hearing how recipes turn out in your kitchen.
Happy cooking! And I hope your kitchen smells half as good as mine does right now.
Frequently Asked Questions
Can I use fresh whipped cream instead of Cool Whip?
You can, but it’s softer and less stable. Fold it gently into the pudding mixture. It will still work, but the cake won’t hold its shape as firmly. I prefer Cool Whip because it’s sweeter and holds up better in the fridge. If you use fresh cream, add a little sugar and vanilla to sweeten it.
Why did my icebox cake turn out watery?
Usually means you didn’t let the pudding thicken enough before folding in the whipped topping, or you used skim milk. Make sure you whisk the instant pudding mix with cold whole milk and let it sit for 2 minutes to thicken. Also, don’t add too many bananas, as they release juice.
Can I make this ahead for a party?
Absolutely. It needs at least 4 hours to set, but overnight is best. I make this the night before a party to save stress. It tastes better after chilling for 12 hours. Just cover it tightly so it doesn’t absorb fridge odors.
Why did my bananas turn brown?
Bananas oxidize quickly. To prevent this, toss the sliced bananas with a little lemon juice or lime juice before layering. This keeps them bright yellow. Also, eat the dessert within 2-3 days for best appearance.
Can I use different cookies?
You can try graham crackers or shortbread, but they won’t soften the same way. Vanilla wafers are traditional for a reason—they have the right texture and flavor. Nilla Wafers are the gold standard. Don’t use cookies that are too thick or too rich.
How long does this last in the fridge?
It lasts up to 5 days in the refrigerator. The flavors continue to meld, so it actually gets better over the first two days. After 5 days, the cookies may become too soft or mushy.
Can I freeze this dessert?
I don’t recommend freezing this. The whipped topping and bananas don’t freeze well. The texture becomes grainy and mushy after thawing. It’s best enjoyed fresh from the fridge.
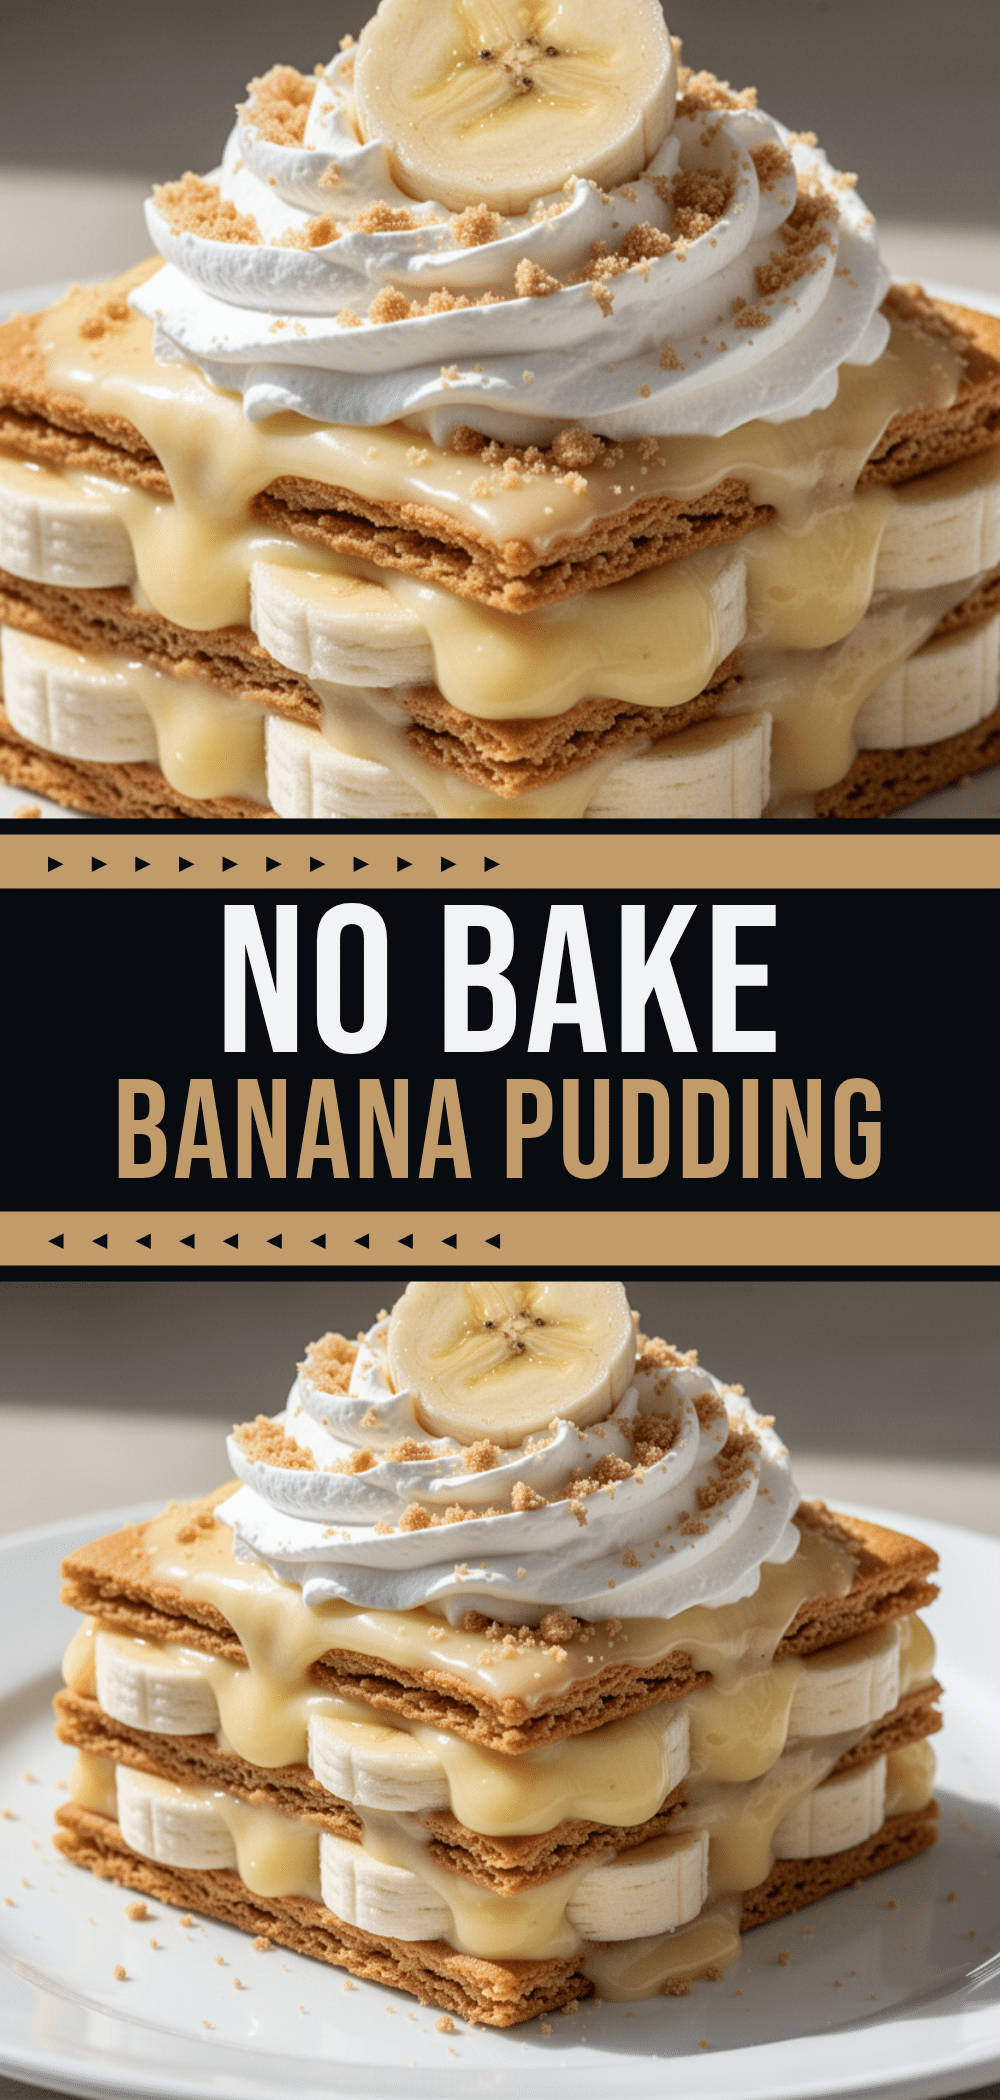
Pin This Recipe!
Banana Pudding Icebox Cake: 5-Ingredient No Bake Dessert
- Total Time: 4 hours 20 minutes
- Yield: 12 servings 1x
Description
A creamy, cold, and ridiculously easy no-bake dessert made with simple pantry staples. This icebox cake layers vanilla wafers, ripe bananas, and instant banana pudding with whipped topping, requiring just 4 hours to chill.
Ingredients
- 1 package (14.4 oz) vanilla wafers (for base layers)
- 4–5 medium ripe bananas (sliced)
- 2 boxes (3.4 oz each) instant banana pudding mix
- 3 cups cold whole milk
- 1 container (8 oz) frozen whipped topping (thawed)
- 1 package vanilla wafers (for top layer)
- 1–2 bananas (sliced for garnish)
- Optional: Crushed vanilla wafers for sprinkling
Instructions
- Whisk the instant banana pudding mix and cold milk together in a large bowl for about 2 minutes until thickened and smooth. Set aside.
- Thaw the whipped topping according to package directions until fluffy and spreadable.
- Gently fold the whipped topping into the pudding mixture using a spatula until light, creamy, and uniform.
- Arrange a single layer of vanilla wafers in the bottom of a 9×13 inch dish.
- Spread half of the pudding-whipped topping mixture over the wafers.
- Slice bananas and arrange them evenly over the cream layer.
- Add another layer of vanilla wafers, followed by the remaining pudding mixture.
- Top with the final layer of vanilla wafers, pressing gently to adhere.
- Garnish with sliced bananas and optional crushed wafers.
- Cover tightly with plastic wrap or foil and refrigerate for at least 4 hours, preferably overnight, until cookies are soft.
- Slice into squares and serve chilled.
Notes
Use ripe bananas with yellow skin and brown spots for best flavor. Do not use skim milk as it makes the pudding runny. The dessert tastes better after chilling overnight. Do not freeze as the texture of the whipped topping and bananas will suffer. If bananas brown, toss slices with a little lemon juice before layering.
- Prep Time: 20 minutes
- Cook Time: 0 minutes
- Category: Dessert
- Cuisine: American
Nutrition
- Serving Size: 1 square
- Calories: 220
- Sugar: 22
- Sodium: 180
- Fat: 8
- Saturated Fat: 4
- Carbohydrates: 35
- Fiber: 1
- Protein: 3
Keywords: banana pudding, icebox cake, no bake dessert, easy dessert, summer dessert, vanilla wafers, make ahead dessert


