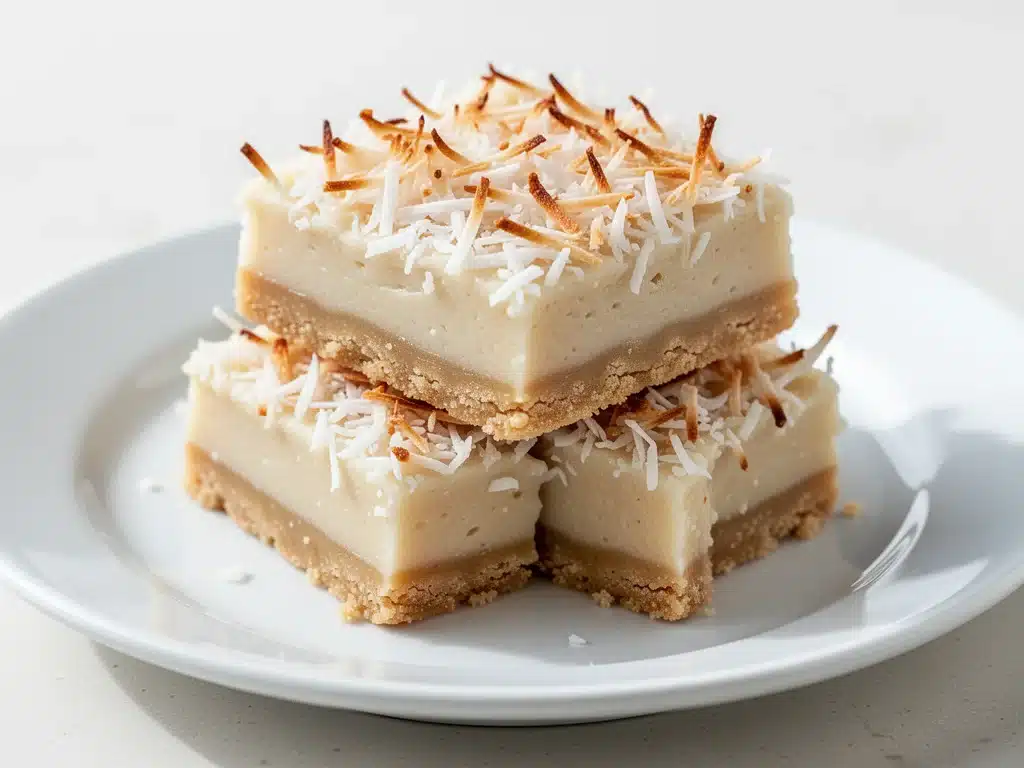
It was supposed to be a lazy Sunday afternoon. I had just come back from the grocery store with a bag full of ingredients for a “fancy” coconut cream pie—y’know, the kind with the torched meringue peaks and the delicate pastry shell that collapses if you look at it wrong. I was feeling ambitious. Or maybe just delusional about my free time.
Then, disaster struck. I went to open the pie crust package and it was empty. I checked my pantry. Nothing. I checked the fridge. Just some sad, wilting spinach and half a lemon. I stared at the bag of shredded coconut, a can of sweetened condensed milk, and a tub of heavy cream, and I had a sudden, desperate realization: I didn’t want to bake a pie. I didn’t want to deal with a crust that might or might not hold together. I just wanted coconut. Like, a lot of coconut.
So I did what any stressed-out home cook does. I threw everything into a 9×13 pan, crushed up some leftover graham crackers (I had those), and called it a day. I didn’t even bother with a crust recipe. I just pressed the crumbs in, poured the filling, and threw it in the fridge. I told myself it was a “deconstructed coconut cream pie.” A fancy way of saying I was too lazy to bake.
Fast forward to six hours later. My husband walked in, took one bite of this cold, creamy bar, and actually stopped mid-chew. He didn’t say anything for a full ten seconds. That’s the silence of someone questioning their own reality. “Did you make this?” he asked. “Is this store-bought?”
I felt a mix of pride and guilt. It wasn’t store-bought, but it also wasn’t the elegant pie I’d planned. But here’s the thing: these Coconut Cream Pie Bars are infinitely better than the original pie. They’re easier. They’re portable. They don’t require a knife that’s sharp enough to cut through glass. And most importantly, they don’t fail. I’ve made them since that Sunday afternoon at least a dozen times, and they have never once disappointed. They’re my go-to for potlucks, last-minute guest appearances, and days when I want something sweet but don’t want to turn my kitchen into a flour bomb zone.
If you’ve ever been intimidated by the idea of making a custard pie, or if you just want a dessert that looks impressive but takes fifteen minutes of active effort, you need to make these. Seriously. Grab a spoon and let’s get into it.
Why You’ll Love This No-Bake Coconut Dessert
There are about ten reasons I keep making these bars, but let’s be real—you’re probably here because you want dessert that doesn’t feel like work. Here’s why these coconut cream pie bars have stolen the spotlight from my more complicated baking projects:
Zero Baking Required — Seriously. The oven stays off. This is huge for me, especially in the summer when I don’t want to heat up my house, or in the winter when I’m trying to save on heating bills. It’s all about assembly and chilling. No standing over a hot stove, no watching a pie like a hawk to make sure it doesn’t curdle.
Stupid Simple Ingredients — You probably have most of these in your kitchen right now. Graham crackers, butter, sweetened condensed milk, coconut cream (or coconut milk), vanilla, and shredded coconut. If you have a pantry and a fridge, you’re good. It’s not a trip to three different specialty stores.
Make-Ahead Friendly — This is the ultimate party hack. You can make these the night before. In fact, they taste better the next day because the flavors have had time to meld and the texture has set up perfectly. I make them on Sunday for Wednesday dinner parties, and they hold up beautifully in the fridge.
Crowd-Pleasing Texture — The contrast between the crunchy, buttery graham cracker base and the ultra-creamy, cool coconut filling is what makes this addictive. It’s not just sweet; it’s textural. And everyone loves a good crunch.
Portable and Sliceable — Pies are awkward to transport. They slide around in the car. They crack if you’re not careful. These bars? You cut them into squares, put them on a plate, and nobody cares if they tilt. They’re stable. They’re sturdy. They’re perfect for picnics, office lunches, or just eating straight from the pan (I won’t judge).
This recipe has saved me more times than I can count. It’s my answer to “I need to bring a dessert” when I have no idea what I’m bringing. No stress, no last-minute panic, just pure, creamy, coconutty happiness.
Ingredients You’ll Need
Here’s the best part: this list is short. I’m not going to make you hunt down obscure spices or exotic flours. This is comfort food, plain and simple. I’m particular about a few things here, but mostly, it’s about quality over quantity.
For the Crust
Graham Cracker Crumbs (1 ½ cups / 150g) — You can buy pre-made crumbs, but I prefer crushing them myself. It’s satisfying and ensures you get that perfect mix of fine dust and tiny chunks for texture. If you use store-bought, check the sugar content; some brands are super sweet, which might throw off the balance.
Unsalted Butter (6 tablespoons / 85g, melted) — This binds the crust. Use good quality butter here. If your butter is super salty, reduce the pinch of salt in the crust. Melt it completely so it mixes evenly with the crumbs.
Granulated Sugar (2 tablespoons / 25g) — Just a little bit to help the crust caramelize slightly and add a hint of sweetness. If your graham crackers are already very sweet, you can skip this.
Salt (¼ teaspoon) — Crucial. It cuts through the sweetness of the crust and the filling. Don’t skip it.
For the Filling
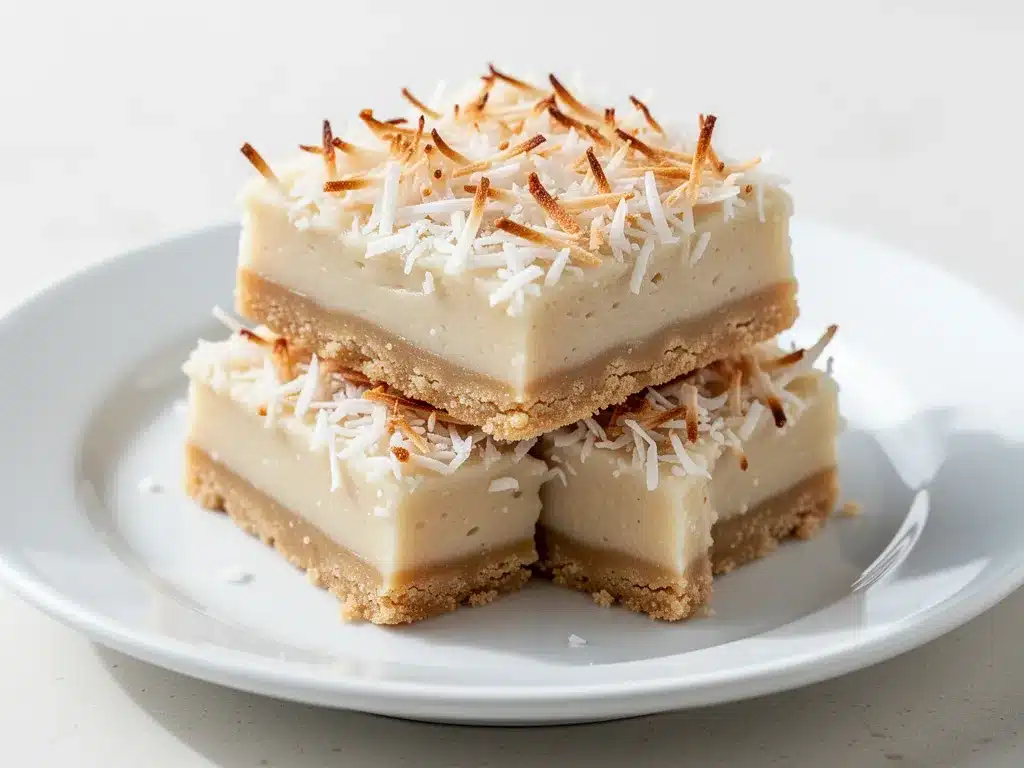
Coconut Cream (1 can / 400ml) — This is the star. Use full-fat coconut milk or cream from a can, not the carton stuff. The carton stuff is too thin and watery. You want the thick, rich cream that separates to the top of the can. Scoop out the solid part for the best texture. If you can’t find coconut cream, full-fat coconut milk works, but you’ll need to chill it overnight and scoop out the solidified cream.
Sweetened Condensed Milk (1 can / 397g) — This provides sweetness, thickness, and that classic custard-like flavor. Don’t use evaporated milk; it’s not sweet and will make the filling runny. This is a non-negotiable ingredient.
Vanilla Extract (2 teaspoons) — Pure vanilla, please. I don’t use imitation vanilla in desserts. It adds warmth and depth to the coconut flavor.
Shredded Coconut (1 cup / 80g, unsweetened) — I use unsweetened coconut for the filling because the condensed milk is already very sweet. If you only have sweetened, reduce the sugar in the crust or just accept that it will be extra sweet. Toasting the coconut adds a nutty flavor, but raw works fine too.
For the Topping
Heavy Whipping Cream (1 cup / 240ml, cold) — You’ll whip this to soft peaks. It lightens up the dense coconut filling and adds a airy, cloud-like texture on top.
Confectioners’ Sugar (2 tablespoons / 15g) — Just a touch to sweeten the whipped cream slightly.
Vanilla Extract (1 teaspoon) — Consistency is key.
Extra Shredded Coconut (½ cup) — For garnish. Toasted is nicer, but raw is fine.
Pro Tip: I always buy a bag of unsweetened shredded coconut and keep it in the pantry. It lasts forever and I use it for everything from these bars to bread pudding toppings. Having it on hand makes spontaneous dessert nights possible.
Equipment Needed
You don’t need fancy gadgets for this. Here’s what I actually use, and what works.
9×13 Inch Baking Pan — A standard metal or glass pan works best. I use glass because I can see the bottom crust browning slightly, but metal conducts heat better if you’re going to bake the crust (which we aren’t really, but still). Make sure it’s clean and dry.
Mixing Bowls — You’ll need two medium bowls. One for the crust, one for the filling. And a third, larger bowl for whipping the cream. I like using stainless steel bowls because they’re sturdy and easy to clean.
Hand Mixer or Stand Mixer — For whipping the cream. A hand mixer is fine, but a stand mixer is less tiring. I’ve used both and the result is the same, so use what you have.
Whisk — For mixing the coconut cream and condensed milk. A whisk ensures there are no lumps of coconut cream left.
Spatula — A silicone spatula is best for folding in the whipped cream and spreading the filling. It gets every bit out of the bowl.
Grater or Food Processor — Only if you’re crushing graham crackers yourself. A food processor is fastest, but a zip-top bag and a rolling pin work great if you want to get physical.
Measuring Cups and Spoons — Be precise with the liquid ingredients. Too much liquid and the bars won’t set.
Refrigerator — Obviously. But make sure you have space. This pan needs to chill for at least 4 hours, preferably overnight. I learned this the hard way by trying to rush it and ending up with a soupy mess.
How to Make It: Step-by-Step
Alright, let’s make these! I’m walking you through exactly how I do it, including the little tricks I’ve picked up over the years. It’s easier than it looks, I promise.
Step 1: Prep Your Pan and Crust (5 minutes)
Grab your 9×13 pan. I don’t usually line it with parchment, but if you want easy removal later, you can leave a little overhang on the sides. Set it aside.
In a medium bowl, combine the graham cracker crumbs, melted butter, sugar, and salt. Mix it with a fork or your fingers until it looks like wet sand. It should hold together when you pinch it. If it’s too dry, add a teaspoon more melted butter. If it’s too wet, add a sprinkle more crumbs.
Press this mixture firmly into the bottom of your pan. Use the bottom of a measuring cup or a glass to pack it down tight. You want an even layer. No gaps, no thin spots. This is your foundation, so make it solid. Pop the crust into the fridge while you make the filling. It helps it set up.
Step 2: Make the Coconut Filling (5 minutes)
In a large mixing bowl, combine the coconut cream and sweetened condensed milk. If your coconut cream is very hard from the fridge, let it sit at room temperature for 10 minutes so it’s scoopable and mixable.
Whisk them together vigorously. You want to break up any lumps of coconut cream and fully incorporate the condensed milk. It should be smooth and creamy. Add the vanilla extract and 1 cup of shredded coconut. Stir until the coconut is evenly distributed.
Remove the pan from the fridge and pour this filling over the crust. Use a spatula to spread it out evenly. Make sure it goes all the way to the edges. Smooth the top with the back of the spatula. It should look glossy and even.
Put the pan back in the fridge. Let it chill for at least 2 hours. This step is crucial. The filling needs to firm up so it’s sliceable. If you cut it too soon, it’ll be a mess.
Step 3: Whip the Cream Topping (5 minutes)
While the bars are chilling, get your heavy cream out of the fridge. Make sure it’s cold—cold cream whips better. In a clean, chilled bowl (chilled bowls help!), add the heavy cream, confectioners’ sugar, and vanilla.
Beat with a hand mixer or stand mixer on medium-high speed. Watch closely. You want soft peaks. This means when you lift the beaters, the cream forms a peak that droops over slightly. Don’t over-whip it into stiff peaks, or it’ll be grainy and hard to spread. If you accidentally over-whip, you can gently fold in a little more liquid cream to loosen it up.
Step 4: Assemble and Garnish (2 minutes)
Once the filling is set (check by gently pressing the center—it should feel firm), remove the pan from the fridge.
Spoon the whipped cream over the top. You can spread it evenly for a polished look, or just dollop it on for a rustic, homemade vibe. I usually do a mix of both. Use a spatula to create soft swirls.
Sprinkle the remaining ½ cup of shredded coconut over the top. If you’ve toasted it, it’ll add a nice golden color and nutty aroma. If not, it’ll just add texture.
Return the pan to the fridge for at least 1 more hour. This final chill helps the whipped cream set and the flavors meld together.
Step 5: Slice and Serve
When you’re ready to serve, take the pan out. Use a sharp knife to cut into squares. For clean cuts, wipe the knife between each slice. Run the knife under hot water and dry it off—that’s a pro trick for clean slices.
Serve chilled. These bars are best eaten within 2-3 days of making, as the whipped cream can deflate over time.
Expert Tips & Tricks
Here’s everything I’ve learned from making these dozens of times. These tips will save you from my mistakes.
Chill Your Coconut Cream — If you’re using canned coconut milk, chill the can overnight. Scoop out the solid cream and leave the watery liquid behind (or save it for smoothies). Using the solid cream gives you the thickest, richest filling. If you use the whole can, the filling will be too thin.
Don’t Skip the Chill Time — I know it’s tempting to eat them right away. But the filling needs time to set. If you rush it, you’ll get a gooey mess. Patience pays off.
Toast the Coconut — For an extra layer of flavor, toast the shredded coconut in a dry pan over medium heat for 2-3 minutes until golden. Watch it closely—it burns fast. This adds a deep, nutty flavor that elevates the bars.
Use Cold Cream — As mentioned, cold cream whips better. If your kitchen is hot, put your mixing bowl in the fridge for 15 minutes before whipping.
Customize the Coconut — You can use flaked coconut instead of shredded if you prefer a larger texture. Or mix both. I like a combination for variety.
Storage is Key — Keep these covered in the fridge. They’ll last up to 4 days. If you leave them out for more than 2 hours, the whipped cream and dairy can spoil.
Variations & Substitutions
Once you’ve nailed the basic version, here’s how you can mix it up. I’ve tried all of these.
Chocolate Coconut Bars — Add 2 tablespoons of cocoa powder to the whipped cream topping. Or drizzle melted chocolate over the top before serving. Chocolate and coconut are a classic combo.
Piña Colada Style — Add 2 tablespoons of rum extract to the filling. Or mix in some crushed pineapple (drained well) for a tropical twist. This is like a piña colada in bar form.
Gluten-Free — Use gluten-free graham crackers or digestive biscuits. Check the label to ensure they’re certified gluten-free. The rest of the ingredients are naturally gluten-free.
Dairy-Free — This is trickier because of the condensed milk and whipped cream. Use coconut condensed milk (available in health food stores) and whip coconut cream (from a can) instead of dairy cream. It won’t be as stable, but it’s still delicious.
Lower Sugar — Use unsweetened condensed milk (if you can find it) or reduce the sugar in the crust. You can also use a sugar substitute in the whipped cream. Note: this will change the texture and sweetness level significantly.
Crust Alternatives — Use crushed Oreos for a chocolate crust. Or use almond flour and butter for a nutty, low-carb base. I’ve made it with crushed shortbread cookies and it was amazing.
Serving & Storage
How to Serve: I usually serve these straight from the fridge. They’re best when cold. I pair them with a cup of hot coffee or tea, which contrasts nicely with the cold, creamy dessert. For parties, I cut them into small squares—they’re rich, so you don’t need a huge portion.
Side Dishes: These bars are a complete dessert, so they don’t need much else. But if you’re serving a full meal, they pair well with light, fruity desserts or a simple fruit salad. They also go great with summer sangria slushies for a tropical party theme.
Refrigerator: Store in an airtight container or covered tightly with plastic wrap for up to 4 days. The flavors actually improve after the first day.
Freezing: You can freeze these bars! Wrap the whole pan tightly in plastic wrap and then foil. Freeze for up to 2 months. Thaw in the fridge overnight before serving. The texture of the whipped cream might change slightly, but it’s still good. I’ve done this and it works.
Pro Tip: If you’re bringing these to a potluck, transport them in the pan they’re baked in. It’s sturdier than individual slices. Just bring a knife and napkins.
Nutrition Information
I’m not a nutritionist, but here’s the breakdown if you’re tracking. Keep in mind that these are rich, creamy bars, so portion control is key.
Per Serving (based on 12 bars):
- Calories: 280
- Protein: 3g
- Carbs: 32g
- Fiber: 1g
- Sugar: 22g
- Fat: 16g
- Saturated Fat: 11g
- Cholesterol: 25mg
- Sodium: 120mg
What’s Good: It provides some calcium from the dairy and coconut. The graham cracker crust offers a bit of fiber.
What to Know: Higher in sugar and saturated fat due to the condensed milk, coconut cream, and whipped cream. It’s a treat, not a health food. Enjoy in moderation.
Dietary Notes: Contains dairy, gluten. Can be made gluten-free or dairy-free with substitutions. Not suitable for vegans (unless modified).
Final Thoughts
So that’s my go-to coconut cream pie bars! I’ve probably talked your ear off at this point, but when you make a recipe this often, you have a lot to say about it. These bars have saved me more times than I can count. They’re my answer to “I need dessert” when I’m tired, don’t want to bake, and still want something that tastes really good. My kids are happy, my husband’s happy, and I’m happy because I’m not stressed about cooking.
Make it yours! Try different crusts, add different toppings, or mix in some fruit. The best recipes are the ones you adapt to your family’s tastes. If you make this, drop a comment and let me know what you think! I love hearing how recipes turn out in your kitchen. And if something doesn’t work, tell me that too—I’m here to help troubleshoot.
Happy cooking! And I hope your kitchen smells half as good as mine does right now.
Frequently Asked Questions
Can I use coconut milk instead of coconut cream?
You can, but the texture will be different. Coconut cream is thicker and richer, which is what gives these bars their firm, sliceable consistency. If you use canned coconut milk, make sure to chill it overnight and scoop out only the solid cream. Using the whole can, including the watery part, will make the filling too runny. If you can’t find coconut cream, full-fat coconut milk is the next best option, but the results won’t be as dense.
Why did my filling turn out watery?
This usually happens if you didn’t chill the coconut cream long enough before scooping, or if you used the watery liquid from the can. Make sure to use only the solid part of the coconut cream. Also, ensure your sweetened condensed milk is well-mixed. If the filling is still too soft after chilling, you can try adding a little more coconut cream or whipped cream to help it set, but it’s better to prevent this by using the right ingredients.
Can I make these ahead for a party?
Absolutely! In fact, they taste better the next day. You can make them up to 2 days ahead. Store them in the fridge, covered tightly. Just add the whipped cream topping the day you serve them to keep it fresh. If you make the topping too early, it can deflate or separate.
How do I store leftovers?
Keep them in an airtight container in the fridge for up to 4 days. The crust might soften slightly over time, but the filling will remain creamy. If you leave them out for more than 2 hours, the dairy can spoil, so always refrigerate.
Can I freeze these bars?
Yes, you can freeze them. Wrap the whole pan tightly in plastic wrap and then foil. Freeze for up to 2 months. Thaw in the fridge overnight. The whipped cream might lose some of its fluffiness, but the bars will still be delicious. I’ve done this and it works well for meal prep.
Can I use crushed cookies instead of graham crackers?
Yes! Crushed Oreos, digestive biscuits, or even shortbread cookies work great. Just adjust the sugar in the crust if the cookies are already sweet. I’ve made this with Oreos and it’s a chocolate-coconut dream.
Do I have to toast the coconut?
No, it’s optional. Toasting adds a nutty flavor and golden color, which is nice, but raw coconut works fine too. If you toast it, watch it closely—it burns quickly. I usually toast it in a dry pan over medium heat for 2-3 minutes, stirring constantly.
Pin This Recipe!
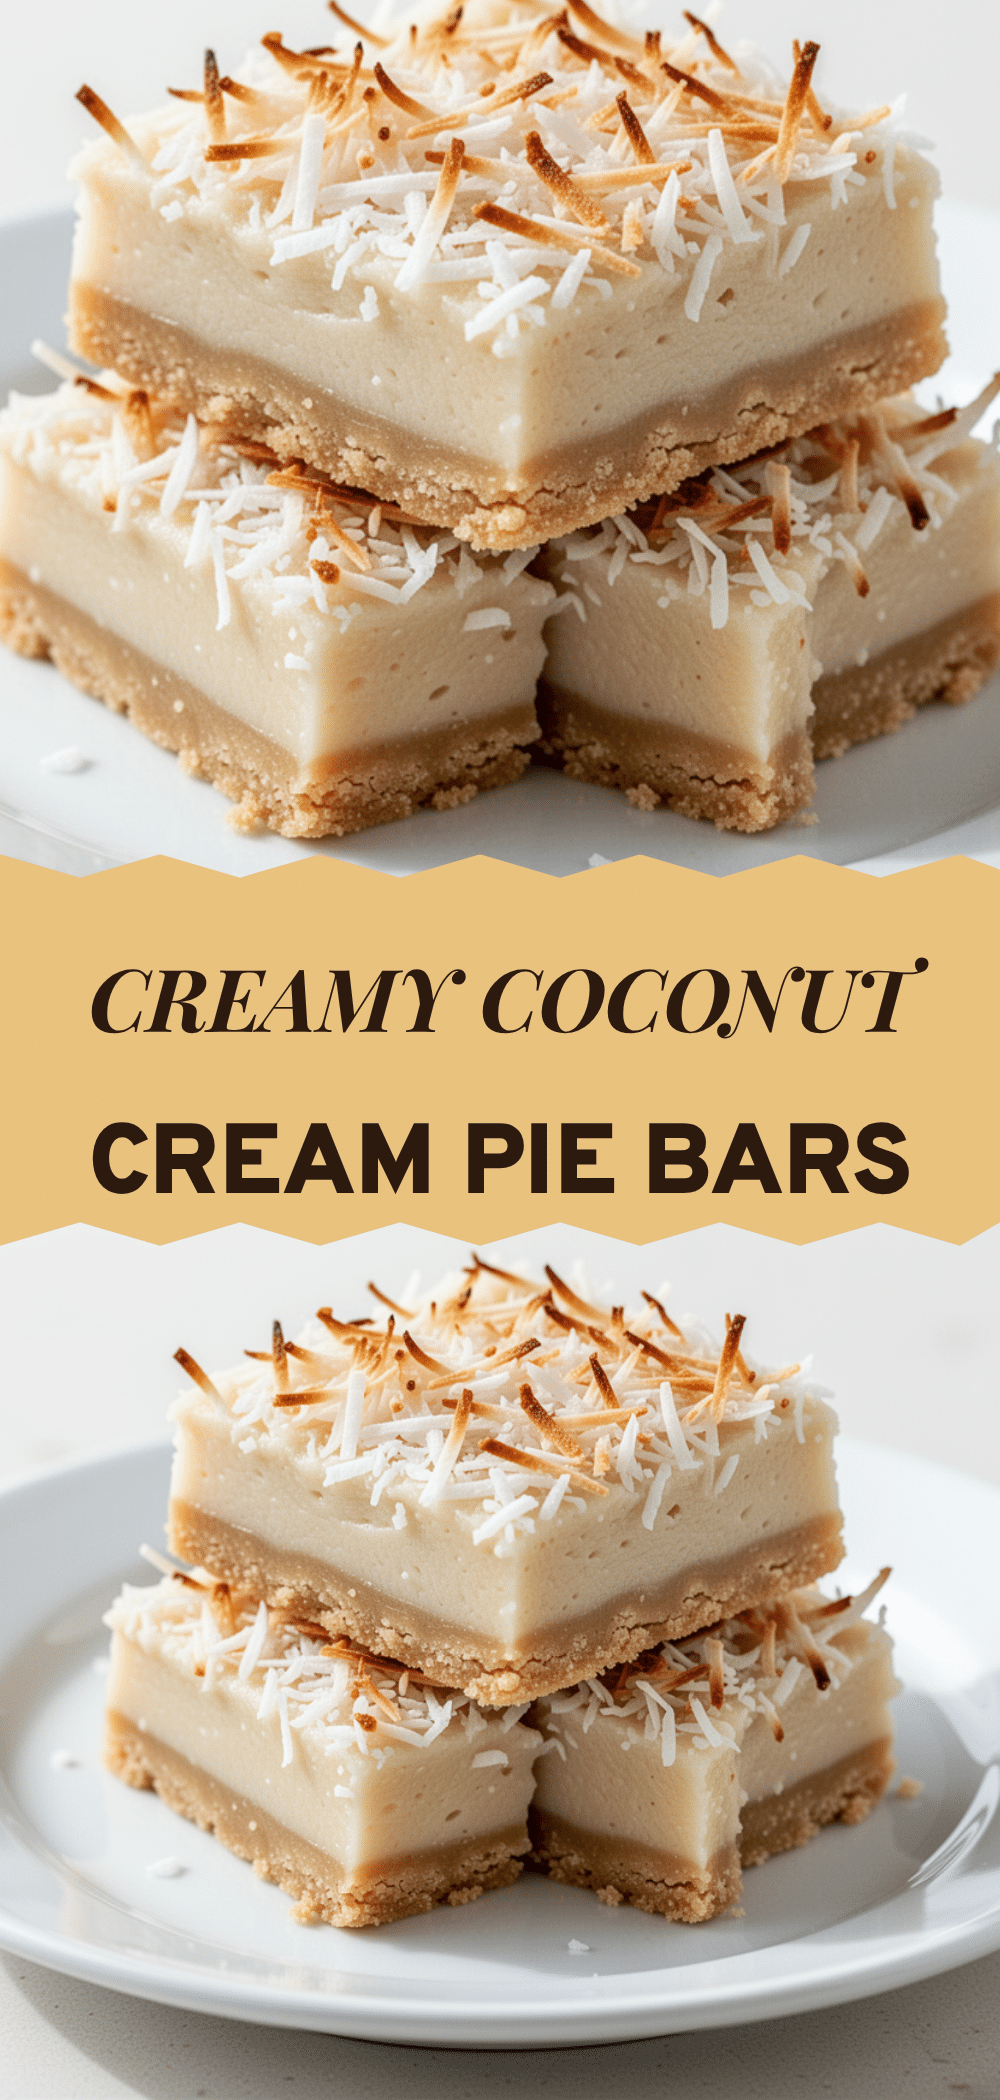
Coconut Cream Pie Bars: 15 Min No Bake Dessert
- Total Time: 4 hours 15 minutes
- Yield: 12 servings 1x
Description
These easy no-bake coconut cream pie bars feature a crunchy graham cracker crust, a rich and creamy coconut filling, and a light whipped cream topping. They are perfect for make-ahead entertaining and require zero oven time.
Ingredients
- 1 ½ cups graham cracker crumbs
- 6 tablespoons unsalted butter, melted
- 2 tablespoons granulated sugar
- ¼ teaspoon salt
- 1 can (400ml) full-fat coconut cream
- 1 can (397g) sweetened condensed milk
- 2 teaspoons vanilla extract
- 1 cup unsweetened shredded coconut
- 1 cup heavy whipping cream, cold
- 2 tablespoons confectioners’ sugar
- 1 teaspoon vanilla extract
- ½ cup extra shredded coconut for garnish
Instructions
- Press the mixture of graham cracker crumbs, melted butter, sugar, and salt firmly into the bottom of a 9×13 inch pan. Chill in the refrigerator while making the filling.
- In a large bowl, whisk together the coconut cream and sweetened condensed milk until smooth. Stir in 2 teaspoons vanilla extract and 1 cup of shredded coconut.
- Pour the filling over the chilled crust and spread evenly. Return to the refrigerator and chill for at least 2 hours until firm.
- In a chilled bowl, whip the heavy cream, confectioners’ sugar, and 1 teaspoon vanilla extract until soft peaks form.
- Spread the whipped cream over the set filling and sprinkle with the remaining ½ cup of shredded coconut.
- Chill for at least 1 more hour before slicing into squares and serving.
Notes
For best results, chill the coconut cream can overnight and scoop out only the solid cream. Ensure the filling is fully set before slicing for clean cuts. The bars can be stored in the refrigerator for up to 4 days or frozen for up to 2 months.
- Prep Time: 15 minutes
- Cook Time: 0 minutes
- Category: Dessert
- Cuisine: American
Nutrition
- Serving Size: 1 bar
- Calories: 280
- Sugar: 22
- Sodium: 120
- Fat: 16
- Saturated Fat: 11
- Carbohydrates: 32
- Fiber: 1
- Protein: 3
Keywords: coconut cream pie bars, no bake dessert, coconut dessert, graham cracker crust, easy dessert, make ahead dessert, party dessert


