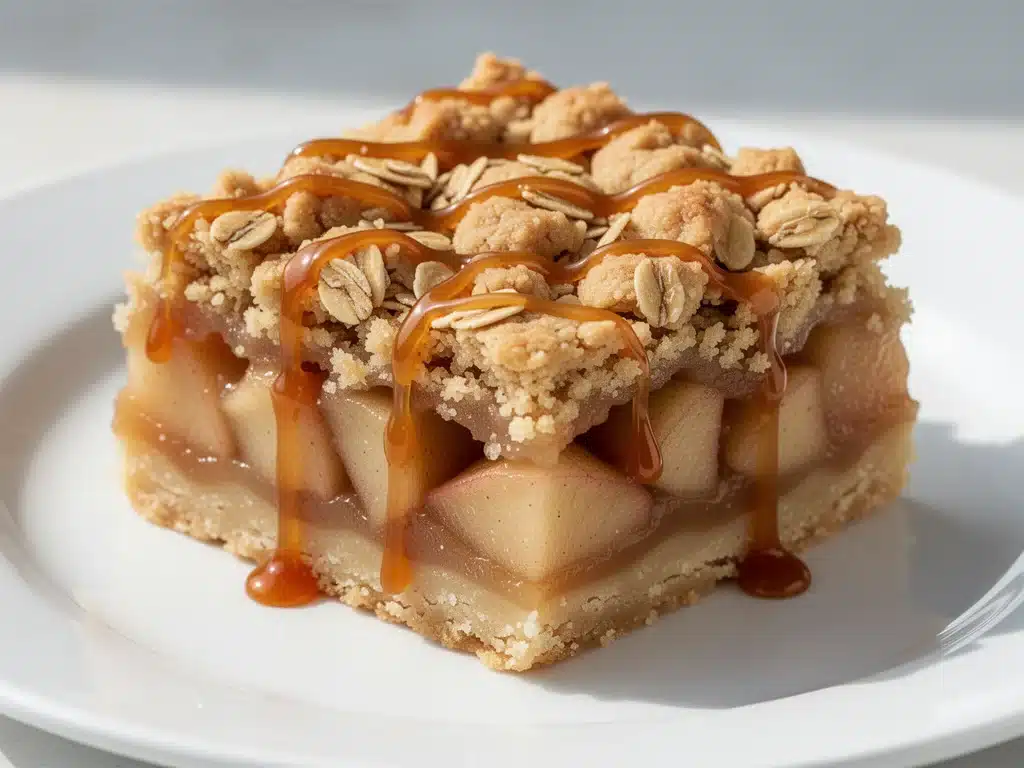
Last October, I stood in my kitchen holding a pie server, staring at a perfectly baked apple pie that had leaked so much juice onto the bottom rack of my oven that I had to scrape it off with a razor blade. It was beautiful. It smelled like cinnamon and nostalgia. And I was absolutely done with it.
Here’s the thing about traditional apple pie: it’s a commitment. You need to make or buy a crust, blind-bake it, slice exactly six pounds of apples, deal with the inevitable soggy bottom, and then serve it to guests who will inevitably complain that the filling was too runny or the crust too tough. I love apple pie. But I love my sanity more.
That’s when I stumbled across the concept of dessert bars. Specifically, salted caramel apple pie bars. At first, I was skeptical. Bars? Really? But then I realized they’re basically apple pie’s cooler, more efficient cousin. You get all the flavors—spiced apples, buttery crust, sweet-tart filling—but in a format that’s easier to make, easier to cut, and actually manageable when you’re hosting a dinner party. Plus, the salted caramel? That’s the game-changer. It adds that rich, sticky depth that traditional pie just can’t compete with.
I’ve tested this recipe at least ten times over the past two years. I’ve tried different apples, different caramel brands, and even attempted to make my own caramel from scratch (which, spoiler alert, is a lot of work and burns every time). The version I’m sharing with you today is the one that works. It’s the one that makes my husband ask for seconds before the first slice is even off the pan. It’s the dessert I pull out when I want to impress people without spending my entire afternoon at the stove.
If you’ve ever felt intimidated by the whole “pie crust” thing, or if you’re just looking for a fall dessert that’s a little less fussy but still feels special, these bars are your answer. They’re chewy, they’re gooey, and they taste like autumn in a bite. Trust me, once you try them, you’ll wonder why you ever bothered with a full-sized pie.
Why You’ll Love These Salted Caramel Apple Pie Bars
There are about a dozen reasons I keep making these bars, but let’s be real—you don’t need a lecture on why you should bake them. You just need to know that they actually work. Here’s what makes them my go-to fall dessert:
Zero Pie Crust Stress — Seriously. No rolling pins, no blind baking, no worrying about shrinkage. The crust is a simple, buttery shortbread base that you just press into the pan. If you can press dough, you can make this. I’ve made this for my teenage nephew over Zoom, and he nailed it on the first try.
Flavor Bomb Status — The combination of tart apples, warm cinnamon, and salty-sweet caramel is unbeatable. It’s complex enough to feel fancy but familiar enough that everyone loves it. I’ve served these to my picky eater sister, and she actually asked for the recipe.
Make-Ahead Friendly — These bars get better the next day. In fact, I usually make them the night before a dinner party because they’re easier to slice when they’re fully chilled. Plus, they travel well. I’ve taken them to potlucks in a Tupperware container, and they survived the journey without falling apart.
Uses Up Autumn Apples — When apple season hits, prices drop and availability skyrockets. These bars are a fantastic way to use up a bushel of Honeycrisp or Granny Smith apples before they start to go soft. They’re basically a preservation method disguised as a treat.
Quick Cleanup — One pan. That’s it. You mix the crust in a bowl, mix the filling in another, layer it in a 9×13 pan, bake it, and clean two bowls and one pan. Compared to the mountain of dishes that comes with traditional pie, this is a dream.
This is my answer to “what’s for dessert?” when I want something that feels like a hug but doesn’t require a three-day time commitment. No complicated techniques, no weird ingredients, just reliable, delicious food that makes everyone happy.
Ingredients You’ll Need
Here’s the best part: you probably have most of this already in your pantry. I’m particular about a few things here, and I’ll tell you exactly why, so you don’t end up with a dry bar or a grainy caramel.
For the Buttery Crust
Unsalted butter (½ cup / 113g, softened) — This is the base of your crust. Softened butter mixes easier with the flour, creating that tender, shortbread-like texture. Don’t use melted butter unless you want a cakey bottom. I use salted butter if I’m in a hurry, but just reduce the added salt in the recipe.
Granulated sugar (¼ cup / 50g) — Just a little bit to sweeten the crust without making it crunchy. Brown sugar works too, but it makes the crust chewier. I prefer the crispness of white sugar here.
All-purpose flour (1½ cups / 190g) — Standard flour. No need for fancy pastry flour. This gives the crust enough structure to hold the filling.
Salt (¼ teaspoon) — Crucial for balancing the sweetness. Don’t skip it.
For the Apple Filling
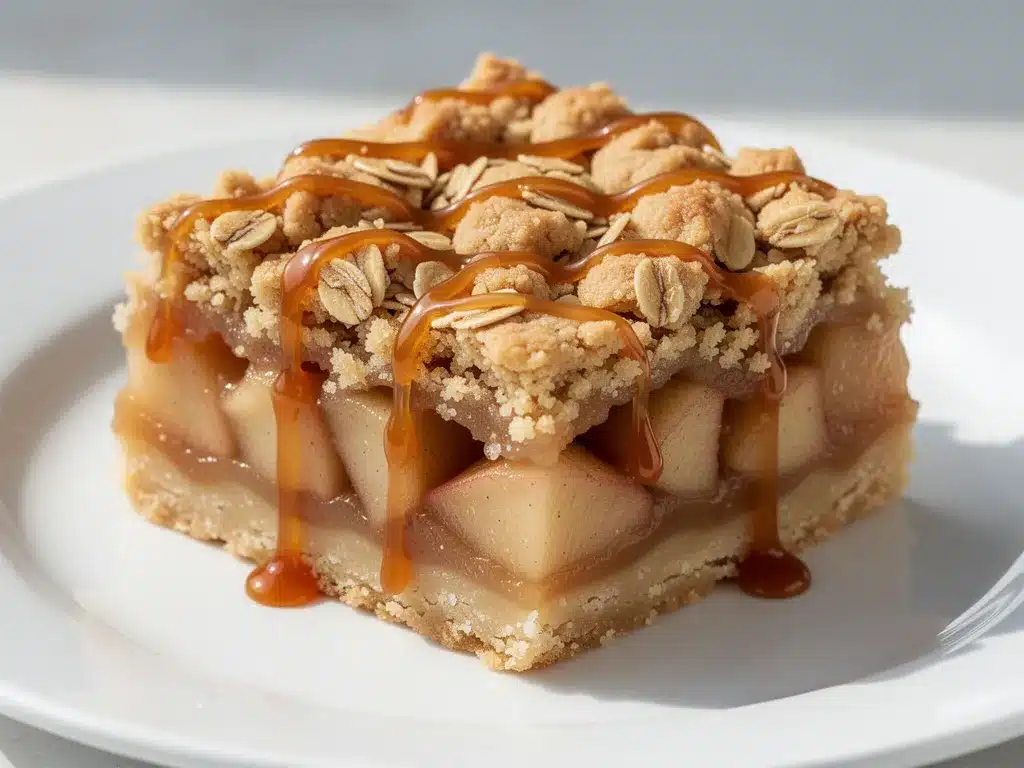
Apples (4-5 medium / about 1.5 lbs / 680g) — This is the most important ingredient. You need apples that hold their shape when baked. Honeycrisp, Granny Smith, or Braeburn are my top picks. Avoid Red Delicious—they turn to mush. Peel them, but don’t core them yet; slice them into thin wedges first.
Granulated sugar (½ cup / 100g) — Adjust based on how sweet your apples are. If they’re very tart, go with the full amount. If they’re super sweet, reduce to ⅓ cup.
Ground cinnamon (1 teaspoon) — The heart of apple pie flavor. Use fresh cinnamon if you can; old cinnamon loses its punch.
Ground nutmeg (¼ teaspoon) — Just a pinch. It adds warmth without overpowering.
Ground ginger (¼ teaspoon) — Optional, but I love the slight kick it adds. If you don’t have it, leave it out.
Cornstarch (2 tablespoons) — This is what thickens the apple juices. Without it, you’ll have a soup. Don’t use flour; it makes the filling cloudy.
Butter (2 tablespoons, melted) — Adds richness to the filling and helps the apples caramelize slightly.
For the Salted Caramel Drizzle
Store-bought caramel sauce (1 cup / 240ml) — Look for the bottles labeled “salted caramel.” Brands like Smucker’s or Kraft work great. If you want to make your own, see the variations below, but honestly, store-bought saves time and tastes just as good.
Flaky sea salt (½ teaspoon) — For sprinkling on top. Maldon is my favorite, but any flaky salt works. This is what makes it “salted caramel” and not just “sweet caramel.”
Equipment Needed
You don’t need fancy equipment for this. Here’s what I actually use:
9×13-inch baking dish — Glass or ceramic works best. Metal works too, but glass gives a more even bake. I use a Pyrex dish that I’ve had for 15 years. It’s scratched to heck, but it’s perfect.
Medium mixing bowl — For the crust. Any bowl will do.
Large mixing bowl — For the apple filling. Make sure it’s big enough to toss the apples without spilling.
Pastry cutter or fork — To mix the crust. I use a fork because it’s easier to clean, but a pastry cutter is faster if you have one.
Peeler and knife — For prepping the apples. A Y-peeler is faster than a straight peeler.
Measuring cups and spoons — Standard stuff. Dollar store versions work fine.
Wire rack — For cooling the bars. Don’t skip this; putting hot bars on a plate makes them soggy.
How to Make It: Step-by-Step
Alright, let’s make this! I’m walking you through exactly how I do it, including the little tricks I’ve picked up so your bars turn out perfect every time.
Step 1: Prep Your Pan and Oven (5 minutes)
Preheat your oven to 350°F (175°C). Line your 9×13-inch baking dish with parchment paper, leaving an overhang on the long sides. This is non-negotiable. It makes removing the bars after baking so much easier. If you don’t have parchment, grease the pan heavily with butter or non-stick spray, but parchment is better.
Step 2: Make the Crust (5 minutes)
In a medium bowl, mix the softened butter, sugar, flour, and salt. Use a pastry cutter or a fork to mix until it resembles coarse crumbs. It should look like wet sand. Press this mixture firmly and evenly into the bottom of your prepared baking dish. Use the bottom of a measuring cup to pack it down tight. This ensures a solid base that won’t fall apart when you cut the bars.
Step 3: Bake the Crust (10 minutes)
Bake the crust for 10 minutes until it’s lightly golden. This step, called “blind baking” (sort of), prevents the bottom from getting soggy when you add the wet apple filling. Remove from the oven and set aside. Keep the oven on.
Step 4: Toss the Apples (5 minutes)
In a large bowl, combine the sliced apples, sugar, cinnamon, nutmeg, ginger, cornstarch, and melted butter. Toss until every slice is evenly coated. The cornstarch will turn cloudy, which is fine. Spread the apples evenly over the partially baked crust. Don’t pile them too high in the center; try to keep them relatively even.
Step 5: Bake the Filling (35-40 minutes)
Return the pan to the oven and bake for 35-40 minutes. The apples should be tender when pierced with a fork, and the edges should be bubbling. If the edges start browning too quickly, tent the pan with foil for the last 10 minutes.
Step 6: Add the Caramel (5 minutes)
Remove the pan from the oven and let it cool for 5 minutes. Drizzle the salted caramel sauce evenly over the hot apples. Use a knife or spatula to gently swirl the caramel into the apples, but don’t overmix—you want pockets of caramel, not a uniform brown layer.
Step 7: Cool and Slice (1 hour)
Let the bars cool completely in the pan on a wire rack. This is the hardest part. If you cut them while hot, they’ll fall apart. Once cool, lift them out using the parchment overhang. Sprinkle with flaky sea salt. Slice into squares. I get about 12-16 bars depending on how hungry your guests are.
Expert Tips & Tricks
Here’s everything I’ve learned from making these dozens of times. These tips will save you from my mistakes.
Don’t Skimp on the Cornstarch
Apples release a lot of liquid. If you don’t use enough cornstarch, your bars will be soupy. I’ve tried using less, and it’s a disaster. Stick to the 2 tablespoons.
Choose the Right Apples
This is where most people go wrong. If you use Gala or Fuji, they might hold up okay, but they’re sweeter. If you use Red Delicious, you’re making apple sauce, not bars. Stick to Honeycrisp or Granny Smith for the best texture.
Chill Before Cutting
I know you want to eat them now. But if you chill the bars in the fridge for at least 30 minutes before cutting, they slice cleanly. Warm bars are messy. Cold bars are perfect.
Warm the Caramel
If your caramel sauce is thick and hard to drizzle, microwave it for 15-20 seconds. It should be pourable but not runny like water. This ensures an even drizzle.
Don’t Overbake
The apples will continue to cook a bit after you take them out of the oven. If they look completely soft before you pull them out, they’ll be mushy once cooled. Aim for tender but still slightly firm.
Variations & Substitutions
Once you’ve nailed the basic version, here’s how you can mix it up. I’ve tried all of these.
Homemade Caramel
If you’re feeling fancy, make your own caramel. Melt 1 cup of sugar in a saucepan until amber, then whisk in ½ cup heavy cream and 2 tablespoons butter. Stir in ½ teaspoon salt. Let it cool slightly before drizzling. It’s richer but takes more time.
Pecan Praline Version
Sprinkle ½ cup chopped pecans over the apples before baking. Toast them first for extra flavor. This adds a nice crunch.
Maple Bourbon Twist
Replace the cinnamon with 1 teaspoon pumpkin pie spice. Drizzle with bourbon-infused caramel (mix 1 tablespoon bourbon into your caramel sauce). This pairs beautifully with labor day maple bourbon ribs for a full fall menu.
Gluten-Free
Use a 1:1 gluten-free flour blend for the crust. Make sure your caramel sauce is certified gluten-free (some brands use wheat-based thickeners). Most apples and spices are naturally GF.
Dairy-Free
Use dairy-free butter in the crust and a dairy-free caramel sauce (many brands make coconut milk-based caramels). The bars will be slightly less rich but still delicious.
Serving & Storage
How to Serve:
I usually serve these warm, right out of the oven, with a scoop of vanilla ice cream. But they’re also great at room temperature. For a fancy presentation, add a dollop of whipped cream and a sprinkle of extra sea salt.
Side Dishes:
These pair well with grandma’s bread pudding if you’re hosting a large dessert buffet, or simply with a cup of hot coffee or tea.
Storage:
Store in an airtight container at room temperature for up to 3 days. In the fridge for up to 5 days. The caramel will harden in the fridge, so let them come to room temperature before eating for the best texture.
Freezing:
Yes, these freeze well! Wrap individual bars tightly in plastic wrap, then put them in a freezer bag. Freeze for up to 2 months. Thaw at room temperature. Don’t freeze the whole pan; it’s hard to defrost evenly.
Reheating:
Microwave a bar for 15-20 seconds to soften the caramel. Or warm in a 300°F oven for 10 minutes.
Nutrition Information
I’m not a nutritionist, but here’s the breakdown if you’re tracking. Note that this is an estimate based on standard ingredients.
Per Serving (1 bar out of 12):
- Calories: 320
- Protein: 3g
- Carbs: 48g
- Fiber: 2g
- Sugar: 32g
- Fat: 14g
- Saturated Fat: 7g
- Cholesterol: 25mg
- Sodium: 180mg
What’s Good:
Decent fiber from the apples. You get some vitamin C. It’s a treat, but not purely empty calories.
What to Know:
Higher in sugar and carbs due to the caramel and crust. Contains dairy and gluten. If you’re watching sugar, consider using a sugar-free caramel or reducing the sugar in the crust.
My Take:
Look, this is dessert. It’s sweet, it’s rich, and it’s meant to be enjoyed. I don’t feel guilty eating one or two. When I want to make it lighter, I use less caramel and more apples, but usually? I just enjoy it.
Final Thoughts
So that’s my go-to salted caramel apple pie bars recipe! I’ve probably talked your ear off at this point, but when you make a recipe this often, you have a lot to say about it.
This has saved my dessert game more times than I can count. It’s my answer to “what’s for dessert?” when I want something that feels like a hug but doesn’t require a three-day time commitment. My kids are happy, my husband’s happy, and I’m happy because I’m not stressed about cooking.
Make it yours! Try different apples, swap in your favorite spices, or add a layer of cream cheese in the middle. The best recipes are the ones you adapt to your family’s tastes.
If you make this, drop a comment and let me know what you think! I love hearing how recipes turn out in your kitchen. And if something doesn’t work, tell me that too—I’m here to help troubleshoot.
Happy cooking! And I hope your kitchen smells half as good as mine does right now.
Frequently Asked Questions
Can I use frozen apples?
You can, but thaw them first and drain the excess liquid. Frozen apples release more water, so you might need an extra tablespoon of cornstarch. I prefer fresh apples for better texture, but frozen works in a pinch.
Why did my bars fall apart when I cut them?
Usually, this means they were cut while still warm. The caramel needs to set, and the crust needs to firm up. Let them cool completely, then chill in the fridge for 30 minutes before slicing. Also, make sure you pressed the crust down firmly in Step 2.
Can I make this ahead for a dinner party?
Absolutely. Make them the day before. Store them in the fridge. Let them come to room temperature before serving, or warm them slightly. They actually taste better the next day as the flavors meld.
What if I don’t have flaky sea salt?
You can use regular table salt, but it’s more intense. Start with half the amount and taste. Or skip it entirely—the caramel is still sweet enough. But the flaky salt adds a nice crunch and visual appeal.
Can I use a different pan size?
Yes, but adjust the baking time. For an 8×8 pan, the bars will be thicker and might need 5-10 minutes more baking. For a 9×13, stick to the original time. Just keep an eye on the edges to prevent burning.
Is there a way to make this less sweet?
Yes. Reduce the sugar in the crust to 2 tablespoons. Use less sweet apples (Granny Smith). Use a sugar-free caramel sauce or drizzle less of it. I usually reduce the caramel by half and it’s still plenty sweet.
Can I add nuts?
Definitely. Toasted pecans or walnuts added to the apple layer add great texture. I recommend ½ cup, chopped. They pair beautifully with the cinnamon and caramel.
Pin This Recipe!
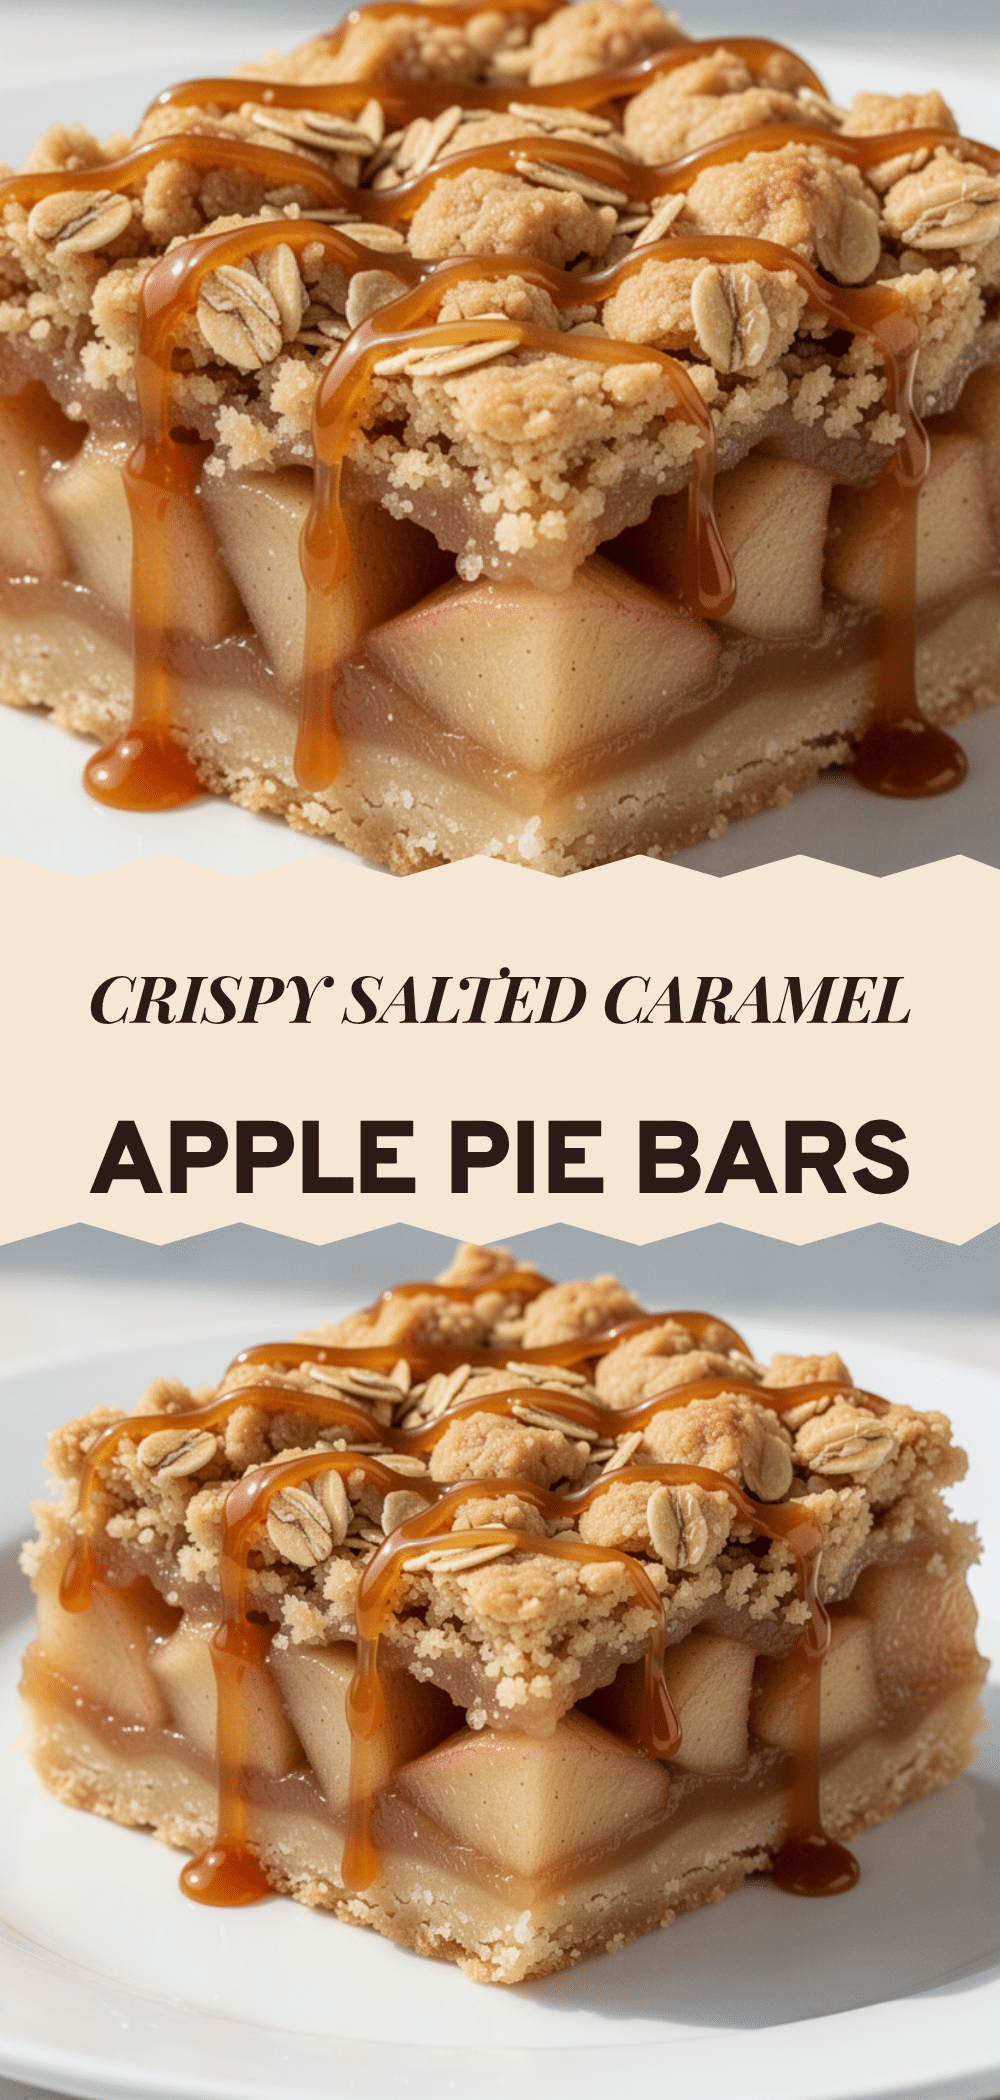
Salted Caramel Apple Pie Bars: Easy Fall Dessert
- Total Time: 1 hour 10 minutes
- Yield: 12-16 servings 1x
Description
A fuss-free, chewy, and gooey fall dessert that combines spiced apples, a buttery shortbread crust, and rich salted caramel in an easy-to-make bar format.
Ingredients
- 1/2 cup (113g) unsalted butter, softened
- 1/4 cup (50g) granulated sugar
- 1 1/2 cups (190g) all-purpose flour
- 1/4 teaspoon salt
- 4–5 medium apples (about 1.5 lbs / 680g), peeled and sliced into thin wedges (Honeycrisp or Granny Smith recommended)
- 1/2 cup (100g) granulated sugar
- 1 teaspoon ground cinnamon
- 1/4 teaspoon ground nutmeg
- 1/4 teaspoon ground ginger
- 2 tablespoons cornstarch
- 2 tablespoons butter, melted
- 1 cup (240ml) store-bought salted caramel sauce
- 1/2 teaspoon flaky sea salt
Instructions
- Preheat oven to 350°F (175°C). Line a 9×13-inch baking dish with parchment paper, leaving an overhang on the long sides.
- In a medium bowl, mix softened butter, 1/4 cup sugar, flour, and 1/4 teaspoon salt until it resembles coarse crumbs.
- Press the crust mixture firmly and evenly into the bottom of the prepared pan.
- Bake the crust for 10 minutes until lightly golden. Remove and set aside, keeping the oven on.
- In a large bowl, toss sliced apples with 1/2 cup sugar, cinnamon, nutmeg, ginger, cornstarch, and melted butter until evenly coated.
- Spread the apple mixture evenly over the partially baked crust.
- Bake for 35-40 minutes until apples are tender and edges are bubbling. Tent with foil if edges brown too quickly.
- Remove from oven and let cool for 5 minutes. Drizzle salted caramel sauce evenly over the hot apples and gently swirl.
- Let bars cool completely in the pan on a wire rack (about 1 hour).
- Lift bars out using parchment overhang, sprinkle with flaky sea salt, and slice into squares.
Notes
Chill bars in the fridge for at least 30 minutes before cutting for clean slices. Use apples that hold their shape like Honeycrisp or Granny Smith. Store in an airtight container at room temperature for up to 3 days or in the fridge for up to 5 days. Can be frozen for up to 2 months.
- Prep Time: 20 minutes
- Cook Time: 50 minutes
- Category: Dessert
- Cuisine: American
Nutrition
- Serving Size: 1 bar
- Calories: 320
- Sugar: 32
- Sodium: 180
- Fat: 14
- Saturated Fat: 7
- Carbohydrates: 48
- Fiber: 2
- Protein: 3
Keywords: apple pie bars, salted caramel, fall dessert, easy dessert, apple bars, shortbread crust, make-ahead dessert


