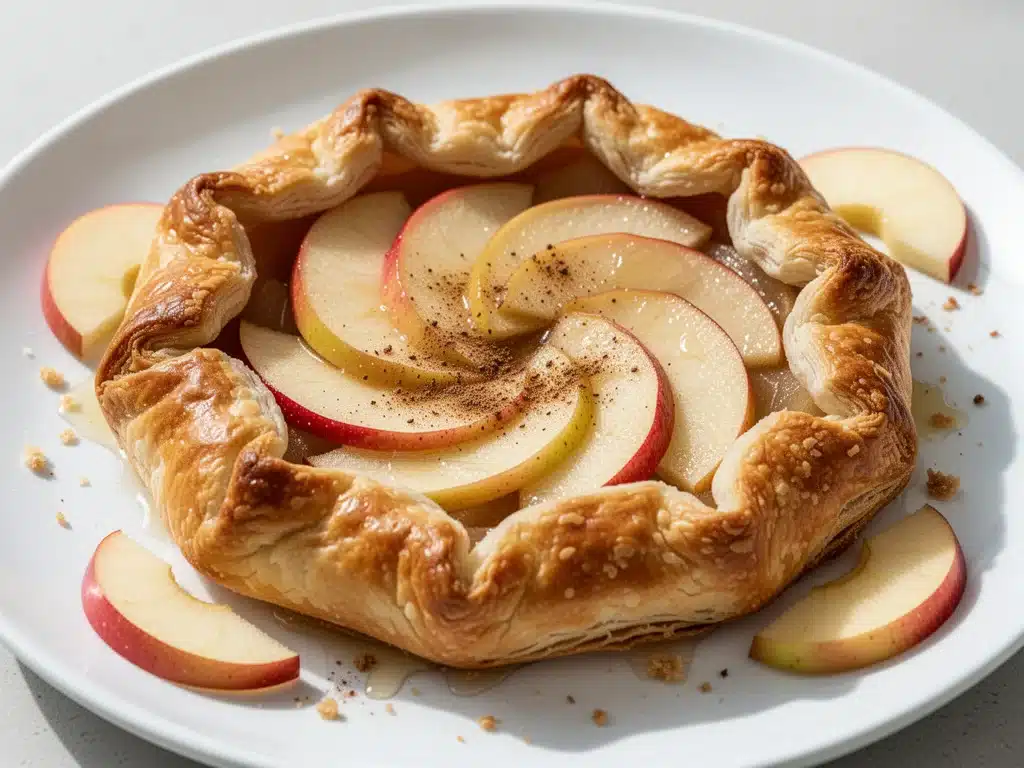
There is a specific kind of magic that happens when autumn hits. It’s not just the crisp air or the changing leaves (though I’m a sucker for that stuff). It’s the sudden, overwhelming urge to bake something that feels like a hug. Last weekend, I was standing in my kitchen looking at a bag of Honeycrisp apples from the farmer’s market, feeling completely stuck. I didn’t want another heavy apple pie with its lattice crusts and precise measurements. I didn’t even want apple crisp, because, honestly, I have grandma’s bread pudding for when I want serious comfort food.
I wanted something that looked like I tried, but also something I could throw together before my in-laws arrived for coffee. That’s when I decided to make a galette. I’ve made this harvest apple galette four times in the last three weeks, and I’m not even embarrassed to admit it. The first time, I overfilled it, and the juices bubbled over everywhere, staining my oven floor. The second time, I under-baked the crust, and it was doughy in the middle. But by the third attempt? Perfection. Flaky, buttery, golden crust holding back a cascade of spiced, tender apples.
This harvest apple galette is the epitome of rustic elegance. It’s forgiving, it’s beautiful, and it smells like cinnamon and warmth the second it hits the oven. If you’re intimidated by pie crusts, let me reassure you: galettes are the perfect entry point. You don’t need a rolling pin with guides or a fancy pie dish. You just need dough, fruit, and a little bit of patience. This is hands-down the best easy rustic dessert for anyone who loves fall flavors without the fuss.
Why You’ll Love This Harvest Apple Galette
I’ve tested this recipe with different apples, different sugars, and even different flours, and this version is the winner. It’s become my go-to whenever I need to impress guests or just need a sweet treat that feels special. Here is why this harvest apple galette keeps me coming back to the kitchen:
- Zero Pie-Dish Anxiety — Seriously, if you’ve ever struggled with a pie crust cracking or shrinking, this is your salvation. A galette is free-form. The edges are folded over by hand, which means no rolling out to fit a specific dish size. It’s rustic on purpose.
- Stunningly Beautiful — There is something deeply satisfying about watching the raw dough turn into a glossy, golden-brown crust. This dessert looks like it came from a high-end bakery, but it’s actually just you in your pajamas. It’s incredibly photogenic for those of us who love sharing our cooking.
- Flexible with Fruit — While this harvest apple galette is designed for apples, the technique is the same for peaches, pears, or berries. I’ve made it with leftover Thanksgiving turkey (wait, no, that’s savory—my bad). But you get the idea. If you have fruit that needs using up, this is the vessel.
- Make-Ahead Friendly — You can make the dough a few days in advance and keep it in the fridge. Or, you can bake the galette the night before and reheat it gently. It actually tastes better the next day as the flavors meld together.
- Perfectly Portioned — Unlike a whole pie that requires planning slices, a galette is often served in generous wedges. It feels substantial but not overwhelming, especially with a scoop of vanilla ice cream.
This is my answer to “what’s for dessert?” when I want something homemade but don’t have hours to spare. It’s reliable, delicious, and always gets a compliment.
Ingredients You’ll Need
Here’s the best part: you probably have most of this already in your pantry. This harvest apple galette relies on simple, high-quality ingredients. The fewer components, the more you can taste the natural flavors.
For the Flaky Crust
All-purpose flour (2 ½ cups / 315g) — The base of your dough. Don’t substitute with whole wheat here; you want that tender, flaky texture. If you’re gluten-free, use a 1-to-1 gluten-free baking flour blend, but be aware the texture will be slightly more crumbly.
Unsalted butter (1 cup / 226g, cold and cubed) — This is non-negotiable. Cold butter creates steam pockets in the oven, which makes the layers flaky. I keep my butter in the fridge until the minute I’m ready to use it. If it’s soft or greasy, your crust will be tough.
Heavy cream (4-6 tablespoons / 60-90ml) — I prefer cream over ice water because it adds a little richness to the dough and makes it easier to bring together. Use cold heavy cream straight from the fridge.
Salt (1 teaspoon) — Enhances the flavor of the butter and dough. Don’t skip it.
Granulated sugar (1 tablespoon) — Just a touch to help the crust brown nicely.
For the Apple Filling
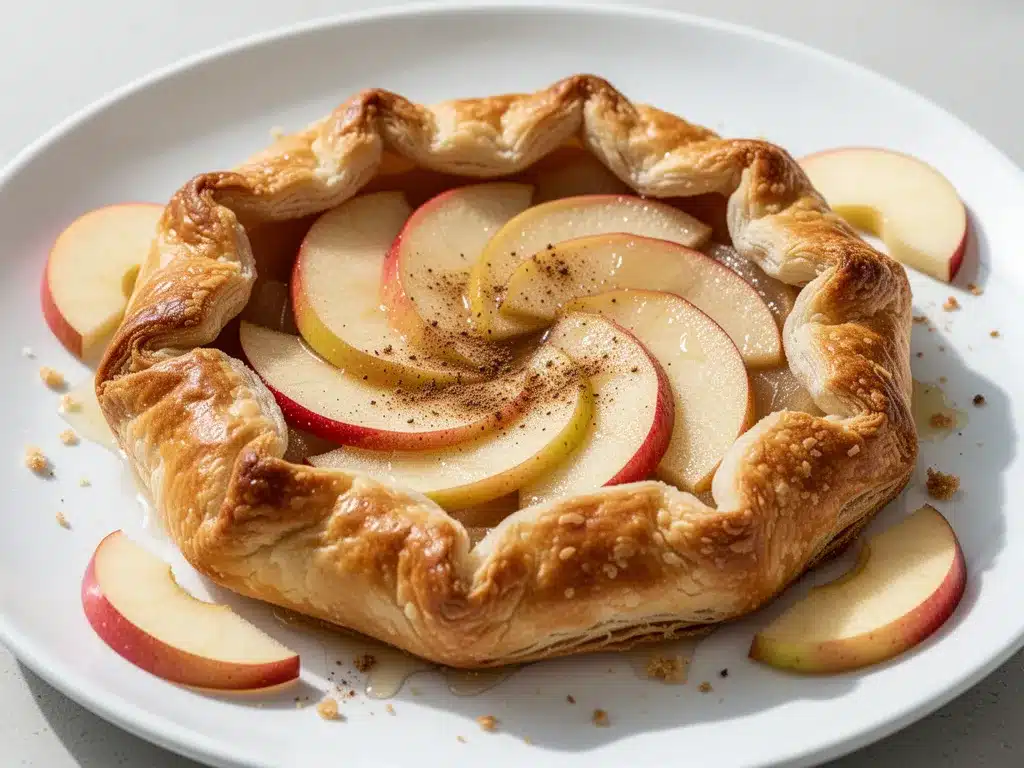
Apples (4-5 medium, about 2 lbs / 900g) — This is the star. For a harvest apple galette, you want a mix of tart and sweet. I love using a combination of Granny Smith (for structure) and Honeycrisp or Fuji (for sweetness). Avoid Red Delicious—they turn mushy and taste like cardboard.
Lemon juice (1 tablespoon) — Prevents the apples from browning and adds a bright note that cuts through the sweetness.
Ground cinnamon (1 ½ teaspoons) — The scent of fall. Use fresh cinnamon if you can; old spice loses its punch.
Ground nutmeg (¼ teaspoon) — Adds that warm, cozy depth. Just a little goes a long way.
All-purpose flour (2 tablespoons) — This acts as a thickener for the apple juices. Without it, you’ll end up with a soupy galette on your plate.
Granulated sugar (3 tablespoons) — Adjust based on how sweet your apples are. If they’re very tart, go for ¼ cup.
For the Finish
Coarse sugar (1-2 tablespoons) — Sprinkled on top before baking. It gives those beautiful, crunchy, sparkling edges that make you want to dig in immediately.
Egg wash (1 egg beaten with 1 tablespoon water) — For that gorgeous golden-brown shine.
Equipment Needed
You don’t need fancy gadgets for this harvest apple galette. Here’s what I actually use:
- Large mixing bowl — For combining the dough. A glass or ceramic bowl works best.
- Pastry cutter or food processor — I use a pastry cutter to keep the butter cold. If you have a food processor, you can pulse the butter in, but be careful not to over-process.
- Rolling pin — A standard wooden rolling pin is fine. You don’t need anything fancy.
- Baking sheet — A large, rimmed baking sheet. Line it with parchment paper for easy cleanup. I’ve ruined more than one pan by not using parchment.
- Parchment paper — Essential for preventing sticking and making cleanup a breeze.
- Sharp knife — For slicing the apples uniformly.
- Peeler or knife — To peel and core the apples.
How to Make It: Step-by-Step
Alright, let’s make this harvest apple galette! I’m walking you through exactly how I do it, including the little tricks I’ve picked up along the way.
Step 1: Make the Dough (10 minutes)
In a large bowl, whisk together the flour, salt, and 1 tablespoon of sugar. Add the cold, cubed butter. Using a pastry cutter or your fingers, work the butter into the flour until the mixture looks like coarse crumbs with some pea-sized pieces of butter remaining. These butter chunks are what create the flaky layers. Drizzle in 4 tablespoons of cold heavy cream and gently mix with a fork until the dough starts to come together. If it’s too dry, add more cream, one tablespoon at a time. Do not overmix. Turn the dough out onto a floured surface and gently press it into a disc. Wrap in plastic wrap and refrigerate for at least 1 hour. This rest is crucial for relaxing the gluten.
Step 2: Prep the Apples (15 minutes)
While the dough chills, peel, core, and slice the apples. Aim for thin, even slices, about ¼-inch thick. In a large bowl, toss the apple slices with lemon juice, cinnamon, nutmeg, 3 tablespoons of sugar, and 2 tablespoons of flour. Toss gently until the apples are evenly coated. The flour will help thicken the juices as they bake. Set aside.
Step 3: Roll and Fill (10 minutes)
Preheat your oven to 400°F (200°C). Line a baking sheet with parchment paper. On a lightly floured surface, roll out the chilled dough into a large circle, about 12 inches in diameter. It doesn’t need to be perfect—if it cracks, just press it back together. Transfer the dough to the prepared baking sheet. Arrange the apple slices in the center of the dough, leaving a 2-inch border around the edges. You can overlap them slightly for a pretty look. Don’t overcrowd the center; it’s okay if the apples are piled a little high.
Step 4: Fold the Edges (5 minutes)
This is the signature move. Fold the edges of the dough over the apples, pleating as you go. Leave some apples exposed in the center—this is what makes it a galette and not a pie. The exposed apples will caramelize beautifully. Brush the exposed dough edges with the egg wash and sprinkle generously with coarse sugar. This will give you that bakery-style crunch.
Step 5: Bake (45-55 minutes)
Bake the galette for 45-55 minutes, or until the crust is deep golden brown and the apples are tender. If the edges start browning too quickly, cover them with a strip of foil. The juices should be bubbling through the apples. Let it cool on the baking sheet for at least 20 minutes before slicing. This allows the filling to set so it doesn’t run out everywhere.
Expert Tips & Tricks
Here’s everything I’ve learned from making this harvest apple galette dozens of times. These tips will save you from my mistakes.
- Keep Everything Cold — The #1 rule of pie crusts. If your butter melts before it hits the oven, you lose the flakiness. Keep your butter, cream, and even your bowl cold. If your dough gets warm, put it back in the fridge for 10 minutes.
- Don’t Skip the Rest — I know you want to eat the apples now. But chilling the dough relaxes the gluten and re-chills the butter. Skipping this step leads to a tough, shrinky crust.
- Use a Mix of Apples — As mentioned, using only one type of apple can lead to texture issues. A mix of tart and sweet ensures complex flavor and structural integrity.
- Thicken the Juices — Apples release a lot of liquid. The flour in the filling is essential. If you’re using very juicy apples, add an extra tablespoon of flour or a tablespoon of cornstarch.
- Be Generous with Sugar — The coarse sugar on top isn’t just for show. It caramelizes and creates a sweet, crunchy crust that contrasts with the soft apples. Don’t skimp.
Common Mistakes (and how to avoid them)
- Mistake: Soggy bottom — Fix: Make sure your baking sheet is preheated if you’re using a pizza stone, or just ensure your oven is fully preheated. Also, don’t overload the center with wet filling.
- Mistake: Pale crust — Fix: Brush with egg wash and bake at the correct temperature. If your oven runs cool, check with an oven thermometer.
- Mistake: Runny filling — Fix: Let the galette cool completely before slicing. The filling needs time to set.
Variations & Substitutions
Once you’ve nailed the basic harvest apple galette, here’s how you can mix it up. I’ve tried all of these.
Spiced Pear Galette
Swap apples for ripe pears. Use the same amounts. Pears are sweeter, so reduce the sugar in the filling by 1 tablespoon. Add a pinch of cardamom for a floral note.
Apple-Cranberry Twist
Add ½ cup of fresh cranberries to the apple mixture. The tartness pairs beautifully with the sweet apples and cinnamon. Great for the holidays.
Vegan Version
Use vegan butter (keep it cold!) and coconut cream instead of dairy cream. For the egg wash, use a mix of coconut milk and maple syrup. It bakes up similarly.
Gluten-Free
Use a 1-to-1 gluten-free flour blend. The dough may be more fragile, so handle it gently. Add an extra tablespoon of cold water if needed.
Serving & Storage
How to Serve
I usually serve this harvest apple galette warm, straight from the oven (or gently reheated). It’s perfect with a scoop of vanilla bean ice cream, a dollop of whipped cream, or even a slice of sharp cheddar cheese if you’re feeling adventurous. It pairs wonderfully with a cup of hot coffee or tea.
Storage Instructions
- Room Temperature: Cover loosely with foil or plastic wrap and store at room temperature for up to 2 days.
- Refrigerator: Store in an airtight container for up to 4 days. Reheat gently in the oven at 350°F for 10 minutes to restore crispness.
- Freezing: You can freeze the unbaked galette. Wrap it tightly in plastic and foil, then freeze. Bake from frozen, adding 10-15 minutes to the baking time. You can also freeze the baked galette, but the crust may lose some flakiness upon reheating.
Nutrition Information
I’m not a nutritionist, but here’s the breakdown if you’re tracking. This is a rich dessert, so portion control is key.
Per Serving (based on 8 servings):
- Calories: 320
- Protein: 4g
- Carbs: 45g
- Fiber: 3g
- Sugar: 22g
- Fat: 14g
- Saturated Fat: 8g
Look, this is a dessert with butter and sugar. It’s not a health food. But it’s made with real fruit and whole ingredients, so it’s better than most store-bought options. Enjoy it mindfully!
Final Thoughts
So that’s my go-to harvest apple galette! I’ve probably talked your ear off at this point, but when you make a recipe this often, you have a lot to say about it. This has saved my dessert game more times than I can count. It’s my answer to “what’s for dessert?” when I want something homemade but don’t have hours to spare. My family is happy, my guests are impressed, and I’m happy because I’m not stressed about cooking.
Make it yours! Try different apples, add different spices, or swap the crust for a different fruit. The best recipes are the ones you adapt to your family’s tastes. If you make this, drop a comment and let me know what you think! I love hearing how recipes turn out in your kitchen. And if something doesn’t work, tell me that too—I’m here to help troubleshoot.
Happy cooking! And I hope your kitchen smells half as good as mine does right now.
Frequently Asked Questions
Can I use frozen apples for this galette?
You can, but I don’t recommend it. Frozen apples release a lot of water when they thaw, which can make your galette soggy. If you must use frozen, thaw them completely, drain the excess liquid, and pat them dry with paper towels before adding to the filling.
Why did my galette crust shrink?
Usually, this happens if the dough wasn’t chilled enough before rolling, or if it was stretched too much while rolling. Always chill the dough before baking, and handle it gently. If you stretch it, it will contract back in the oven.
Can I make this ahead for a dinner party?
Yes! You can assemble the galette up to 24 hours in advance. Keep it covered in the fridge, then bake it when you’re ready. If you bake it ahead, reheat it gently to restore the crust’s crispness.
What’s the best apple for baking?
For a harvest apple galette, I recommend a mix of Granny Smith (tart, holds shape) and Honeycrisp or Fuji (sweet, juicy). Avoid Red Delicious or McIntosh, as they turn mushy.
How do I reheat leftovers without it getting dry?
Add the galette to a preheated oven at 350°F for 10-15 minutes. This restores the crust’s crispness. Avoid the microwave, as it will make the crust chewy.
Can I use store-bought pie crust?
You can, but homemade dough is so much better. If you’re short on time, high-quality store-bought dough works, but be aware it may not be as flaky. Roll it out gently to avoid tearing.
Pin This Recipe!
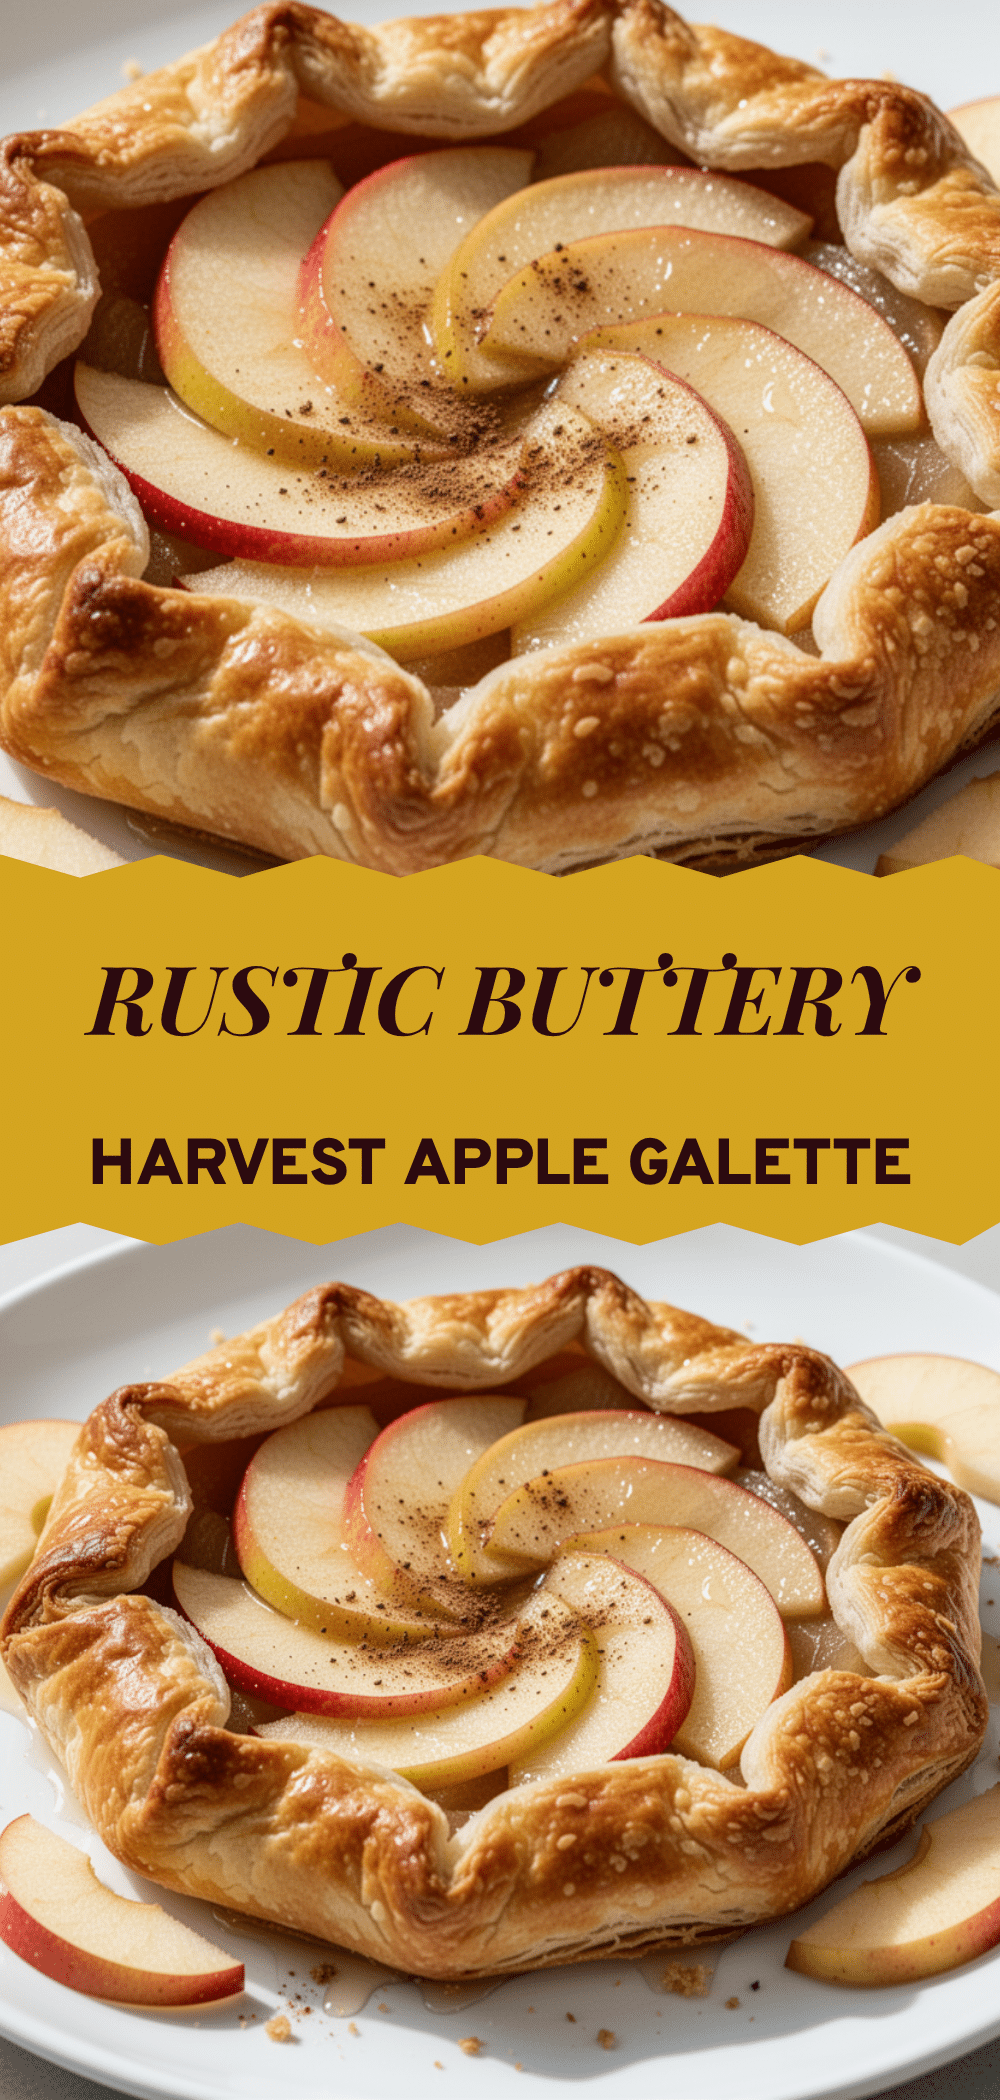

Harvest Apple Galette: Best Easy Rustic Dessert
- Total Time: 80-90 minutes
- Yield: 8 servings 1x
Description
A forgiving, rustic, and beautiful free-form apple galette featuring a flaky, buttery crust and spiced apple filling. Perfect for autumn baking without the fuss of a traditional pie.
Ingredients
- 2 ½ cups all-purpose flour
- 1 cup unsalted butter, cold and cubed
- 4–6 tablespoons heavy cream, cold
- 1 teaspoon salt
- 1 tablespoon granulated sugar
- 4–5 medium apples (about 2 lbs), peeled, cored, and sliced
- 1 tablespoon lemon juice
- 1 ½ teaspoons ground cinnamon
- ¼ teaspoon ground nutmeg
- 2 tablespoons all-purpose flour
- 3 tablespoons granulated sugar
- 1–2 tablespoons coarse sugar
- 1 egg beaten with 1 tablespoon water
Instructions
- In a large bowl, whisk together 2 ½ cups flour, salt, and 1 tablespoon sugar. Add cold cubed butter and work it in until the mixture resembles coarse crumbs with pea-sized butter pieces.
- Drizzle in 4 tablespoons of cold heavy cream and mix gently with a fork until the dough comes together. Add more cream if needed. Do not overmix.
- Turn dough onto a floured surface, press into a disc, wrap in plastic, and refrigerate for at least 1 hour.
- While dough chills, peel, core, and slice apples into ¼-inch thick slices.
- In a large bowl, toss apple slices with lemon juice, cinnamon, nutmeg, 3 tablespoons sugar, and 2 tablespoons flour until evenly coated.
- Preheat oven to 400°F (200°C) and line a baking sheet with parchment paper.
- Roll out chilled dough into a 12-inch circle on a floured surface and transfer to the prepared baking sheet.
- Arrange apple slices in the center of the dough, leaving a 2-inch border.
- Fold the edges of the dough over the apples, pleating as you go, leaving some apples exposed in the center.
- Brush exposed dough edges with egg wash and sprinkle generously with coarse sugar.
- Bake for 45-55 minutes until the crust is deep golden brown and apples are tender. Cover edges with foil if browning too quickly.
- Let cool on the baking sheet for at least 20 minutes before slicing to allow filling to set.
Notes
Keep all ingredients cold for a flaky crust. Chill the dough for at least 1 hour to relax gluten. Use a mix of tart (Granny Smith) and sweet (Honeycrisp/Fuji) apples for best texture and flavor. Let the galette cool completely before slicing to prevent runny filling.
- Prep Time: 35 minutes
- Cook Time: 45-55 minutes
- Category: Dessert
- Cuisine: American
Nutrition
- Serving Size: 1 wedge
- Calories: 320
- Sugar: 22
- Fat: 14
- Saturated Fat: 8
- Carbohydrates: 45
- Fiber: 3
- Protein: 4
Keywords: apple galette, rustic dessert, fall baking, easy pie crust, autumn recipes, homemade dessert, apple galette recipe


