Last October, I was standing in my kitchen at 6 AM, staring at a bag of flour that had been sitting on my counter for three months. I’m not a baker. I’m the person who treats baking like a chemistry experiment where I usually get the equation wrong. But I wanted something warm, something that smelled like cinnamon and nostalgia, and I desperately needed to use up a can of pumpkin puree before it turned into compost.
I tried a standard gluten-free pumpkin muffin recipe from a popular blog. The result? Dense, dry bricks. I ate one out of politeness to my husband, who was too polite to mention that it tasted like sawdust. I felt defeated. I felt like I’d failed at being a grown-up who can provide a decent breakfast.
But here’s the thing about failure in the kitchen: it usually means you’re learning something. I spent the next three weekends testing different flour blends, adjusting the liquid ratios, and experimenting with fats. I made at least fifteen batches. Some were too greasy. Some didn’t rise. One batch tasted distinctly of cardboard because I used the wrong vanilla extract (learned that one the hard way).
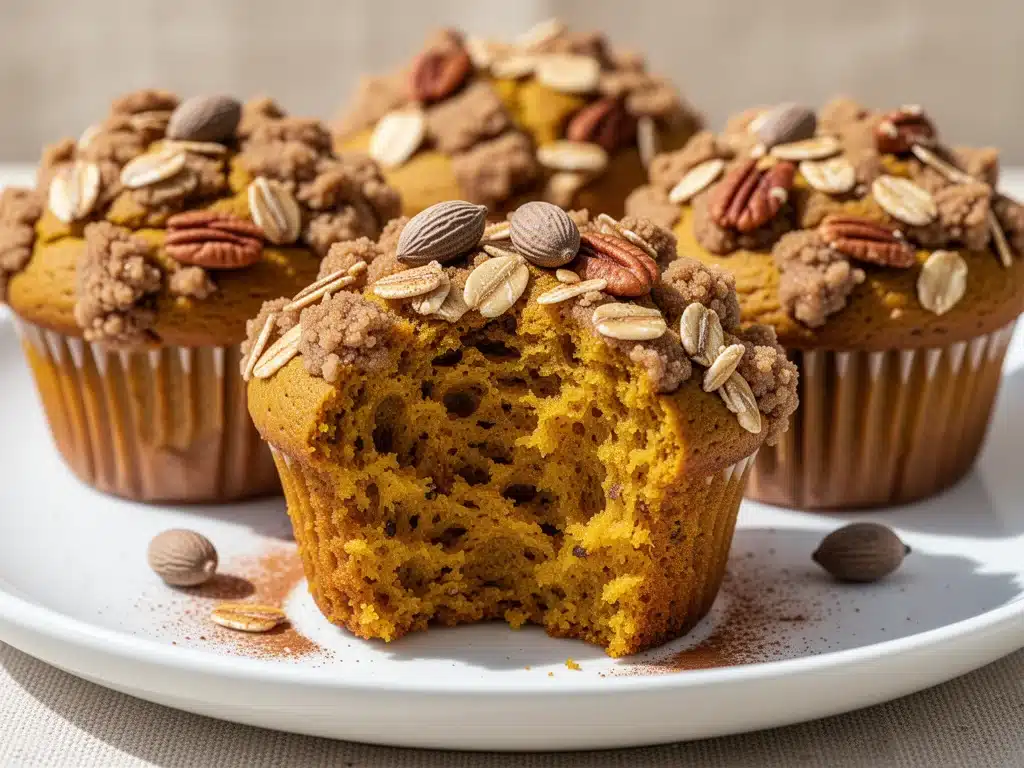
But on the fourteenth try, I pulled a tray out of the oven and the smell stopped me dead in my tracks. It smelled like a fall day in Vermont. It smelled like comfort. I took a bite of one while it was still warm, and it was tender, moist, and perfectly spiced. No grit. No dryness. Just pure, pumpkin-y goodness.
These gluten-free pumpkin muffins have become our household staple. We make them every other week now. My husband, who usually skips breakfast, actually waits for them to cool down. My kids ask for “pumpkin money” to buy them at the local bakery, which is funny because they’re cheaper and better when I make them at home.
If you’re gluten-free, or if you just want a muffin that doesn’t crumble into dust when you take a bite, this is the recipe you need. It’s simple, it’s forgiving, and it’s genuinely delicious. I’ve tested it enough times to know it works, and I’m sharing every trick I learned so you don’t have to make my mistakes.
Why You’ll Love This Gluten-Free Pumpkin Muffin Recipe
There are a lot of muffin recipes out there. But this one? It’s different. It’s the kind of recipe that makes you feel like you’ve cracked a secret code. Here’s why I keep coming back to this specific method:
Actually Moist, Not Greasy — Most gluten-free baked goods are dry because gluten-free flours absorb liquid differently. I found the sweet spot between butter and oil that keeps these muffins tender without making them heavy. They stay moist for days.
No Weird Aftertaste — Some gluten-free flour blends have a bitter, metallic aftertaste. This recipe uses a specific blend ratio that masks that flavor completely. You just taste pumpkin and spice.
Ready in 30 Minutes — From mixing to oven, it takes about 10 minutes of active time. The rest is just waiting. I make these on Sunday mornings while drinking my first cup of coffee. By the time I’m done with my coffee, they’re done baking.
Freezer-Friendly — I bake a double batch every time. We freeze them individually so I can grab two on busy mornings. They reheat perfectly in the microwave for 30 seconds. It’s like getting a fresh-baked muffin with zero effort.
Perfect for Picky Eaters — My daughter is super sensitive to textures. She hates anything gritty. These muffins have a fine, cake-like crumb that she loves. Even my gluten-eating friends steal these from the container.
This is my go-to when I want to feel cozy but don’t want to spend hours in the kitchen. It’s reliable, it’s tasty, and it makes your house smell amazing.
Ingredients You’ll Need for Gluten-Free Pumpkin Muffins
Here’s the best part: you probably have half of this already. I’m particular about three ingredients here, and I’ll tell you exactly why. Don’t skip the notes—they matter.
Gluten-Free 1-to-1 Baking Flour (2 cups / 250g) — This is your base. I use King Arthur Measure for Measure or Bob’s Red Mill 1-to-1. Both work beautifully. Do not use plain rice flour or almond flour alone—they don’t have the binders needed. Look for a blend that includes xanthan gum. If yours doesn’t have xanthan gum, add ½ teaspoon extra.
Pumpkin Puree (1 cup / 240g) — Not pumpkin pie filling. Pure pumpkin. Use canned (Libbey’s or Siggi’s are my favorites) or homemade roasted pumpkin. Homemade is better but takes more work. Canned is consistent and convenient.
Eggs (2 large, room temperature) — Room temp eggs emulsify better into the batter. If you’re in a rush, run them under warm water for 2 minutes. Don’t skip this if you want fluffy muffins.
Brown Sugar (¾ cup / 150g) — Light or dark, doesn’t matter much, but dark gives a deeper molasses flavor that pairs well with pumpkin. It also adds moisture.
Vegetable Oil or Melted Butter (½ cup / 120ml) — I use oil for maximum moisture, but butter tastes better. I compromise by using ¼ cup oil and ¼ cup melted butter. It’s the best of both worlds.
Maple Syrup (2 tablespoons) — Real maple syrup, not pancake syrup. It adds a subtle sweetness and depth that sugar alone can’t achieve.
Vanilla Extract (2 teaspoons) — Use real vanilla. I know it’s expensive, but fake vanilla tastes chemical in baked goods. It’s worth the splurge.
Pumpkin Pie Spice (2 teaspoons) — Or make your own: 1 tsp cinnamon, ½ tsp ginger, ¼ tsp nutmeg, ¼ tsp cloves. Cinnamon is the star here, so don’t be shy.
Baking Soda (1 teaspoon) — Reacts with the brown sugar and pumpkin for lift.
Baking Powder (½ teaspoon) — Extra lift to ensure they’re fluffy.
Salt (½ teaspoon) — Essential to balance the sweetness. Don’t skip it.
Optional Add-ins: Chopped Walnuts (½ cup) — For crunch. White Chocolate Chips (½ cup) — For sweetness. Chopped Pecans (½ cup) — My personal favorite.
Equipment Needed
You don’t need fancy equipment for this. Here’s what I actually use:
Muffin Tin — Standard 12-cup tin. I use a non-stick one. If yours is old and worn, grease it well.
Muffin Liners — Paper liners make cleanup easier and help them release. I use brown unbleached ones because they look rustic.
Mixing Bowls — Two bowls. One for dry, one for wet. I use glass bowls because I can see through them.
Whisk — For whisking the dry ingredients. A fork works too, but a whisk is faster.
Spatula — Silicone spatula for folding the batter. It scrapes the bowl clean.
Measuring Cups and Spoons — Level off your dry ingredients. Don’t pack them down.
Cooling Rack — Essential. If you leave them in the tin, they get soggy on the bottom.
Freezer Bags — For storing leftovers. Ziploc or reusable silicone bags work.
How to Make It: Step-by-Step
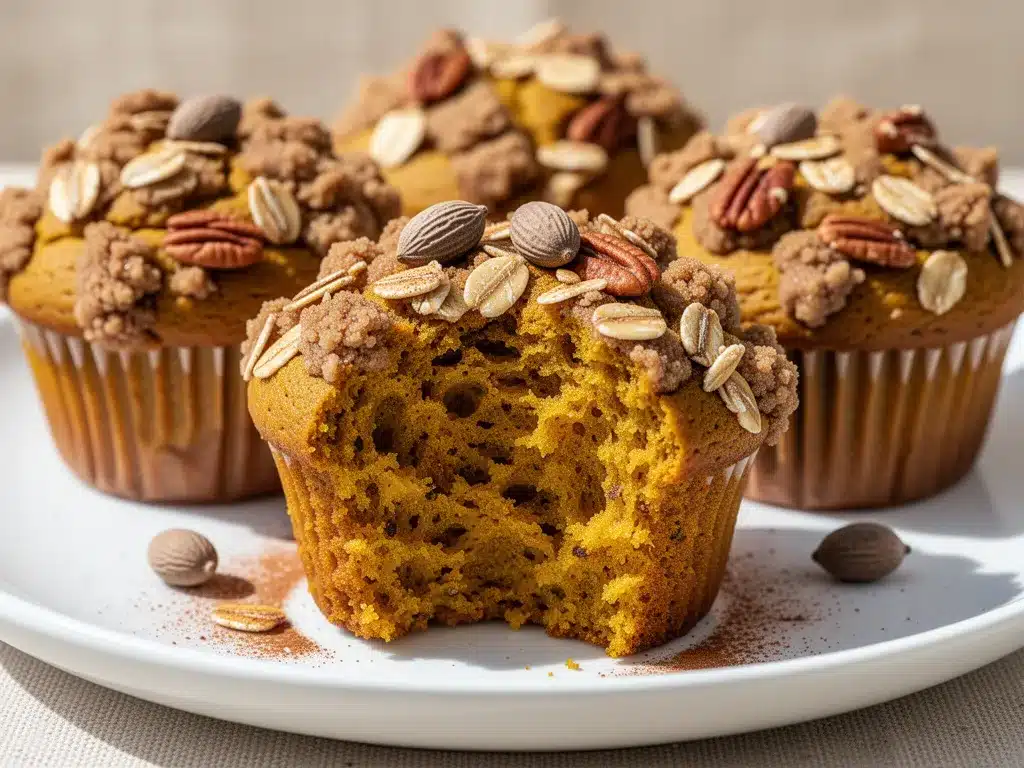
Alright, let’s make these! I’m walking you through exactly how I do it, including the little tricks I’ve picked up.
Step 1: Prep Your Oven and Pan (5 minutes)
Preheat your oven to 350°F (175°C). Line a 12-cup muffin tin with paper liners. If you don’t have liners, grease the cups generously with butter or oil. I recommend liners—they make removal easier and keep the muffins tidy.
Step 2: Mix the Dry Ingredients (3 minutes)
In a large bowl, whisk together the gluten-free flour, baking soda, baking powder, salt, and pumpkin pie spice. Whisking is important here—it distributes the leavening agents evenly so you don’t get bitter spots. If your flour blend has clumps, sift it or whisk vigorously.
Step 3: Mix the Wet Ingredients (3 minutes)
In a separate medium bowl, whisk the eggs until smooth. Add the brown sugar, vegetable oil (or melted butter), maple syrup, vanilla extract, and pumpkin puree. Whisk until the mixture is smooth and well combined. The pumpkin can be thick, so make sure there are no lumps.
Step 4: Combine Wet and Dry (2 minutes)
Pour the wet ingredients into the dry ingredients. Use a spatula to gently fold them together. Stop as soon as the flour disappears. Do not overmix! Overmixing makes muffins tough. It’s okay if there are a few small lumps. The batter will be thick and sticky.
Step 5: Add Mix-Ins (Optional)
If you’re adding nuts or chocolate chips, fold them in now. Be gentle. Distribute them evenly so every muffin gets some.
Step 6: Fill the Muffin Cups (2 minutes)
Divide the batter evenly among the 12 muffin cups. Fill them about ¾ full. Use an ice cream scoop for consistent sizing, or just eyeball it. I like to smooth the tops slightly with the back of the spoon.
Step 7: Bake (20-22 minutes)
Place the tin in the center of the oven. Bake for 20-22 minutes. The muffins are done when a toothpick inserted into the center comes out clean or with just a few moist crumbs. Do not overbake—they dry out quickly. The tops should be golden brown.
Step 8: Cool Completely (15 minutes)
Let the muffins cool in the pan for 5 minutes, then transfer them to a wire rack to cool completely. If you try to eat them hot, they’ll be too soft and fall apart. Letting them cool sets the crumb.
Expert Tips & Tricks
Here’s everything I’ve learned from making these dozens of times. These tips will save you from my mistakes.
Don’t Overmix the Batter — This is the #1 mistake. Once you add the dry ingredients to the wet, mix until just combined. Lumps are fine. Overmixing develops gluten (even in gluten-free flour, some blends have proteins that can toughen up) and makes dense muffins.
Use Room Temperature Eggs — Cold eggs can cause the batter to separate. If you forget, soak them in warm water for 5 minutes. It makes a difference in texture.
Measure Your Flour Correctly — Gluten-free flour is tricky. If you scoop it directly from the bag, you’ll pack it down and use too much, leading to dry muffins. Spoon it into the measuring cup and level it off with a knife. Or better yet, use a kitchen scale.
Check Your Baking Powder — If your baking powder is old, your muffins won’t rise. Test it by dropping a teaspoon into hot water. If it fizzes vigorously, it’s good. If not, toss it and get fresh.
Store Properly — Muffins dry out fast. Store them in an airtight container at room temperature for up to 3 days. For longer storage, freeze them. Do not refrigerate—they stale faster in the fridge.
Pro Trick: Brush with Butter — Right out of the oven, brush the tops with melted butter. It keeps the crust soft and adds flavor. My kids think this makes them “fancy.”
Pro Trick: Add a Crumb Topping — Mix 2 tablespoons gluten-free flour, 1 tablespoon brown sugar, and 1 tablespoon cold butter. Sprinkle on top before baking. It adds a nice crunch.
Variations & Substitutions
Once you’ve nailed the basic version, here’s how you can mix it up. I’ve tried all of these.
Spiced Pecan Version — Add ½ cup chopped pecans and increase pumpkin pie spice to 3 teaspoons. The nuts add crunch and richness.
White Chocolate Chip — Fold in ½ cup white chocolate chips. Sweet and decadent. Great for breakfast or dessert.
Chai Spice Version — Swap pumpkin pie spice for chai spice blend. Adds cardamom and ginger. Very aromatic.
Oil-Free Version — Replace the oil with applesauce. The muffins will be slightly denser but still moist. Good for a lighter option.
Coconut Oil — Use melted coconut oil instead of vegetable oil. Adds a subtle coconut flavor. Works well with the pumpkin.
Dairy-Free — Use coconut oil or dairy-free butter instead of regular butter. The rest of the recipe is naturally dairy-free.
Egg-Free — Replace each egg with a “flax egg” (1 tablespoon ground flaxseed + 3 tablespoons water, let sit 5 minutes). Works well in muffins.
Mini Muffins — Reduce bake time to 12-15 minutes. Perfect for kids’ lunches or portion control.
Serving & Storage
How to Serve:
I usually serve these warm, with a pat of butter on top. They’re great with coffee or tea. For a complete breakfast, pair them with fresh fruit or yogurt.
Side Dishes:
– Fresh berries (strawberries, blueberries)
– Greek yogurt with honey
– A glass of orange juice
– A smoothie (try my overnight chia seed pudding for a healthy start)
Toppings Bar:
When I have guests, I put out: extra pumpkin spice, maple syrup, cream cheese dollops, and chopped nuts. Everyone customizes their muffin.
Storage Instructions:
Refrigerator:
Store in an airtight container for up to 3 days. They will dry out slightly. Reheat in the microwave for 20 seconds to soften.
Freezer:
These freeze beautifully. Let them cool completely, then wrap individually in plastic wrap and place in a freezer bag. They last up to 3 months. Thaw at room temperature or microwave for 30 seconds. Do not refreeze after thawing.
Reheating:
Microwave for 20-30 seconds. Oven at 350°F for 5 minutes. Air fryer at 320°F for 2 minutes. Avoid the toaster—it dries them out.
Nutrition Information
I’m not a nutritionist, but here’s the breakdown if you’re tracking. This is an estimate based on standard ingredients.
Per Muffin (based on 12 servings):
- Calories: 180
- Protein: 3g
- Carbs: 28g
- Fiber: 2g
- Sugar: 14g
- Fat: 7g
- Saturated Fat: 1g
- Sodium: 150mg
What’s Good:
– Gluten-free
– No refined flour
– Contains fiber from pumpkin
– Moderate sugar
What to Know:
– Contains eggs and dairy (unless substituted)
– Sugar content is moderate due to brown sugar and maple syrup
– Can be lower in sugar by reducing brown sugar to ½ cup
My Take:
Look, these are muffins. They’re sweet, they’re treat-like, but they’re also made with real ingredients like pumpkin and eggs. They’re way better than store-bought gluten-free muffins, which are often full of preservatives. I enjoy them as a special breakfast or snack. When I want something lighter, I pair them with a side of fruit.
Final Thoughts
So that’s my gluten-free pumpkin muffin recipe! I’ve probably talked your ear off at this point, but when you make a recipe this often, you have a lot to say about it.
This has saved my mornings more times than I can count. It’s my answer to “what’s for breakfast” when I’m tired, don’t want cereal, and still want something that tastes really good. My kids are happy, my husband’s happy, and I’m happy because I’m not stressed about cooking.
Make it yours! Try different add-ins, swap in your favorite spices, adjust the sweetness. The best recipes are the ones you adapt to your family’s tastes. If you’re looking for other fall favorites, check out my grandma’s bread pudding for a cozy dessert.
If you make this, drop a comment and let me know what you think! I love hearing how recipes turn out in your kitchen. And if something doesn’t work, tell me that too—I’m here to help troubleshoot.
Happy baking! And I hope your kitchen smells half as good as mine does right now.
Frequently Asked Questions
Can I use almond flour instead of gluten-free flour?
Not directly. Almond flour behaves completely differently. It’s denser and doesn’t have the same binding properties. If you want almond flour muffins, you need a different recipe. Stick to a 1-to-1 gluten-free blend for this method.
Why did my muffins turn out dry?
Usually means you used too much flour, overbaked them, or didn’t use enough fat. Make sure you’re spooning and leveling your flour, not scooping. Also, check your oven temperature with a thermometer—it might be running hot. Pull them out when the toothpick has a few moist crumbs, not completely clean.
Can I make these ahead for a party?
Yes! Bake them 2 days ahead and store in an airtight container. Or bake them and freeze them. Thaw and reheat before serving. They taste just as good as fresh.
Why did my muffins not rise?
Check your baking powder and baking soda. If they’re old, they won’t work. Also, make sure you didn’t overmix the batter, which can deflate the air bubbles. And ensure your oven is fully preheated before putting the muffins in.
Can I use pumpkin pie filling instead of pure pumpkin?
No. Pumpkin pie filling has added sugar and spices. If you use it, you’ll need to reduce the brown sugar and pumpkin pie spice in the recipe significantly, and the texture will be off. Stick to pure pumpkin puree.
How do I store leftover muffins?
At room temperature in an airtight container for 3 days. In the freezer for up to 3 months. Do not refrigerate—they stale faster.
Can I double this recipe?
Absolutely! Double everything and use two muffin tins. The baking time stays the same. Rotate the tins halfway through baking for even browning.
Pin This Recipe!
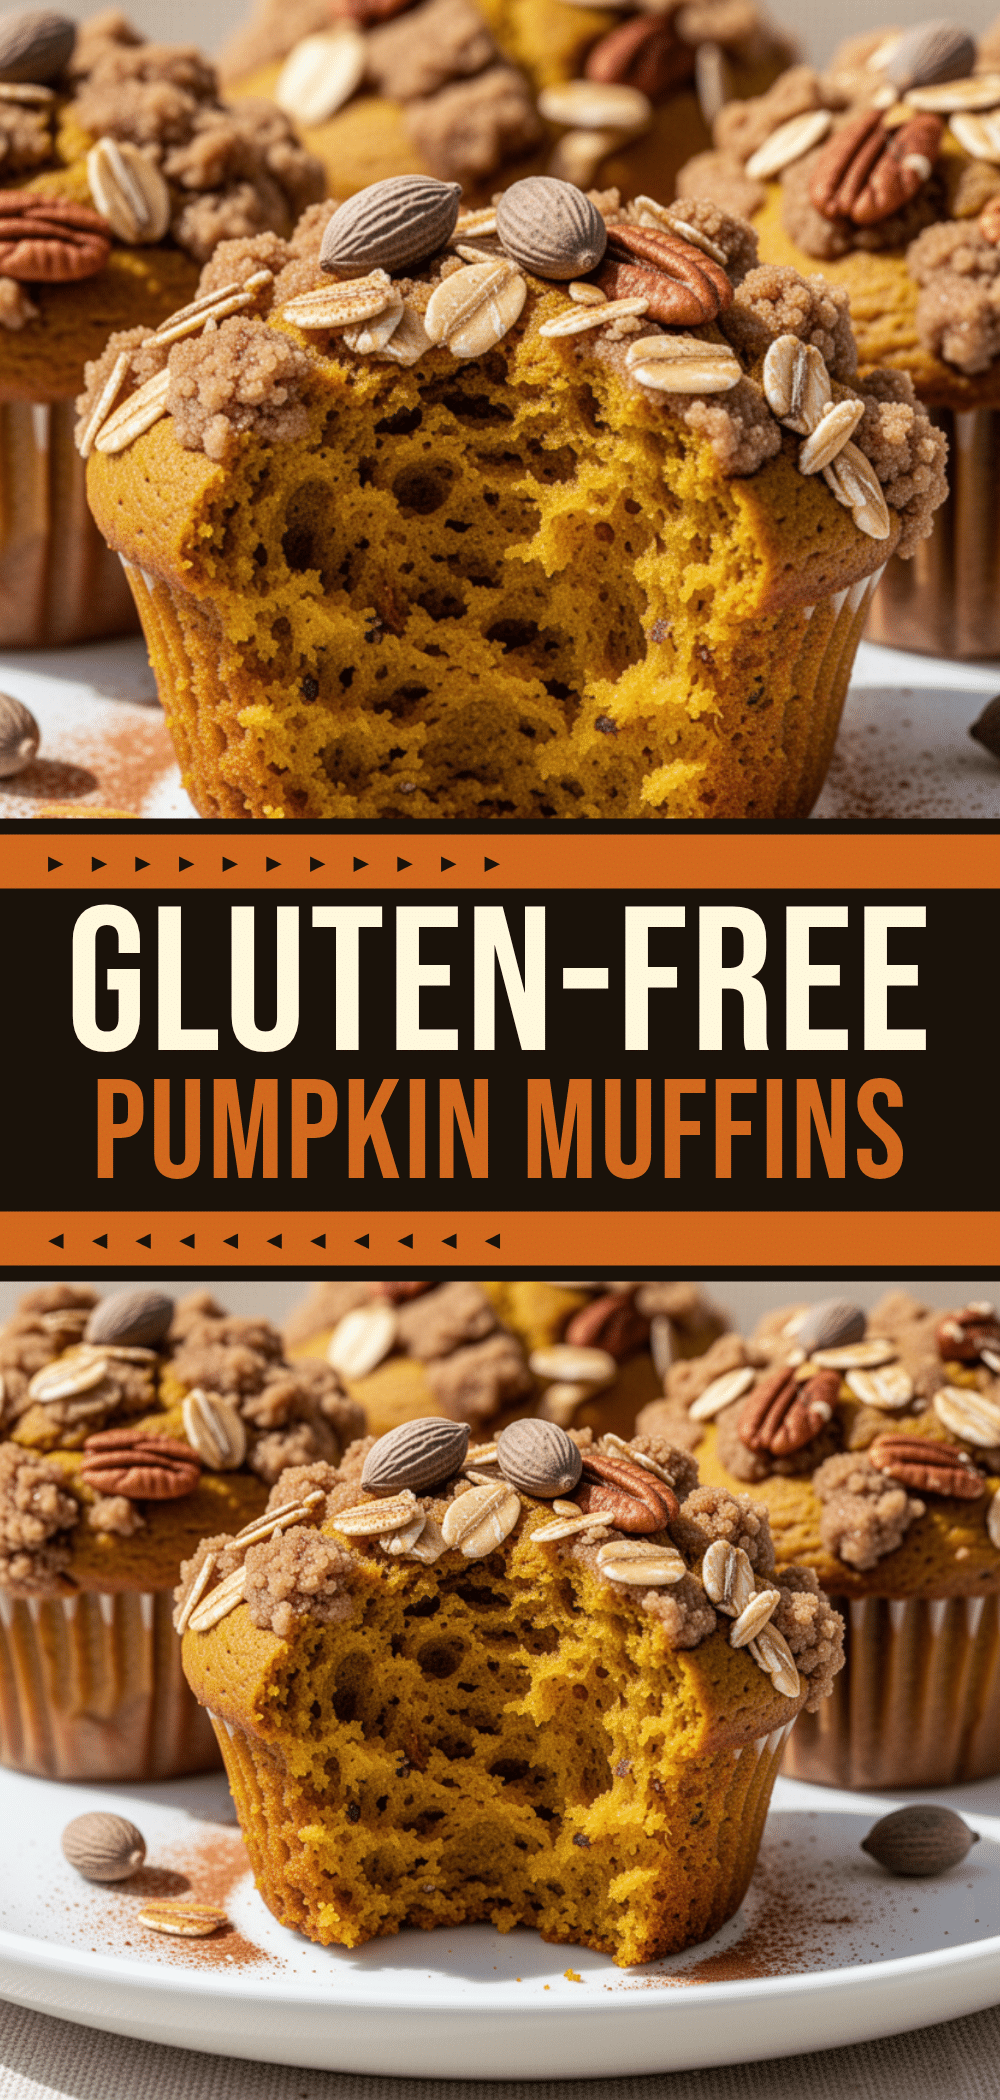
Gluten-Free Pumpkin Muffins: Easy Fall Breakfast
- Total Time: 30 minutes
- Yield: 12 servings 1x
Description
Moist, tender, and perfectly spiced gluten-free pumpkin muffins that are easy to make, freezer-friendly, and perfect for a cozy fall breakfast.
Ingredients
- 2 cups (250g) Gluten-Free 1-to-1 Baking Flour (with xanthan gum)
- 1 cup (240g) Pumpkin Puree
- 2 large Eggs (room temperature)
- ¾ cup (150g) Brown Sugar
- ½ cup (120ml) Vegetable Oil or Melted Butter (or ¼ cup oil and ¼ cup butter)
- 2 tablespoons Maple Syrup
- 2 teaspoons Vanilla Extract
- 2 teaspoons Pumpkin Pie Spice
- 1 teaspoon Baking Soda
- ½ teaspoon Baking Powder
- ½ teaspoon Salt
- Optional: ½ cup Chopped Walnuts, Pecans, or White Chocolate Chips
Instructions
- Preheat oven to 350°F (175°C). Line a 12-cup muffin tin with paper liners or grease generously.
- In a large bowl, whisk together the gluten-free flour, baking soda, baking powder, salt, and pumpkin pie spice until evenly combined.
- In a separate medium bowl, whisk the eggs until smooth. Add brown sugar, oil (or melted butter), maple syrup, vanilla extract, and pumpkin puree. Whisk until smooth and well combined.
- Pour the wet ingredients into the dry ingredients. Gently fold together with a spatula until just combined. Do not overmix; small lumps are okay.
- If using, gently fold in optional add-ins like nuts or chocolate chips.
- Divide the batter evenly among the 12 muffin cups, filling them about ¾ full.
- Bake for 20-22 minutes, or until a toothpick inserted into the center comes out clean or with a few moist crumbs.
- Let muffins cool in the pan for 5 minutes, then transfer to a wire rack to cool completely.
Notes
Do not overmix the batter to avoid tough muffins. Use room temperature eggs for better emulsification. Measure flour by spooning it into the cup and leveling off, rather than scooping directly from the bag. Store in an airtight container at room temperature for up to 3 days or freeze for up to 3 months. Do not refrigerate as they stale faster.
- Prep Time: 10 minutes
- Cook Time: 20-22 minutes
- Category: Breakfast
- Cuisine: American
Nutrition
- Serving Size: 1 muffin
- Calories: 180
- Sugar: 14
- Sodium: 150
- Fat: 7
- Saturated Fat: 1
- Carbohydrates: 28
- Fiber: 2
- Protein: 3
Keywords: gluten-free, pumpkin muffins, fall baking, easy breakfast, dairy-free option, egg-free option, freezer-friendly muffins


