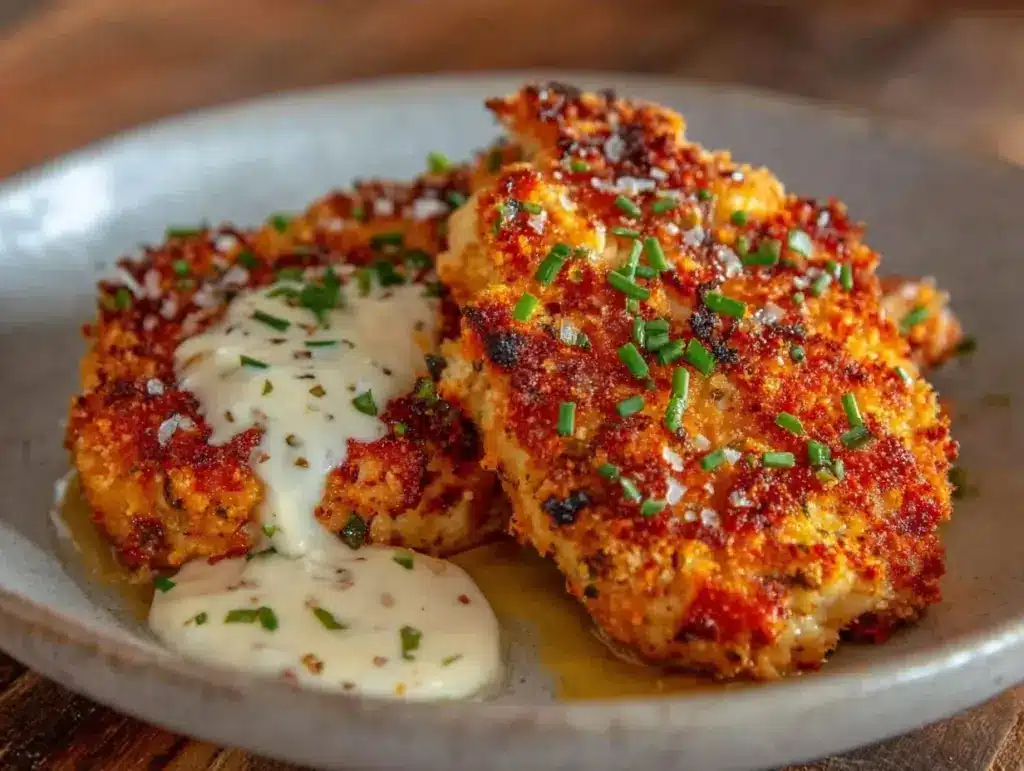
Last October, I was sitting at a table in a dimly lit bistro, staring at a piece of chicken that looked like a brick. It had a crust, sure, but it was thick, dull, and tasted like cardboard soaked in oil. I picked at it with my fork, frustrated, while my partner happily attacked his salmon. That night, I went home and vowed to never eat dull, soggy chicken again. I realized that the secret wasn’t in fancy marinades or expensive cuts of meat. It was in the breading technique.
That failure led me to spend the next three months testing breading methods. I tried panko, I tried flour, I tried egg washes, and I tried everything in between. The breakthrough came when I stopped treating the breading as an afterthought and started treating it as the star. I discovered that combining grated Parmesan with a specific ratio of breadcrumbs created a crust that wasn’t just crunchy—it was shatteringly crisp, golden, and packed with savory flavor. It stuck to the chicken in a way that no other coating could manage.
Now, this Crispy Parmesan Chicken is the backbone of my weeknight dinner rotation. It takes exactly 25 minutes from start to finish, which is rare for food that tastes like it came from a high-end kitchen. I’ve made this version dozens of times, tweaking the spice levels and the cheese ratios until it felt perfect. It’s not just a recipe; it’s my redemption arc for that boring bistro chicken. If you’re tired of dry, flavorless breast meat, you need to try this Crispy Parmesan Chicken tonight. Trust me, your fork will thank you.
Why You’ll Love This Recipe
Real talk: most chicken recipes are either too complicated or too boring. This one hits the sweet spot. It’s fast, it’s flavorful, and it delivers on the promise of a serious crunch without requiring an hour of prep. Here is why this Crispy Parmesan Chicken has earned a permanent spot in your meal plan.
- 25-Minute Magic — From thawing to plating, it’s under half an hour. I make this on nights when I’m exhausted and just want something good. No marinating overnight, no complex steps.
- The One-Click Crunch — Most breadings slide off. This one clings. The combination of Parmesan and breadcrumbs creates a texture that shatters when you bite into it. It’s the best part of the meal.
- Pantry Staples Only — You probably have everything you need right now. Parmesan, breadcrumbs, flour, eggs, and chicken. No obscure ingredients or specialty stores required.
- Moisture Lock — The flour dredge acts as a barrier, keeping the juices inside while the outside crisps up. I’ve tested this with both breasts and thighs, and the meat stays tender every time.
- Family-Approved Flavor — My kids, who usually pick off the breading, actually eat the whole piece of chicken with this recipe. The savory cheese and garlic flavor is irresistible.
This is my go-to when dinner needs to just work. It’s reliable, delicious, and impresses everyone at the table.
Key Ingredients for Crispy Parmesan Chicken
Let’s talk about what goes into the bowl. You don’t need fancy stuff, but you do need to be picky about quality where it counts. Here is exactly what I use for this Crispy Parmesan Chicken.
Chicken Breasts
1.5 lbs (680g) boneless, skinless chicken breasts — I prefer breasts for their quick cooking time, but thighs work too if you like juicier meat. Tip: If your breasts are thick, pound them to an even ½-inch thickness. This ensures they cook evenly so the outside doesn’t burn before the inside is done.
The Cheese
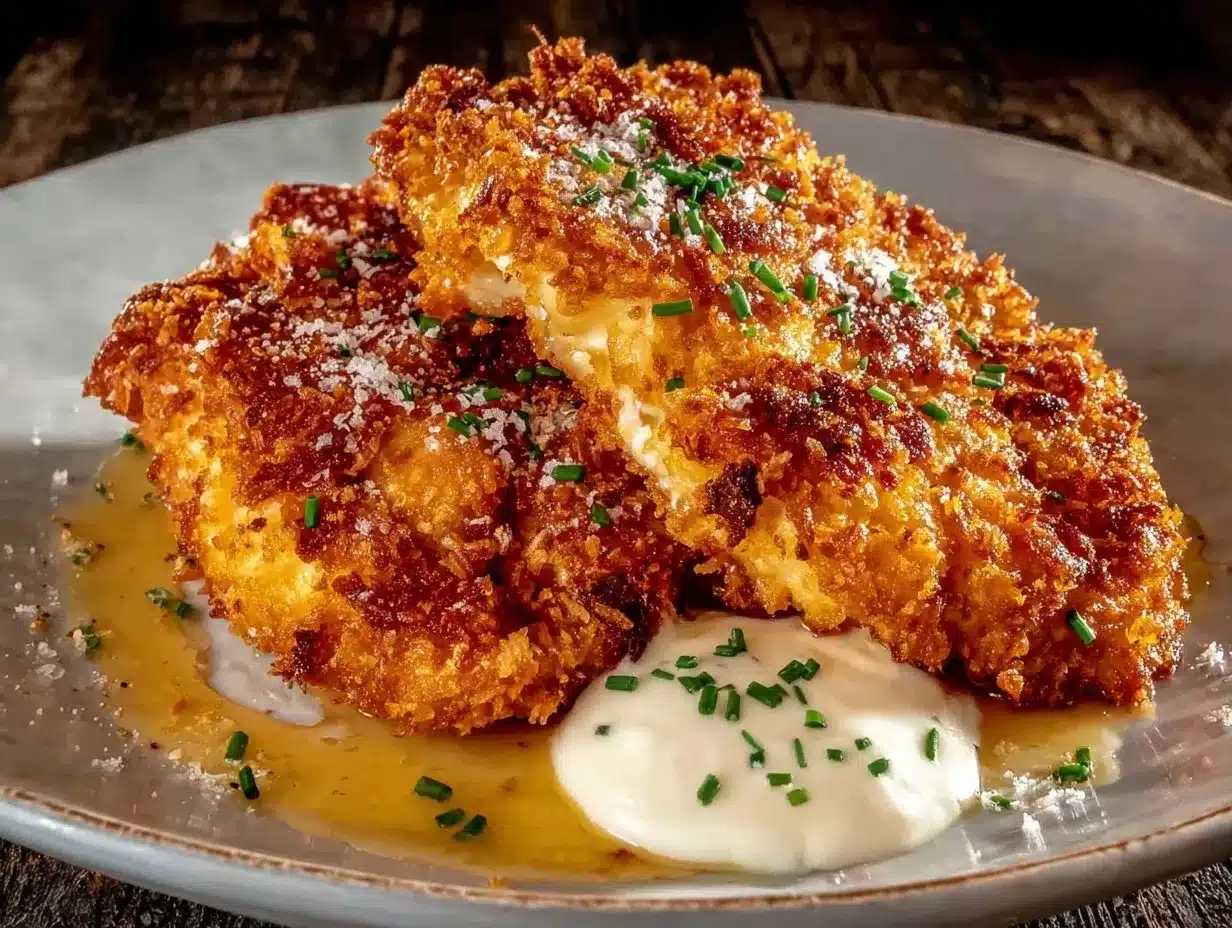
½ cup (50g) freshly grated Parmesan cheese — Do not use the pre-grated stuff in the green can. It has anti-caking agents that prevent it from melting properly into the crust. You want it to fuse with the breadcrumbs. Buy a wedge and grate it yourself. It makes a huge difference in flavor and texture.
The Crunch Factor
½ cup (40g) Panko breadcrumbs — Panko is Japanese-style breadcrumbs that are lighter and airier than standard breadcrumbs. This creates that shatteringly crisp texture. If you can’t find Panko, regular fine breadcrumbs work, but the crunch will be more like a coating than a crust.
The Binder
2 large eggs — Beaten. This acts as the glue. Tip: Whisk them thoroughly with a fork until there are no streaks of white. If you skip this step, your breading will fall off in the pan.
The Flour Base
½ cup (60g) all-purpose flour — This is the first layer. It dries the surface of the chicken so the egg can stick. Substitution: You can use gluten-free flour blend if needed, but make sure it’s a 1:1 blend.
The Seasoning
1 tsp garlic powder, 1 tsp onion powder, ½ tsp paprika, salt, and pepper — These go into the flour and the breadcrumb mix. Garlic powder is non-negotiable for me. It adds that savory punch that makes people ask for the recipe.
The Oil
3 tbsp olive oil or avocado oil — I use olive oil for flavor, but avocado oil has a higher smoke point, so it’s better if you’re cooking in batches and the pan gets hot. Don’t use butter; it burns too quickly at the temperatures needed for crispiness.
Tools Needed for Crispy Parmesan Chicken
You don’t need fancy equipment. Here’s what I use to keep things simple and efficient.
- Three shallow bowls — I use pie dishes or shallow casserole dishes. You need one for flour, one for egg, and one for the breadcrumb mixture. The shallow depth makes dredging easier.
- Meat mallet or rolling pin — Essential for flattening the chicken. I keep a heavy-duty aluminum mallet from my college days. It works perfectly.
- Large skillet — I use a 12-inch cast iron or non-stick skillet. You need space so the chicken pieces aren’t crowding. Crowding steams the chicken instead of frying it, and we want crisp.
- Cooking thermometer — Optional but helpful. I like to know exactly when the chicken hits 165°F (74°C) so I don’t overcook it.
- Wire rack — I place a wire rack over a baking sheet to rest the chicken after frying. This keeps the bottom from getting soggy. If you don’t have one, a plain plate works, but just be aware the bottom might soften slightly.
How to Make Crispy Parmesan Chicken
Here is the step-by-step process. Pay attention to the order; it matters more than you think.
Step 1: Prep the Chicken (5 minutes)
Take your chicken breasts and pat them completely dry with paper towels. Moisture is the enemy of crispiness. If the chicken is wet, the flour will clump and slide off. Place them between two sheets of plastic wrap or in a zip-top bag. Use your meat mallet to pound them to an even ½-inch thickness. This is the most important step for even cooking. Thin, even pieces cook in minutes, not 15. Season the raw chicken lightly with salt and pepper on both sides.
Step 2: Set Up Your Dredging Station (5 minutes)
Get three shallow bowls ready. In the first bowl, mix the flour, garlic powder, onion powder, paprika, ½ tsp salt, and ½ tsp pepper. In the second bowl, whisk the eggs with a splash of milk (about 1 tbsp) to make the egg mixture looser and easier to coat with. In the third bowl, mix the Panko breadcrumbs with the grated Parmesan cheese and another pinch of salt and pepper. Having everything prepped before you touch the chicken keeps the workflow smooth.
Step 3: The Dredge (5 minutes)
Take a piece of chicken. First, dredge it in the flour mixture. Shake off any excess—you want a light, even coat, not a thick ball of dough. Next, dip it into the egg wash, ensuring it’s fully covered. Let the excess drip off for a second. Finally, press it firmly into the Panko-Parmesan mixture. Use your hands to press the crumbs onto the chicken. You want them to stick. If you just roll it, they’ll fall off in the pan. Repeat for all pieces.
Step 4: The Sear (10 minutes)
Heat the oil in your large skillet over medium-high heat. You’ll know it’s ready when a single breadcrumb sizzles immediately upon contact. Carefully place the chicken pieces in the pan. Do not crowd the pan. Cook in batches if necessary. Fry for 3-4 minutes on the first side. Watch for a deep golden brown color. If it’s browning too fast, turn the heat down. Flip the chicken and cook for another 3-4 minutes on the other side. The internal temperature should reach 165°F (74°C).
Step 5: Rest and Serve (2 minutes)
Transfer the cooked chicken to the wire rack. Let it rest for 2-3 minutes. This allows the juices to redistribute. If you cut into it immediately, the juices run out, and the meat dries up. Serve immediately while the crust is still hot and crisp.
Total Time Breakdown: Prep: 10 minutes | Cook: 10-12 minutes | Rest: 2 minutes. Total: ~25 minutes.
Expert Tips for the Perfect Crust
Here’s everything I learned from making this too many times, including the time I burned three batches of chicken because I was distracted.
The One Trick: Press, Don’t Roll
When you move the chicken from the egg to the breadcrumbs, do not just roll it. Press it. Use your fingers to push the crumbs into the egg layer. This mechanical action creates adhesion. I learned this the hard way when my first attempt resulted in a pan full of loose crumbs and bare chicken. Pressing ensures the crust stays on through the flip.
Don’t Crowd the Pan
This is the #1 mistake. If you put too many pieces in the pan, the temperature drops, and the chicken steams. You want hot oil, not hot water. If you have a small pan, cook in two batches. It’s worth the extra five minutes for the sake of the crunch.
Keep the Oil Hot
Medium-high heat is your friend, but watch it. If the oil smokes, it’s too hot. If the crumbs turn dark brown before the chicken is cooked, it’s too hot. Adjust your burner as needed. I usually start at medium-high and drop to medium once I’ve added the chicken to stabilize the temperature.
Common Problems & Solutions
- Crust falling off: Your chicken was too wet, or you didn’t press the crumbs on. Pat dry thoroughly and press firmly.
- Chicken is dry: You cooked it too long. Use a thermometer. 165°F is the line. Remove it immediately when it hits that mark.
- Sauce is greasy: You didn’t drain the chicken. Use the wire rack to let excess oil drip away. Paper towels can trap steam and make the crust soggy.
Recipe Variations for Crispy Parmesan Chicken
Once you’ve nailed the basic version, here’s how to mix it up. This recipe is a blank canvas.
Spicy Parmesan Chicken
Add 1 tsp cayenne pepper or red pepper flakes to the breadcrumb mixture. It adds a gentle heat that cuts through the richness of the cheese. I love this version with a cooling ranch dip.
Herb-Infused Crust
Mix 1 tsp dried Italian seasoning or fresh chopped parsley into the Panko. It adds a fresh, herbal note that brightens up the heavy cheese flavor.
Chicken Tenders
Instead of whole breasts, cut the chicken into strips. This reduces cooking time to 2-3 minutes per side. Perfect for kids or for serving with dipping sauces like honey mustard or BBQ sauce. Speaking of sauces, these tenders pair beautifully with easy honey BBQ meatballs if you’re doing a themed night.
Dairy-Free Option
Skip the Parmesan and use nutritional yeast in the breadcrumb mix. It adds a similar savory, nutty flavor without the dairy. You can also use a flax egg instead of regular egg.
Gluten-Free Crispy Parmesan Chicken
Substitute the all-purpose flour with a gluten-free flour blend. For the breadcrumbs, use gluten-free Panko or crushed gluten-free crackers. The technique remains exactly the same.
Serving & Storage
Serving Suggestions
This Crispy Parmesan Chicken is versatile. I serve it over a bed of garlic buttered mashed potatoes to soak up any extra sauce. It also goes great with a simple side salad or roasted asparagus. For a lighter option, pair it with steamed broccoli and lemon wedges. If you’re in the mood for something heartier, it’s fantastic inside a sandwich with aioli and lettuce.
Storage
Refrigerator: Store leftovers in an airtight container for up to 3 days. Reheating: The microwave will make the crust soggy. To re-crisp, place the chicken in an air fryer at 375°F (190°C) for 3-4 minutes, or in a toaster oven. This restores the crunch almost perfectly.
Freezer: You can freeze the breaded, uncooked chicken. Place the coated pieces on a baking sheet and freeze until solid, then transfer to a freezer bag. They will keep for 2 months. Cook from frozen, adding 2-3 minutes to the cook time. Do not freeze cooked chicken if you care about the texture; it will become tough.
Nutrition Information
I’m not a nutritionist, but here’s the breakdown per serving (based on 4 servings).
| Nutrient | Amount |
|---|---|
| Calories | 380 |
| Protein | 35g |
| Carbs | 12g |
| Fat | 20g |
| Sodium | 450mg |
My Take: This is a protein-packed meal, but it’s not “diet” food. The cheese and breadcrumbs add carbs and fat. However, it’s significantly better than takeout fried chicken, and you control the quality of the ingredients. It’s a balanced, satisfying dinner.
Final Thoughts
Making this Crispy Parmesan Chicken has changed how I think about weeknight dinners. It’s proof that you don’t need to spend hours in the kitchen to eat something amazing. The key is technique—drying the chicken, pressing the crumbs, and managing the heat. Once you master these steps, you’ll never go back to bland, boiled chicken again.
If you make this recipe, I want to hear about it! Drop a comment below and let me know how your crust turned out. Did you add extra spice? Did you pair it with my favorite sriracha honey chicken wings for a spicy night? I love seeing your variations. Happy cooking!
FAQs
Can I use chicken thighs instead of breasts?
Yes! Boneless, skinless thighs work great. They have more fat, so they stay juicier, but they cook slightly faster. Check them at 160°F (71°C) and pull them, as carryover cooking will finish them off. The breading technique is identical.
Why is my breading falling off?
This usually happens because the chicken was too wet or you didn’t press the crumbs firmly. Make sure to pat the chicken dry with paper towels before dredging. Also, when you move it to the breadcrumb mix, press down with your fingers to embed the crumbs into the egg layer.
Can I bake this instead of frying?
You can, but you won’t get the same crispiness. To bake, place the breaded chicken on a wire rack over a baking sheet. Spray the tops lightly with cooking oil. Bake at 400°F (200°C) for 15-18 minutes. It will be crispy, but not as deeply golden or shatteringly crunchy as pan-frying.
How do I keep the oil from splattering?
Pat the chicken dry! Moisture causes splattering. Also, lower the chicken into the oil gently, away from you. If you’re worried, use a splatter screen. It’s a cheap tool that saves your stove from a mess.
Can I make the breading mixture ahead of time?
Absolutely. Mix the Panko, Parmesan, and spices in a jar or container and store it in the pantry. It will keep for up to two weeks. This makes weeknight prep even faster since you just have to dredge and cook.
Pin This Recipe!
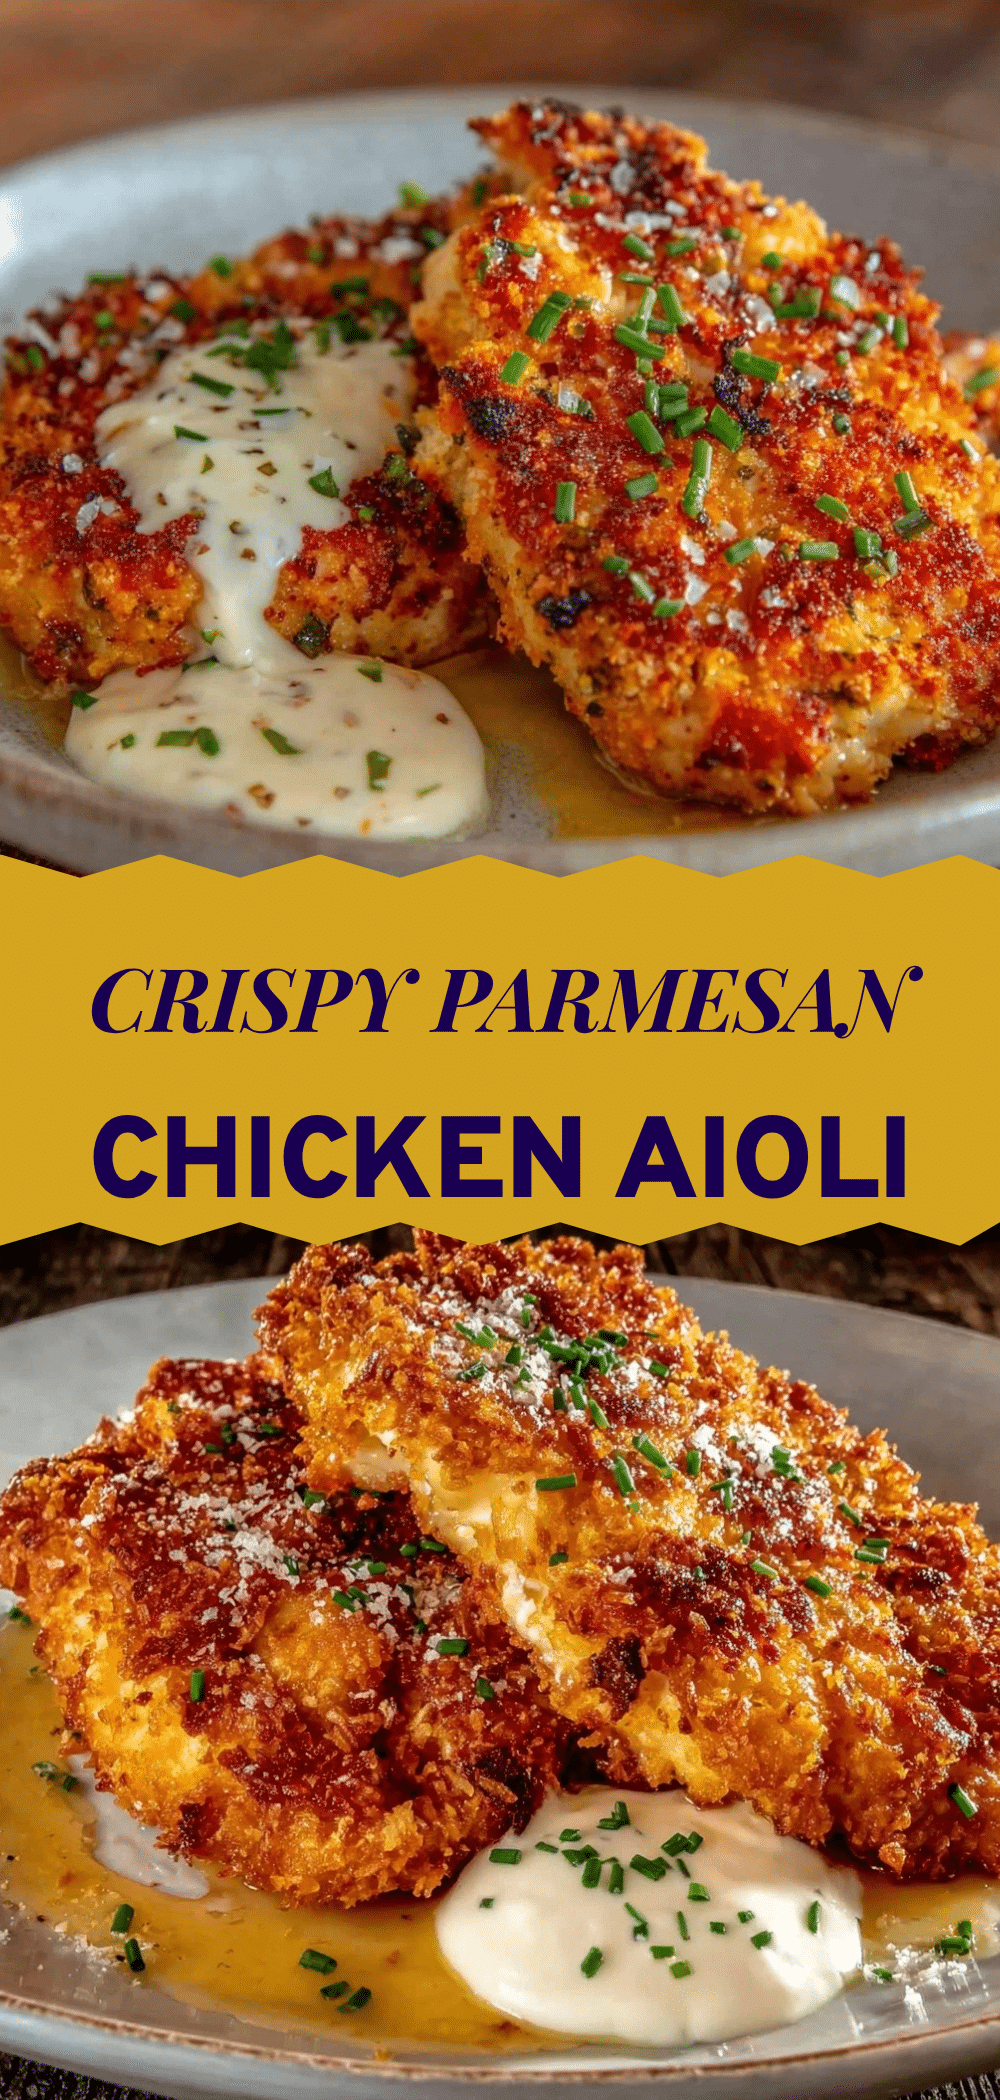

Crispy Parmesan Chicken: The One Trick for Real Crunch
- Total Time: 25 minutes
- Yield: 4 servings 1x
Description
A quick and easy weeknight dinner featuring chicken breasts coated in a shatteringly crisp mixture of Panko breadcrumbs and freshly grated Parmesan cheese, cooked in under 25 minutes.
Ingredients
- 1.5 lbs (680g) boneless, skinless chicken breasts
- ½ cup (60g) all-purpose flour
- 1 tsp garlic powder
- 1 tsp onion powder
- ½ tsp paprika
- ½ tsp salt (plus more for seasoning chicken)
- ½ tsp pepper (plus more for seasoning chicken)
- 2 large eggs, beaten with 1 tbsp milk
- ½ cup (40g) Panko breadcrumbs
- ½ cup (50g) freshly grated Parmesan cheese
- 3 tbsp olive oil or avocado oil
Instructions
- Pat chicken breasts completely dry with paper towels. Place between plastic wrap and pound to an even ½-inch thickness. Season lightly with salt and pepper.
- Set up three shallow bowls. Bowl 1: Mix flour, garlic powder, onion powder, paprika, ½ tsp salt, and ½ tsp pepper. Bowl 2: Whisk eggs with milk. Bowl 3: Mix Panko, Parmesan, and a pinch of salt and pepper.
- Dredge chicken in flour mixture, shaking off excess. Dip into egg wash, letting excess drip off. Press firmly into breadcrumb mixture to adhere.
- Heat oil in a large skillet over medium-high heat until a breadcrumb sizzles immediately.
- Fry chicken in batches (do not crowd) for 3-4 minutes per side until deep golden brown and internal temperature reaches 165°F (74°C).
- Transfer cooked chicken to a wire rack to rest for 2-3 minutes before serving.
Notes
Do not use pre-grated Parmesan as anti-caking agents prevent proper melting. Press the breadcrumbs firmly onto the chicken rather than rolling to ensure the crust sticks. Do not crowd the pan to avoid steaming the chicken. For gluten-free, use GF flour and GF Panko. For dairy-free, substitute Parmesan with nutritional yeast and eggs with a flax egg.
- Prep Time: 10 minutes
- Cook Time: 10-12 minutes
- Category: Main Course
- Cuisine: American
Nutrition
- Serving Size: 1 piece of chicken b
- Calories: 380
- Sodium: 450
- Fat: 20
- Carbohydrates: 12
- Protein: 35
Keywords: crispy parmesan chicken, panko chicken, quick dinner, weeknight meals, crispy chicken recipe, parmesan crust chicken


