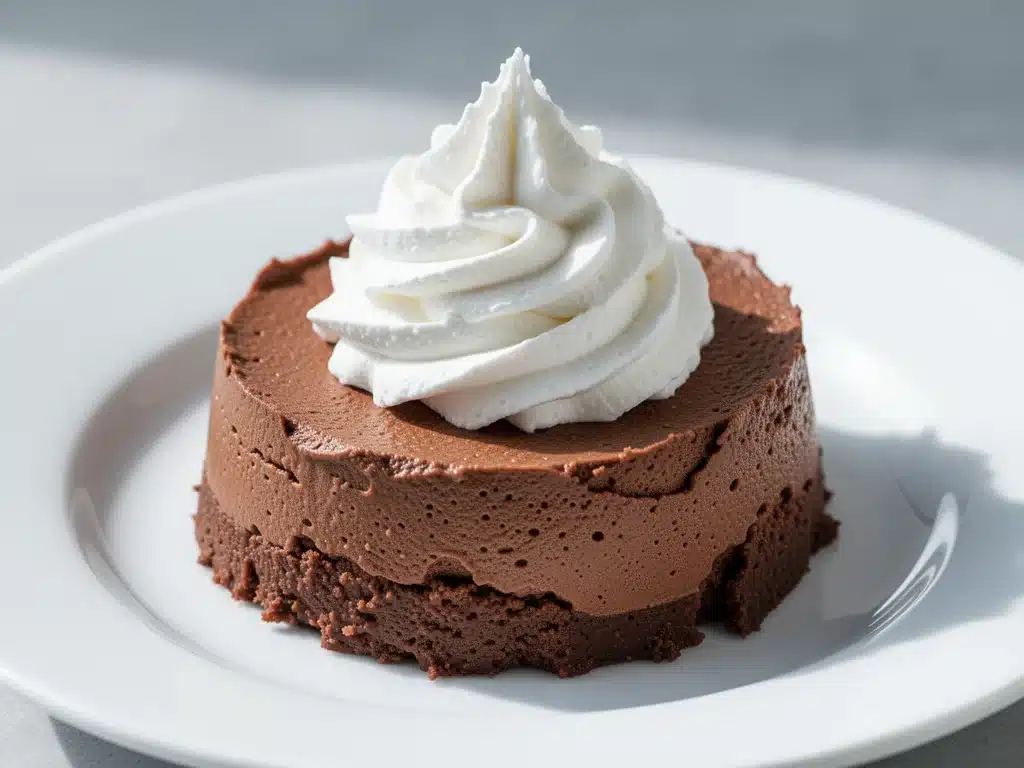
Last winter, I was in a weird mood. It wasn’t just the gray skies or the lack of sunlight; it was the craving. I wanted something rich, dark, and indulgent—a proper chocolate dessert—but I also had this nagging guilt that came with eating ice cream straight from the tub at 10 PM. I wanted to treat myself, but I also wanted to feel good about what I was putting in my body. I didn’t want a sad, diet-food salad disguised as a treat. I wanted actual chocolate mousse.
So I did what any desperate home cook does: I stared into my fridge. There was a tub of cottage cheese sitting on the middle shelf, gathering dust. I’d bought it on a whim three weeks ago for a high-protein breakfast that I never actually made. I remembered reading somewhere that you could blend cottage cheese into things to make them creamy without tasting it. I figured, what’s the worst that could happen? It tastes like cheesy chocolate? Fine. I’ll just eat it and move on.
I threw the cottage cheese, cocoa powder, and a sweetener into my blender. I hit the button. The machine whirred, turning the lumpy white curds into a silky, dark liquid. I poured it into a small bowl, popped it in the freezer for twenty minutes, and took a bite. My eyes literally widened. It was fluffy. It was dense but light. It tasted like a high-end chocolate mousse from a fancy Parisian patisserie, but with a protein punch that kept me from getting a sugar crash an hour later.
I’ve made this 3-ingredient cottage cheese chocolate mousse probably fifty times since that night. It’s become my secret weapon for when I need a dessert that feels like cheating but actually fuels me. It’s not just about the convenience, either. It’s about proving that healthy doesn’t have to mean boring or grainy or weirdly textured. This mousse is smooth, decadent, and honestly? It’s better than most of the store-bought “healthy” options I’ve tried. If you’re skeptical about the cottage cheese component, trust me. Once it’s blended, you won’t find a single trace of it. You’ll just find chocolate heaven.
Why This 3-Ingredient Healthy Dessert Wins Every Time
Look, I’m not going to lie to you. Most “healthy” desserts are disappointing. They’re dry, they’re too sweet, or they leave you feeling like you just ate a block of cardboard. But this cottage cheese chocolate mousse is different. It’s become a staple in my kitchen for reasons that go way beyond just being low-calorie. Here’s why I keep making it, and why I think you will too.
It Actually Tastes Like Dessert
This isn’t a “health hack” that tastes like a compromise. It tastes rich and chocolatey. The cocoa powder provides that deep, bitter-sweet flavor we crave, and the fat from the cottage cheese creates that luxurious mouthfeel. I’ve served this to friends who are not at all into “healthy eating,” and they’ve asked for the recipe. No one has ever asked, “Wait, is there cottage cheese in this?” until I tell them. That’s the win.
Protein That Keeps You Full
Regular chocolate mousse is basically sugar and fat. Delicious, but it leaves you hungry an hour later. This version is packed with casein and whey protein from the cottage cheese. That means it satisfies the sweet tooth but also keeps you satiated. I often have this as a late-night snack, and unlike cookies or chips, it doesn’t leave me reaching for more food thirty minutes later. It’s a genuine meal-replacement dessert if you’re trying to manage your hunger.
Zero Cooking Required
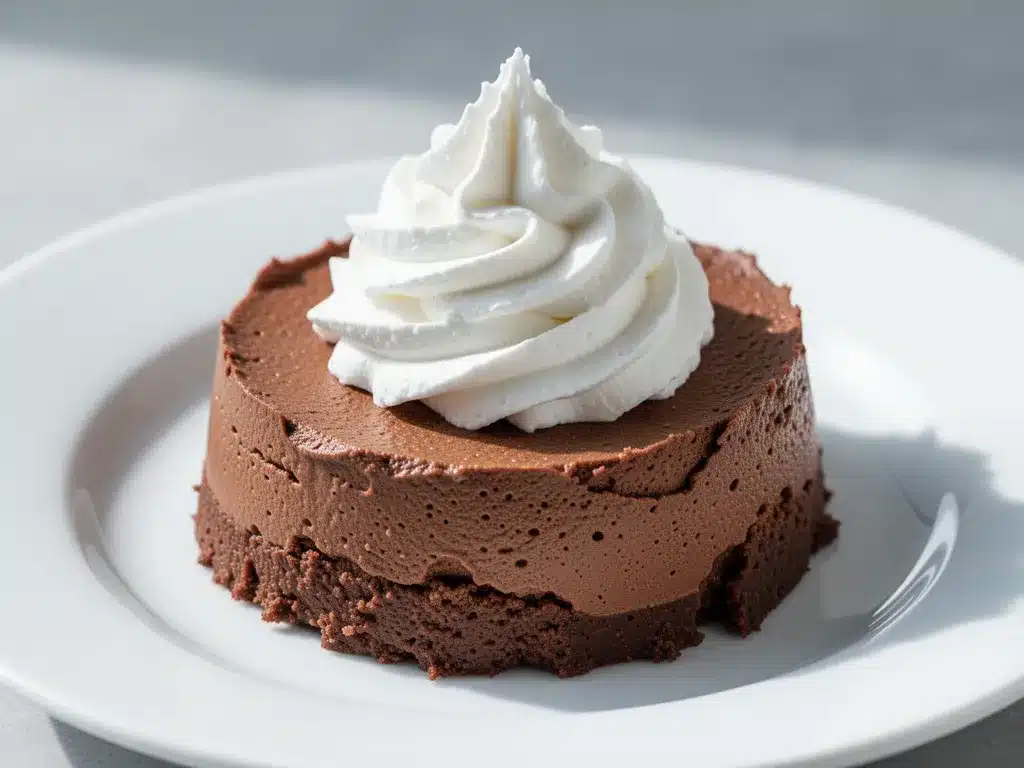
There’s no melting chocolate over a double boiler. There’s no whipping egg whites (which is the most annoying part of traditional mousse). There’s no oven. You dump three things in a blender or food processor, blend for 60 seconds, and you’re done. It’s the ultimate lazy dessert. I make this on weeknights when I’m exhausted, and on weekends when I’m too tired to bake. It takes less time than ordering takeout.
It’s Actually Creamy
I know, I know. Cottage cheese sounds lumpy. But that’s why the blending step is non-negotiable. Once you blend it until smooth, the texture transforms completely. It becomes airy and light, almost like a panna cotta or a very thick pudding. It’s not just smooth; it has a velvety quality that rivals dairy-based mousses. And because it’s chilled, it firms up slightly, giving you that perfect spoon-digging experience.
Ingredients You’ll Need (And Why They Matter)
Before we get into the “how-to,” let’s talk about what goes into this bowl. It’s a short list, which is part of the magic, but the quality of these three ingredients makes a huge difference. You can’t skimp here if you want that restaurant-quality texture.
Full-Fat Cottage Cheese
1 cup (about 225g) — This is the base. I always use full-fat cottage cheese. Low-fat or non-fat versions have more water content and less protein structure, which can make the mousse watery or icy. You want the richness of the full-fat curds. Look for a brand with small curds if you can find it—they blend smoother and faster than large curd varieties. If you only have large curds, no panic. Just blend it a little longer. I usually grab whatever is on sale, but I make sure it’s the full-fat tub. Brands like Daisy or Green Valley Creamery work great for this.
Unsweetened Cocoa Powder
1/4 cup (20-25g) — This is where the chocolate flavor lives. Do not use hot chocolate mix. Hot chocolate mix has sugar and milk solids in it, which will throw off the texture and sweetness of your recipe. You need pure, unsweetened cocoa powder. Dutch-processed cocoa gives a deeper, darker, more brownie-like flavor, while natural cocoa is lighter and more acidic. I prefer Dutch-processed for this mousse because it feels richer. Make sure it’s fresh! If your cocoa powder is clumpy or smells dusty, it’s probably old. Old cocoa makes old-tasting mousse. Replace it if it’s been sitting in your pantry for more than six months.
Your Sweetener of Choice
2-3 tablespoons — This is where you get to customize. The amount depends on your sweet tooth and the sweetness of your cocoa powder. I usually start with 2 tablespoons and taste. If you want it less sweet, stick with 2. If you like it dessert-sweet, go with 3.
- Maple Syrup: This is my personal favorite. It adds a subtle caramel note that pairs beautifully with chocolate. It also helps keep the mousse slightly softer, so it’s easier to scoop. Just make sure it’s pure maple syrup, not “pancake syrup.”
- Honey: Works well too, but it has a distinct floral flavor. If you’re a honey lover, this is great. If you’re trying to avoid animal products, skip this.
- Granulated Sweetener (Erythritol, Monk Fruit, or Sugar): If you use a dry sweetener, you might need to blend a bit longer to dissolve it completely. Granulated sugar will dissolve easily, but artificial sweeteners can sometimes leave a cooling aftertaste. I use a monk-fruit blend sometimes when I want to keep the carbs super low.
Optional Boosters (Because Why Not?)
While the 3-ingredient version is perfect on its own, I love adding a tiny splash of vanilla extract (1/2 teaspoon) to round out the flavors. It makes it taste more like a finished dessert. A pinch of sea salt is also crucial—it enhances the chocolate flavor and cuts the sweetness. Don’t skip the salt! And if you’re feeling fancy, a dash of espresso powder (1/2 teaspoon) will make the chocolate taste even more intense. It’s a secret weapon I learned from making my grandma’s bread pudding—a little coffee never hurts chocolate.
Equipment You’ll Need
You don’t need a fancy kitchen for this. In fact, the simpler the tool, the better.
- High-Speed Blender: This is the gold standard. A Vitamix or Ninja will turn those cottage cheese curds into silk in seconds. If you have a powerful blender, you’re golden.
- Food Processor: If you don’t have a blender, a food processor works too. It might take a minute longer to get it completely smooth, and you might need to stop and scrape down the sides, but the result is the same.
- Measuring Cups and Spoons: Standard stuff. You don’t need to be precise, but having a 1/4 cup measure for the cocoa helps keep the ratios right.
- Serving Glasses or Bowls: I like to serve this in little ramekins or small glass bowls so you can see the layers if you add toppings. It looks elegant and makes you feel fancy, even though it took 2 minutes to make.
Quick note: If you’re using a standard blender with lower power, you might need to let the cottage cheese sit at room temperature for 10 minutes before blending. Cold cheese is harder to break down. I learned this the hard way with a stubborn blender that just churned the curds around for five minutes.
How to Make It: Step-by-Step
Alright, let’s make this. It’s incredibly simple, but there are a few tricks to ensure it’s perfectly smooth and not grainy.
Step 1: Prep Your Cottage Cheese
If your cottage cheese is very cold and the curds are large, let it sit out for about 10 minutes. This helps it blend more evenly. If you’re using a high-speed blender, you can skip this step, but it’s a nice little hack if you’re in a rush.
Step 2: Combine Ingredients
Add the cottage cheese, cocoa powder, and your chosen sweetener to your blender or food processor. If you’re adding vanilla extract, sea salt, or espresso powder, toss those in now too. Make sure you’re using unsweetened cocoa, not hot cocoa mix. I’ve made that mistake before (accidentally grabbed a tin of Swiss Miss), and it turned into a sweet, milky sludge instead of a rich mousse. Learn from my error.
Step 3: Blend Until Silky
Start your blender on low speed, then gradually increase to high. Blend for about 60-90 seconds. Stop the blender and scrape down the sides with a spatula if needed. Then blend again for another 30 seconds. You’re looking for a completely smooth, uniform texture. There should be no visible curds. It should look like thick chocolate pudding. If you see white specks, keep blending. It’s worth the extra minute.
Step 4: Taste and Adjust
This is the most important step. Taste your mousse. Is it sweet enough? Add a little more sweetener if needed. Is it too thick? Add a splash of milk or almond milk to thin it out. Is it too thin? Add a bit more cocoa powder or a few more ice cubes to chill and thicken it. Adjust until it tastes perfect to you. Remember, cold temperatures mute sweetness, so it might taste a little less sweet straight from the blender. If it tastes “perfect” in the blender, it might be just right in the fridge.
Step 5: Chill
Pour the mousse into serving glasses. Cover them with plastic wrap or lids. Pop them in the refrigerator for at least 30 minutes, but ideally 1-2 hours. Chilling is crucial. It allows the mousse to firm up slightly and the flavors to meld together. I know it’s tempting to eat it right away, but patience pays off. The texture improves dramatically after chilling.
Step 6: Serve and Enjoy
When you’re ready to eat, take them out of the fridge. If you want to get fancy, top them with something. Fresh raspberries are classic. A dollop of whipped cream (or coconut whipped cream for dairy-free) adds luxury. A sprinkle of sea salt flakes on top enhances the chocolate. Or just eat it plain. It’s that good on its own.
Expert Tips for the Perfect Mousse
Here’s everything I’ve learned from making this dozens of times. These tips will save you from common pitfalls.
Use Small Curds
If you can find cottage cheese with small curds, buy it. It blends faster and smoother. Large curds require more blending time and can sometimes leave tiny bits of texture if your blender isn’t powerful enough. I always check the label now. It’s a small detail that makes a big difference in texture.
Don’t Skimp on the Cocoa
I know it looks like a lot of powder compared to the cup of cheese, but you need that ratio for the flavor to come through. If you use too little cocoa, it will just taste like sweetened cottage cheese. That’s not what we’re going for. The cocoa needs to be the star.
Chill, Don’t Freeze
While you *can* freeze this, it’s not ideal. Freezing can make the texture icy or grainy when it thaws. Refrigeration is the sweet spot. It firms up the mousse without changing the creamy consistency. If you’re in a huge rush, you can put it in the freezer for 15 minutes, but keep an eye on it so it doesn’t get too hard.
Add a Pinch of Salt
Chocolate and salt are best friends. A tiny pinch of sea salt in the blender makes the chocolate flavor pop. It’s a pro move that takes two seconds but elevates the entire dish. I always add a pinch, even if I’m not adding other toppings.
Blend Longer Than You Think
I used to stop blending as soon as it looked smooth. But I noticed that if I blended for an extra 30 seconds, the mousse was even silkier. The friction from blending also slightly warms the mixture, which can help break down the proteins more effectively. Just don’t over-blend to the point where it gets too warm, though.
Variations & Substitutions
Once you’ve mastered the basic version, here are some ways to mix it up. I’ve tried all of these, and they’re all winners.
Chocolate Chip Cookie Dough Mousse
After blending, fold in 1/4 cup of mini chocolate chips. Or, for a cookie dough vibe, add 1 tablespoon of peanut butter to the blender before blending. It adds a nutty richness that’s incredible. This reminds me a bit of the richness in my labor day maple bourbon ribs—sweet, savory, and deeply satisfying.
Mint Chocolate Mousse
Add 1/2 teaspoon of peppermint extract to the blender. It tastes like a mint chocolate chip ice cream but in mousse form. Top with crushed peppermint candy for a festive touch. Great for holidays.
Strawberry Cheesecake Mousse
Swap the cocoa powder for 1/4 cup of strawberry powder (or freeze-dried strawberries, blended into a powder). Add 1 teaspoon of vanilla extract and a splash of lemon juice. It tastes like a strawberry cheesecake filling. Super refreshing.
Protein-Packed Version
If you’re using this as a post-workout snack, add a scoop of chocolate protein powder. You might need to add a splash more milk to thin it out, as protein powder absorbs liquid. Taste and adjust sweetness, as protein powders vary in sweetness.
Dairy-Free Option
Use dairy-free cottage cheese (made from soy or almonds) and maple syrup. It works surprisingly well, though the texture might be slightly less thick. I’ve used it for my lactose-intolerant friends, and they loved it.
Serving & Storage
How to store and serve this bad boy so it stays delicious.
Storage
Store the mousse in an airtight container in the refrigerator for up to 4 days. It actually tastes even better on day 2, as the flavors have had time to meld. Do not freeze it if you want to preserve the creamy texture. If you must freeze it, thaw it in the fridge overnight and re-blend it briefly to restore the smoothness.
Serving Suggestions
I like to serve this in small portions. It’s rich, so a little goes a long way.
- Fresh Fruit: Raspberries, strawberries, or sliced bananas are perfect toppings. The acidity of the berries cuts through the richness of the chocolate.
- Nuts: Chopped hazelnuts or almonds add a nice crunch.
- Whipped Cream: Whether dairy or coconut, a dollop on top makes it feel like a special occasion dessert.
- Sea Salt Flakes: A sprinkle on top adds a sophisticated touch and enhances the chocolate.
It’s also a great make-ahead dessert for parties. I’ve made a big batch and put it in a trifle dish with layers of fruit and nuts. It’s always a hit. Much easier than my grandma’s bread pudding when I’m hosting a big group, and it appeals to all dietary needs.
Nutrition Information
I’m not a nutritionist, but here’s the breakdown if you’re tracking. These numbers are approximate and will vary based on the specific brands and sweeteners you use.
Per Serving (based on 2 servings, using 1 cup cottage cheese, 1/4 cup cocoa, 2 tbsp maple syrup):
- Calories: ~280
- Protein: 18g
- Carbs: 22g (18g sugar, 4g fiber)
- Fat: 12g
- Sodium: 350mg
What’s good: High protein, moderate fat, no refined sugar (if you use maple syrup or monk fruit). It’s a balanced dessert that won’t spike your blood sugar as much as traditional mousse.
What to know: It’s still a dessert. Enjoy it in moderation. The sodium comes from the cottage cheese, so if you’re watching salt intake, look for low-sodium cottage cheese options.
Final Thoughts
So that’s my go-to cottage cheese chocolate mousse. I know it sounds weird at first. I get it. The idea of blending cheese into chocolate feels like a prank. But once you try it, you’ll never look at cottage cheese the same way again. It’s not just for breakfast bowls or high-protein snacks anymore. It’s a secret ingredient for creating luxurious, healthy desserts that actually satisfy your cravings.
This recipe has saved me from late-night junk food binges more times than I can count. It’s my answer to “I want something sweet” when I’m trying to eat well. It’s quick, it’s easy, and it tastes incredible. Make it yours! Try different toppings, adjust the sweetness, and experiment with different cocoa powders. The best recipes are the ones you adapt to your tastes.
If you make this, drop a comment and let me know what you think! I love hearing how recipes turn out in your kitchen. And if something doesn’t work, tell me that too—I’m here to help troubleshoot. Happy cooking! And I hope your kitchen smells half as good as mine does right now.
Frequently Asked Questions
Q: Can I use low-fat cottage cheese?
A: You can, but the texture won’t be as creamy. Low-fat cottage cheese has more water and less fat, which can make the mousse thinner and less rich. If you’re using low-fat, you might want to add a tablespoon of Greek yogurt or a splash of heavy cream to compensate for the lost richness. But for the best results, stick with full-fat.
Q: Why is my mousse still lumpy?
A: This usually means your blender isn’t powerful enough, or you didn’t blend it long enough. Try blending for a full 90 seconds. If it’s still lumpy, add a splash of milk or water and blend again. The liquid helps the blades catch the curds and break them down. Also, make sure you’re using small-curd cottage cheese if possible.
Q: Can I make this ahead of time?
A: Absolutely. In fact, it tastes better if you make it a few hours in advance. Store it in an airtight container in the fridge for up to 4 days. Just give it a quick stir before serving if it has separated slightly (though it usually doesn’t).
Q: Is this recipe keto-friendly?
A: It can be! Use a keto-approved sweetener like monk fruit or erythritol instead of maple syrup or honey. Make sure your cottage cheese is low-carb (most are, but check the label). This version is high in protein and fat, and low in carbs, making it a great keto dessert option.
Q: Can I use this in smoothies?
A: Yes! This is actually one of the best ways to use up old cottage cheese. Blend it with frozen berries and spinach for a high-protein breakfast smoothie. It adds creaminess without a strong cheese flavor. I often keep a tub in the fridge specifically for smoothies.
Q: What if I don’t have a blender?
A: You can use a food processor, but it will take longer to get smooth. Alternatively, you can mash the cottage cheese with a fork until it’s as smooth as possible, then whisk in the cocoa and sweetener vigorously. It won’t be as airy, but it will still be delicious. Or, try my overnight chia seed pudding if you want a no-blend dessert option.
Pin This Recipe!
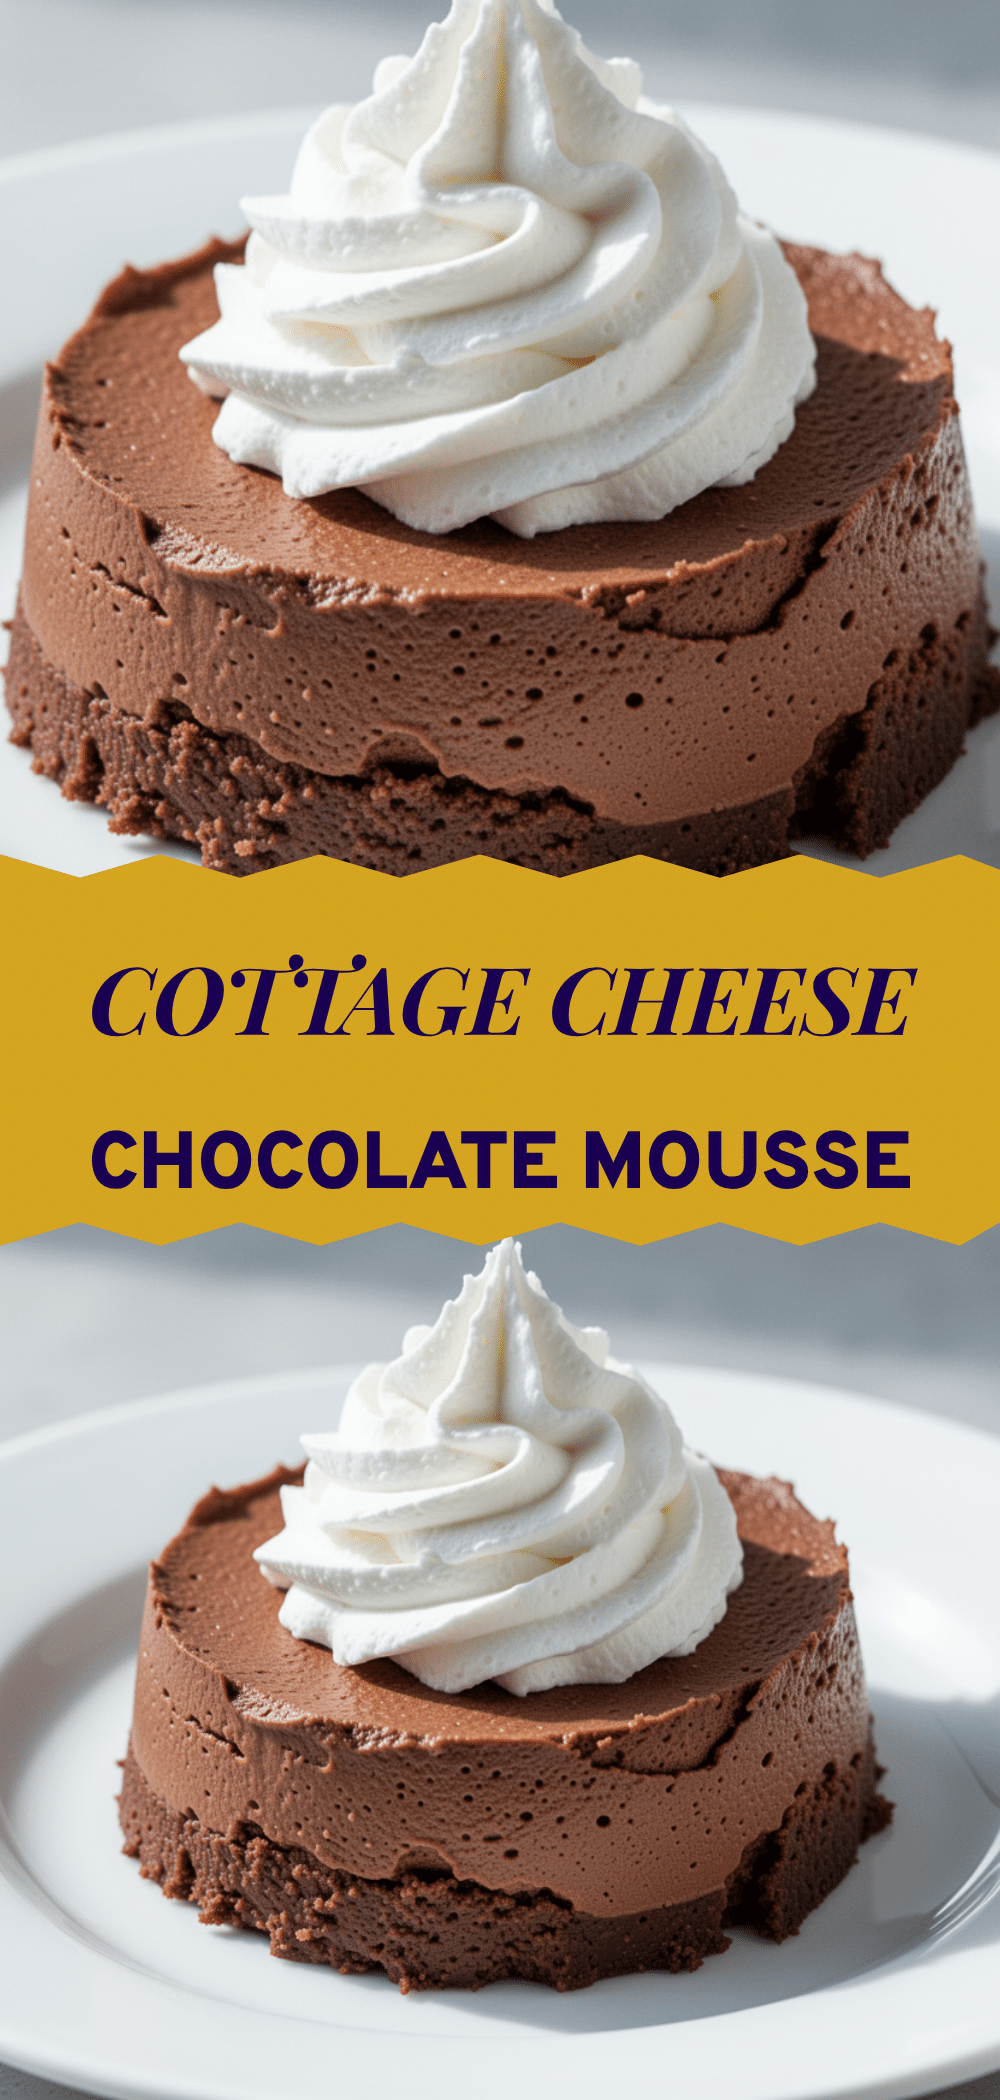

Cottage Cheese Chocolate Mousse: 3-Ingredient Healthy Dessert
- Total Time: 35 minutes
- Yield: 2 servings 1x
Description
A rich, creamy, and high-protein chocolate mousse made with just three simple ingredients. This healthy dessert requires no cooking and blends cottage cheese, cocoa powder, and sweetener into a silky treat that tastes like indulgence but fuels your body.
Ingredients
- 1 cup (about 225g) full-fat cottage cheese (small curds preferred)
- 1/4 cup (20-25g) unsweetened cocoa powder (Dutch-processed recommended)
- 2–3 tablespoons sweetener of choice (maple syrup, honey, or granulated sweetener like monk fruit/erythritol)
- 1/2 teaspoon vanilla extract (optional)
- 1 pinch sea salt (optional)
- 1/2 teaspoon espresso powder (optional)
Instructions
- If using large curd cottage cheese or a low-power blender, let the cottage cheese sit at room temperature for 10 minutes to help it blend more evenly.
- Add the cottage cheese, cocoa powder, sweetener, and any optional boosters (vanilla, salt, espresso powder) to a high-speed blender or food processor.
- Blend on low speed, gradually increasing to high. Blend for 60-90 seconds, stopping to scrape down the sides if necessary, then blend for another 30 seconds until the mixture is completely smooth and silky with no visible curds.
- Taste the mousse. Adjust sweetness or thickness by adding more sweetener or a splash of milk/almond milk if needed.
- Pour the mousse into serving glasses or bowls.
- Cover and refrigerate for at least 30 minutes, ideally 1-2 hours, to allow the mousse to firm up and flavors to meld.
- Serve chilled, optionally topped with fresh fruit, nuts, whipped cream, or sea salt flakes.
Notes
Use full-fat cottage cheese for the best creamy texture; low-fat versions can make the mousse watery. Small curd cottage cheese blends smoother and faster than large curds. Do not freeze the mousse as it can become icy; refrigerate instead. If using dry sweeteners, ensure they are fully dissolved by blending longer. The mousse tastes best after chilling for at least 30 minutes.
- Prep Time: 5 minutes
- Cook Time: 0 minutes
- Category: Dessert
- Cuisine: American
Nutrition
- Serving Size: Approximately 1/2 cu
- Calories: 280
- Sugar: 18
- Sodium: 350
- Fat: 12
- Saturated Fat: 7
- Carbohydrates: 22
- Fiber: 4
- Protein: 18
Keywords: cottage cheese chocolate mousse, healthy dessert, high protein dessert, 3 ingredient recipe, no bake dessert, gluten free dessert, keto friendly dessert


