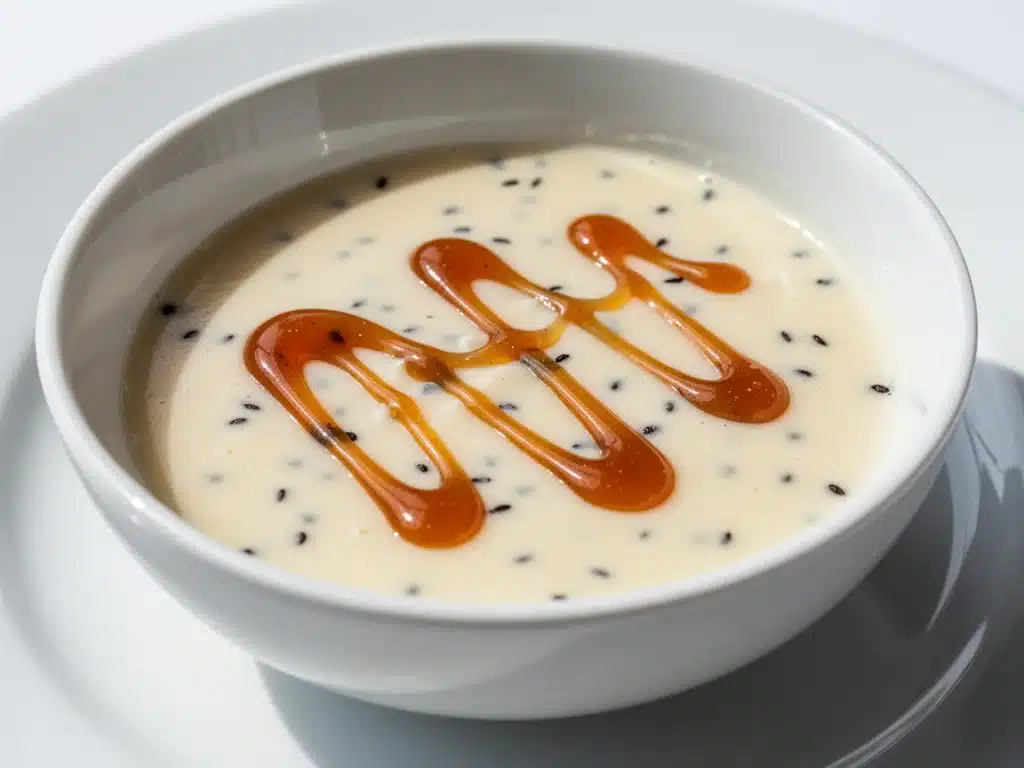
I still remember the first time I made vanilla bean custard for my in-laws. I was twenty-four, convinced that “elegant dessert” meant something complicated involving spun sugar or a soufflé that might collapse if I looked at it wrong. I was stressed, the kitchen was small, and I had exactly one hour before they arrived. That’s when I decided to skip the risky baked custards and go for the silky, stovetop version. I whisked eggs and cream while simultaneously checking the oven for my main course, praying this simple mixture wouldn’t scramble into scrambled eggs.
It didn’t. It came out smooth, glossy, and incredibly fragrant. My mother-in-law took one spoonful, closed her eyes, and said, “This tastes like my childhood.” That was the moment I realized that elegance isn’t about complexity. It’s about quality ingredients and technique. This simple vanilla bean custard has become my go-to whenever I need to impress without spending hours in the kitchen. It’s the kind of dessert that feels luxurious but is actually surprisingly forgiving.
Over the last few years, I’ve made this recipe dozens of times. I’ve tested it with different types of vanilla, different cream ratios, and even tried making it in a slow cooker (spoiler: stovetop is still king). The result is a dessert that’s light enough to enjoy after a heavy meal but rich enough to feel like a treat. If you’ve ever been intimidated by pastry cream or crème anglaise, this is your entry point. It’s essentially the same technique, just dialed back to a gentle, manageable simmer. Trust me, once you taste the difference between vanilla extract and real vanilla beans, you’ll never go back.
Why You’ll Love This Simple Vanilla Bean Custard
There are about ten reasons I keep coming back to this recipe, but here are the big ones that make it a staple in my rotation.
It’s Stupidly Simple — Seriously, if you can whisk and stir, you can make this. There’s no baking involved, no water bath to manage, and no risk of cracking. I’ve made this while watching TV. I’ve made it while helping my kids with homework. It requires attention, sure, but not intense focus.
Real Vanilla Flavor — I know vanilla bean custard sounds fancy, but the flavor comes from the specks in the beans, not just the cream. The aroma is intoxicating. It smells like a high-end French patisserie, but you’re making it in your regular kitchen with regular pots.
Versatile Texture — You can serve it warm, chilled, or even frozen as a soft-serve ice cream. I love it warm over fresh berries in the summer and chilled in the winter. It adapts to whatever mood I’m in.
Make-Ahead Friendly — This is one of those desserts that actually improves with time. I often make it the night before, cover it with plastic wrap (touching the surface to prevent a skin), and let it chill. It gets thicker and more flavorful. It’s perfect for dinner parties because you’re not stuck in the kitchen while guests are eating.
Gluten-Free Naturally — No flour, no gluten. It’s safe for most dietary restrictions, which makes it an easy dessert to offer when I’m hosting a mixed group. Unlike grandma’s bread pudding, which is delicious but carb-heavy, this feels lighter and more refined.
This recipe has saved me more times than I can count. It’s my answer to “I want something special but I don’t have time to bake.” No fancy equipment, no weird ingredients, just reliable, delicious food that makes everyone happy.
Ingredients You’ll Need
Here’s the best part: you probably have most of this already. The beauty of vanilla bean custard is its simplicity. You don’t need a pantry full of exotic spices. Just four main ingredients, and one of them is the star.
Heavy Cream (2 cups / 480ml) — This is the base. You need full-fat cream for that rich, silky texture. Skim milk or half-and-half will make it watery and thin. I use heavy cream because it whips slightly if you want a dollop on top, but mostly because it tastes indulgent. Don’t substitute this unless you’re okay with a thinner custard.
Whole Milk (1 cup / 240ml) — This lightens the cream slightly so the custard isn’t too heavy. Whole milk is best for flavor. If you’re in a pinch, 2% works, but you’ll lose some richness. I like the balance of milk and cream because it makes the custard feel elegant but not cloying.
Vanilla Beans (2 large pods) — This is the non-negotiable part. I know vanilla extract is easier, but it just doesn’t compare. You get those beautiful black specks that look fancy, but more importantly, the flavor is deeper and more floral. Split the pods lengthwise and scrape out the seeds. Save the pods! You can steep them in the cream later for extra flavor, or dry them out to make your own vanilla sugar. It’s a great way to avoid waste.
Large Egg Yolks (5 yolks) — Yolks are what give custard its yellow color and rich mouthfeel. Whites make it rubbery. I always buy cartons of just yolks if I’m making this, or I freeze them from when I make meringues. Five yolks is the sweet spot for two cups of cream. If you only have whole eggs, use three whole eggs, but the texture will be slightly less dense.
Granulated Sugar (½ cup / 100g) — This sweetens the custard and helps stabilize the eggs. I prefer granulated because it dissolves easily. Brown sugar would add a molasses flavor that clashes with the vanilla. Don’t reduce the sugar too much, or the custard won’t set properly.
Salt (¼ teaspoon) — A pinch of salt is crucial. It balances the sweetness and makes the vanilla flavor pop. I use fine sea salt. If you only have kosher salt, use a bit more.
Optional: Cornstarch (1 teaspoon) — Some recipes use cornstarch to make it thicker, like a pudding. I prefer a looser, sauce-like consistency (crème anglaise style), so I skip it. But if you want it to hold its shape on a spoon, add 1 teaspoon mixed with a little cold milk.
Shopping Tips
Look for Madagascar or Tahitian vanilla beans. Madagascar beans are classic and sweet; Tahitian beans are more floral and fruity. Both work beautifully. If you can’t find fresh beans, use 2 tablespoons of high-quality vanilla extract, but add it at the very end off the heat to preserve the flavor.
Equipment Needed
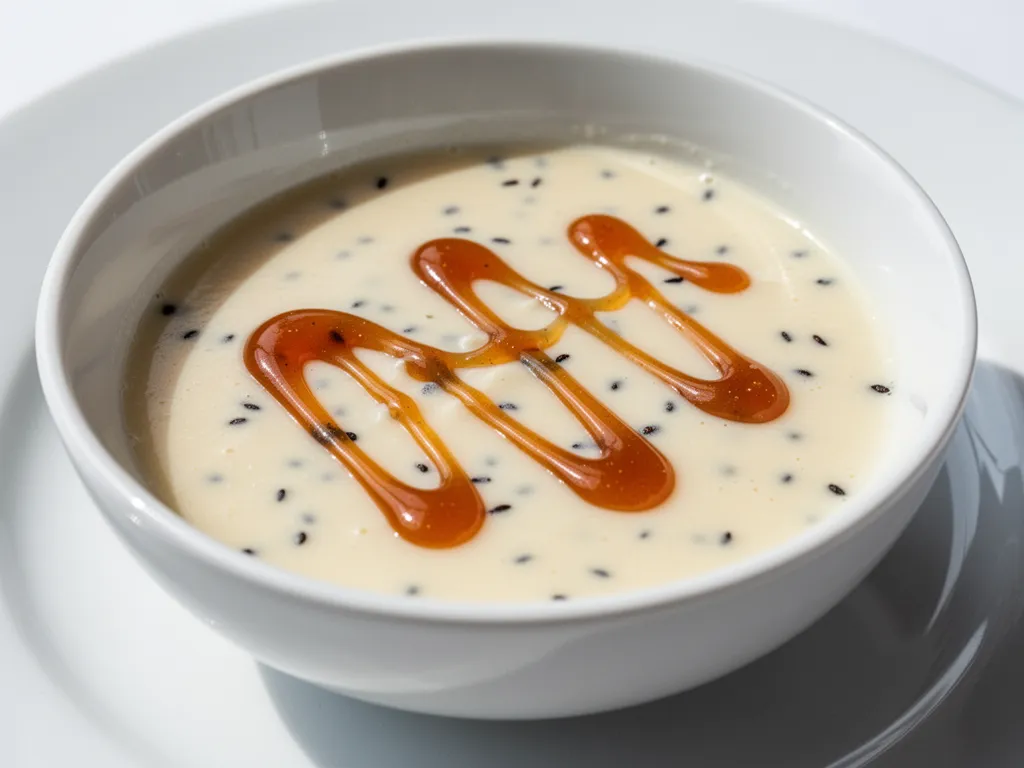
You don’t need fancy equipment for this. Here’s what I actually use.
Medium Saucepan — I use a 3-quart stainless steel saucepan. It needs to be heavy-bottomed so the heat distributes evenly and doesn’t scorch the bottom. Aluminum works too, but stainless is easier to clean.
Whisk — A balloon whisk is essential. You need to incorporate air and break up the eggs gently. A fork works in a pinch, but a whisk is much faster and more effective.
Mixing Bowl — A medium bowl for tempering the eggs. Glass or ceramic works best because it’s easy to see the color change.
Strainer — A fine-mesh sieve is crucial. It catches the cooked bits of egg and the vanilla pod fibers, ensuring a perfectly smooth custard. I don’t skip this step, ever. It makes all the difference.
Spatula — A heatproof silicone spatula for stirring the custard in the pan. It gets into the corners and ensures even cooking.
Custard Cups or Bowls — For serving. Small ramekins look elegant, but any small bowl works. I love serving it in glass bowls so you can see the specks.
Plastic Wrap — To cover the custard while it cools, preventing a skin from forming on top.
How to Make It: Step-by-Step
Alright, let’s make this! I’m walking you through exactly how I do it, including the little tricks I’ve picked up. The key here is gentle heat. We’re cooking the eggs, not scrambling them.
Step 1: Prep the Vanilla
Take your vanilla beans and split them lengthwise with a sharp knife. Use the back of the knife to scrape out the tiny black seeds. Put both the seeds and the empty pods into your saucepan. This ensures maximum flavor infusion. If you’re using vanilla extract, skip this and save it for later.
Step 2: Heat the Cream and Milk
Add the heavy cream and whole milk to the saucepan with the vanilla. Place the pan over medium-low heat. You want to warm the mixture, not boil it. Stir occasionally. You’ll know it’s ready when you see small bubbles forming around the edges and steam rising—about 160°F (70°C). This usually takes 5-7 minutes. Remove from heat and let it steep for 10 minutes. This step is crucial for extracting the vanilla flavor. If you’re impatient, you can skip the steep, but the flavor will be milder.
Step 3: Whisk Eggs and Sugar
While the cream heats, whisk the egg yolks and sugar in your mixing bowl. Whisk vigorously for about 2 minutes until the mixture is pale yellow and slightly thickened. This incorporates air and helps the custard set smoothly. Add the salt. The mixture should look like a thick paste.
Step 4: Temper the Eggs
This is the most important step. Slowly pour about half of the warm cream mixture into the egg yolks while whisking constantly. Pour slowly! If you dump it in, you’ll make scrambled eggs. The goal is to raise the temperature of the eggs gradually. Once combined, pour the egg mixture back into the saucepan with the rest of the cream.
Step 5: Cook the Custard
Return the saucepan to medium-low heat. Stir constantly with your silicone spatula, scraping the bottom and corners. The custard will start to thicken. This takes about 5-8 minutes. You’re looking for “nappe” consistency. If you drag your finger across the back of the spatula, the line should hold its shape without the custard running back together. The temperature should reach 170-175°F (77-80°C). Do not let it boil, or the eggs will curdle.
Step 6: Strain and Cool
Immediately remove the pan from the heat. Pour the custard through a fine-mesh strainer into a clean bowl. This catches any cooked egg bits and ensures a silky smooth texture. Discard the vanilla pods (or save them for sugar). Press plastic wrap directly onto the surface of the custard to prevent a skin from forming. Let it cool to room temperature, then refrigerate for at least 2 hours, preferably overnight.
Total Time: About 45 minutes active, plus cooling time.
Expert Tips & Tricks
Here’s everything I’ve learned from making this dozens of times. These tips will save you from my mistakes.
Don’t Rush the Heat
Medium-low is your friend. If the heat is too high, the eggs will scramble. I’ve ruined batches by getting distracted and turning up the heat. Keep it gentle. If you’re nervous, use a double boiler (a bowl over simmering water) instead of a direct saucepan. It’s foolproof but takes longer.
Temper Carefully
When adding the hot cream to the eggs, pour in a thin stream while whisking like crazy. If you pour too fast, you’ll get little curds. It’s better to be slow and safe. Once tempered, the mixture will look glossy and uniform.
Strain, Strain, Strain
I cannot stress this enough. Even if you think you did everything perfectly, strain it. It catches the tiny bits of cooked egg that are inevitable. It’s the secret to that restaurant-quality smoothness. I use a chinois if I have one, but a standard fine-mesh sieve works great.
Plastic Wrap is Mandatory
If you leave the custard uncovered as it cools, a skin will form on top. It’s rubbery and unpleasant. Press plastic wrap directly onto the surface. No air gaps. This keeps it smooth and shiny.
Taste Before Chilling
Before you put it in the fridge, taste it. It should be slightly sweeter than you want the final product to be, because chilling dulls sweetness. If it needs more vanilla, add a drop of extract now. Adjust salt if needed.
Common Mistakes
Mistake: Custard is too thin. Fix: You didn’t cook it long enough. Next time, let it thicken more. Remember, it will thicken further as it cools. If it’s still too thin after chilling, you can whisk in a little cornstarch slurry and reheat gently.
Mistake: Custard is lumpy. Fix: The heat was too high, or you didn’t temper the eggs properly. Strain it immediately to remove lumps. For next time, lower the heat and whisk more vigorously when tempering.
Mistake: Skin formed on top. Fix: You didn’t use plastic wrap. Or you didn’t wait long enough for it to cool before covering. Cover it as soon as it stops steaming.
Variations & Substitutions
Once you’ve nailed the basic version, here’s how you can mix it up. I’ve tried all of these.
Chocolate Vanilla Custard
Add ½ cup of chopped semi-sweet chocolate when you remove the custard from heat. Stir until melted. The chocolate adds richness and pairs beautifully with the vanilla. This is great for date nights.
Coffee Vanilla Custard
Add 1 tablespoon of instant espresso powder to the warm cream mixture. It enhances the vanilla flavor without making it taste like coffee. Perfect with summer sangria slushies for a balanced meal.
Lemon Vanilla Custard
Add the zest of one lemon to the warm cream. Stir in 1 tablespoon of lemon juice after straining. It’s bright and tangy, cutting through the richness. Great with berries.
Coconut Vanilla Custard
Replace half the heavy cream with full-fat coconut milk. Add 1 teaspoon of coconut extract. It’s dairy-free (if you skip the dairy) and has a tropical vibe. Serve with toasted coconut flakes.
Spiced Vanilla Custard
Add a pinch of cardamom or cinnamon to the cream while heating. It adds warmth and complexity. Wonderful in the fall.
Dietary Modifications
Dairy-Free
Use coconut cream instead of heavy cream and coconut milk instead of whole milk. The flavor will be coconut-forward, so add extra vanilla. It sets slightly differently but is still delicious.
Egg-Free
This is harder. Custard relies on eggs for structure. You can try using cornstarch and agar-agar, but the texture will be more like pudding than custard. I recommend sticking to the original recipe if possible.
Serving & Storage
How to Serve:
I usually serve this chilled, but it’s also amazing warm. For a warm version, just reheat gently on the stove. I love serving it with fresh berries—strawberries, raspberries, or blackberries. The acidity of the fruit balances the richness. You can also drizzle it with a little honey or caramel sauce.
Side Dishes:
This dessert is light, so it pairs well with heavier main courses. If you’re serving it after a meal like maple bourbon ribs, the custard is a perfect light finish. It’s also great with sriracha honey chicken wings for a spicy-sweet contrast.
Toppings:
Fresh mint leaves, edible flowers, crushed pistachios, or a dollop of whipped cream. Keep it simple so the vanilla flavor shines.
Storage Instructions:
Refrigerator:
Store in an airtight container for up to 5 days. The plastic wrap on the surface helps keep it fresh. It will thicken in the fridge, which is normal.
Freezing:
You can freeze this, but the texture may change slightly. It might become a bit grainy when thawed. To freeze, pour into a freezer-safe container and leave ½ inch of headspace. Thaw in the fridge overnight and whisk vigorously to restore smoothness. I usually don’t freeze it because it’s so good fresh.
Reheating:
If you want to serve it warm, gently reheat in a saucepan over low heat, stirring constantly. Do not boil. Microwave works too, but heat in short bursts and stir well.
Nutrition Information
I’m not a nutritionist, but here’s the breakdown if you’re tracking. This is a rich dessert, so portion control is key.
Per Serving (based on 6 servings, ½ cup each):
- Calories: 280
- Protein: 5g
- Carbs: 18g
- Fiber: 0g
- Sugar: 16g
- Fat: 22g
- Saturated Fat: 13g
- Cholesterol: 180mg
- Sodium: 45mg
What’s Good:
High in calcium from the dairy. The vanilla beans have antioxidants. It’s naturally gluten-free.
What to Know:
Higher in saturated fat and cholesterol due to the egg yolks and cream. If you’re watching your intake, enjoy a smaller portion. You can lighten it by using half-and-half instead of heavy cream, but it won’t be as rich.
My Take:
Look, this is a treat. It’s not a health food. But it’s made with real ingredients, no artificial flavors, and it’s better than any store-bought pudding. When I make it, I enjoy a small bowl and savor it. That’s the point.
Final Thoughts
So that’s my simple vanilla bean custard! I’ve probably talked your ear off at this point, but when you make a recipe this often, you have a lot to say about it.
This has saved dinner parties more times than I can count. It’s my answer to “I want to impress, but I’m tired.” It’s elegant, it’s delicious, and it’s surprisingly easy. My friends always ask for the recipe, and I’m always happy to share. It’s one of those desserts that feels like a hug in a bowl.
Make it yours! Try different vanilla beans, add some fruit, or serve it warm. The best recipes are the ones you adapt to your tastes. If you make this, drop a comment and let me know what you think! I love hearing how recipes turn out in your kitchen. And if something doesn’t work, tell me that too—I’m here to help troubleshoot.
Happy cooking! And I hope your kitchen smells half as good as mine does right now.
Frequently Asked Questions
Can I use vanilla extract instead of vanilla beans?
Yes, you can. Use 2 tablespoons of high-quality vanilla extract. Add it at the very end, after you’ve removed the custard from heat. Boiling vanilla extract can make it lose its flavor. The texture will be the same, but you won’t get the pretty black specks. It’s still delicious, just less visually fancy.
Why did my custard curdle?
Curdling usually happens because the heat was too high, or you added the hot cream to the eggs too quickly. If it curdles, don’t panic! Strain it through a fine-mesh sieve to remove the lumps. It will still be tasty, just not as smooth. Next time, lower the heat and temper the eggs more slowly.
Can I make this ahead?
Absolutely. This recipe actually benefits from being made ahead. Make it 1-2 days in advance, cover it with plastic wrap, and refrigerate. It will thicken and the flavors will meld. It’s perfect for meal prep or dinner parties.
How do I serve it without a skin forming?
The key is plastic wrap. As soon as you pour the custard into the bowl, press plastic wrap directly onto the surface. Make sure there are no air bubbles. This prevents a skin from forming as it cools. If you don’t have plastic wrap, you can brush a thin layer of butter on top, but plastic wrap is better.
Is this custard safe to eat raw?
No. The eggs are cooked gently, but they are not pasteurized. If you are concerned about raw eggs, use pasteurized eggs. You can buy them at most grocery stores. They look and taste the same but are safer for pregnant women, young children, or immunocompromised individuals.
Can I freeze this custard?
You can, but the texture may change. Dairy-based custards can become grainy when frozen and thawed. If you do freeze it, thaw it in the fridge overnight and whisk it vigorously to restore the smoothness. I prefer to make it fresh, but freezing is an option if you need to save leftovers.
What kind of vanilla beans should I buy?
Madagascar vanilla beans are the most common and have a classic, sweet vanilla flavor. Tahitian vanilla beans are more floral and fruity. Both work beautifully. Avoid “vanilla flavoring” or imitation vanilla. Look for plump, moist beans that smell strongly of vanilla. If they’re dry, they might be old.
Pin This Recipe!
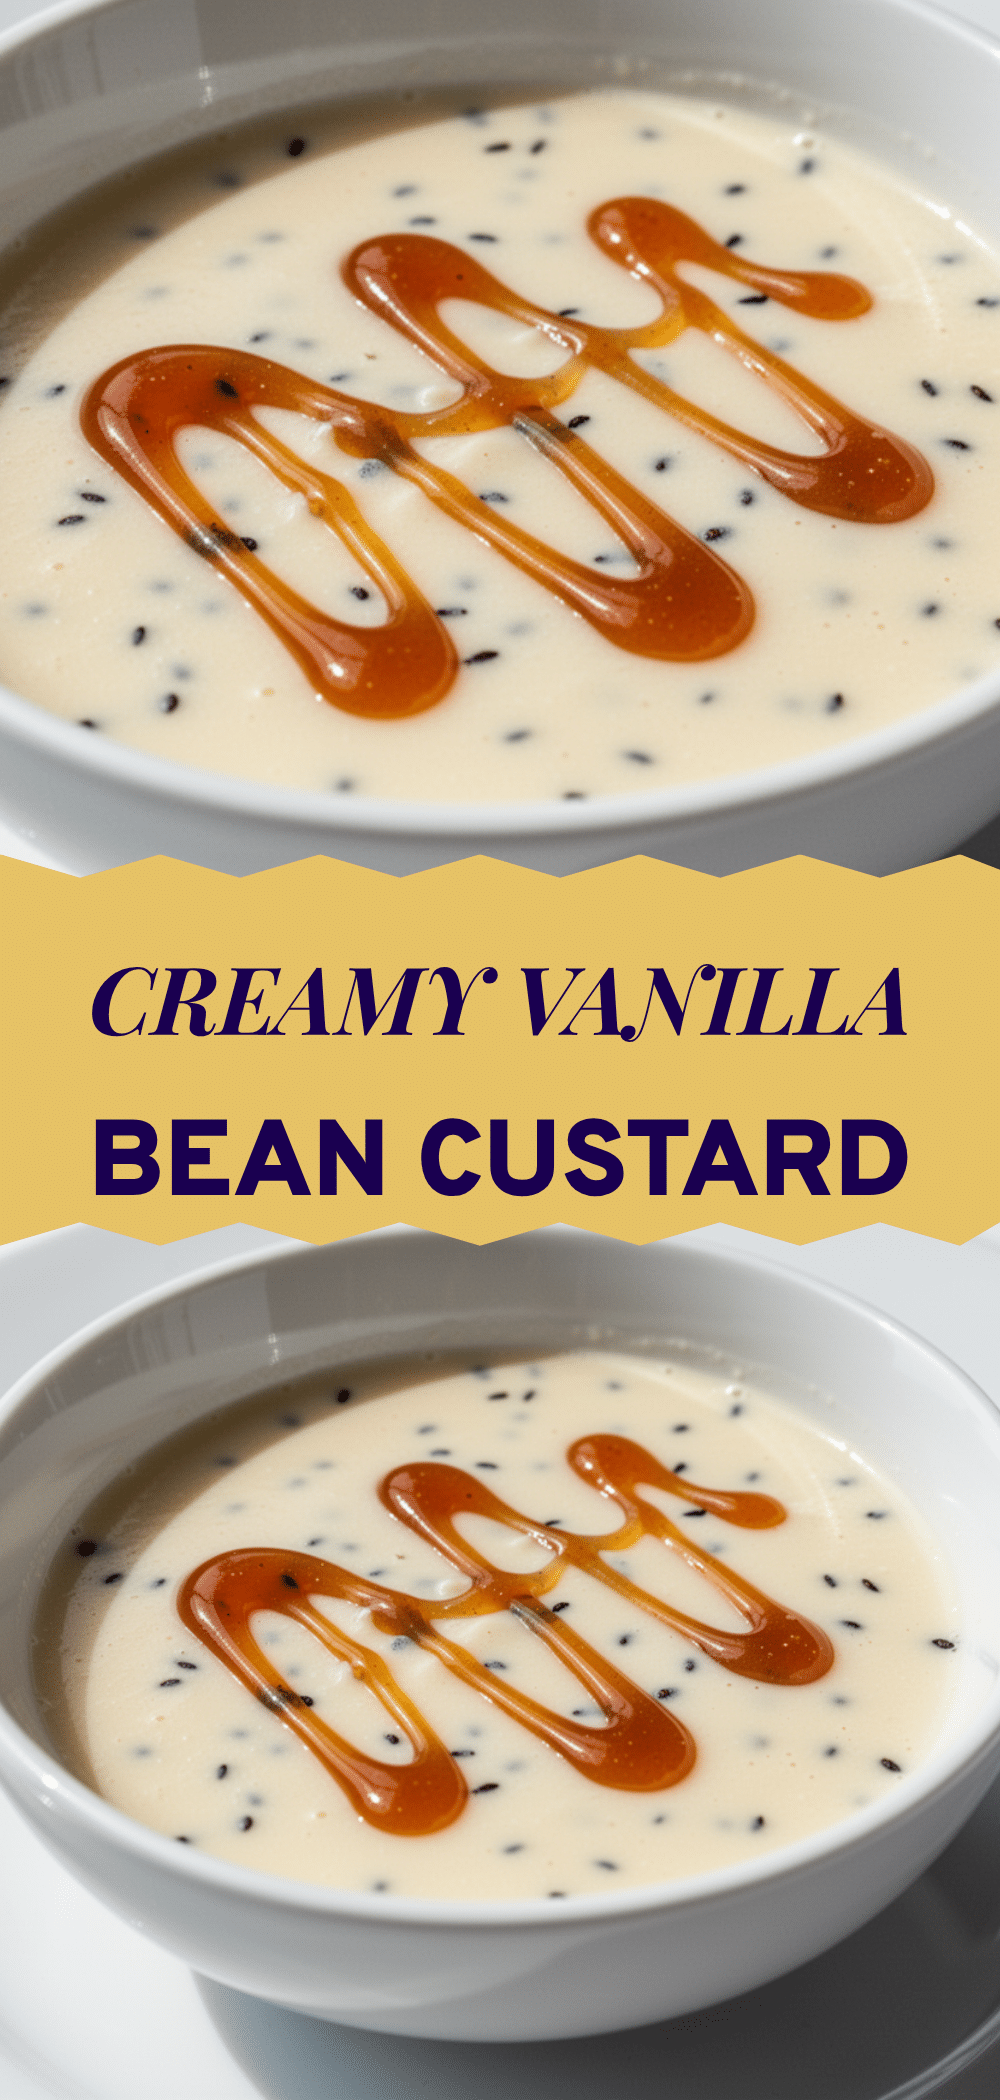
Simple Vanilla Bean Custard: 5-Step Elegant Dessert
- Total Time: 45 minutes
- Yield: 6 servings 1x
Description
A silky, stovetop vanilla bean custard that is elegant yet surprisingly simple to make. This gluten-free dessert uses real vanilla beans for deep flavor and requires no baking or water bath.
Ingredients
- 2 cups heavy cream
- 1 cup whole milk
- 2 large vanilla beans
- 5 large egg yolks
- ½ cup granulated sugar
- ¼ teaspoon fine sea salt
- 1 teaspoon cornstarch (optional, for thicker consistency)
Instructions
- Split the vanilla beans lengthwise and scrape out the seeds. Add both the seeds and empty pods to a medium saucepan.
- Add the heavy cream and whole milk to the saucepan with the vanilla. Heat over medium-low heat until small bubbles form around the edges and steam rises (about 160°F/70°C), stirring occasionally. Remove from heat and let steep for 10 minutes.
- While the cream heats, whisk the egg yolks, sugar, and salt in a mixing bowl vigorously for about 2 minutes until pale yellow and slightly thickened.
- Slowly pour about half of the warm cream mixture into the egg yolks while whisking constantly to temper the eggs. Then, pour the egg mixture back into the saucepan with the remaining cream.
- Return the saucepan to medium-low heat. Stir constantly with a heatproof spatula, scraping the bottom and corners, for 5-8 minutes until the custard thickens to a ‘nappe’ consistency (coats the back of a spoon and holds a line when a finger is drawn through it). The temperature should reach 170-175°F (77-80°C). Do not boil.
- Immediately remove from heat and pour the custard through a fine-mesh strainer into a clean bowl to remove vanilla pod fibers and any cooked egg bits.
- Press plastic wrap directly onto the surface of the custard to prevent a skin from forming. Let cool to room temperature, then refrigerate for at least 2 hours or overnight before serving.
Notes
For a thicker pudding-like consistency, whisk 1 teaspoon of cornstarch with a little cold milk and add it during the cooking step. If using vanilla extract instead of beans, use 2 tablespoons and add it at the very end off the heat. To prevent a skin, plastic wrap must touch the surface of the custard immediately after straining. This custard improves in flavor when made ahead and chilled overnight.
- Prep Time: 15 minutes
- Cook Time: 30 minutes
- Category: Dessert
- Cuisine: French
Nutrition
- Serving Size: ½ cup
- Calories: 280
- Sugar: 16
- Sodium: 45
- Fat: 22
- Saturated Fat: 13
- Carbohydrates: 18
- Protein: 5
Keywords: vanilla bean custard, crème anglaise, stovetop dessert, gluten-free dessert, elegant dessert, homemade custard, vanilla custard recipe


