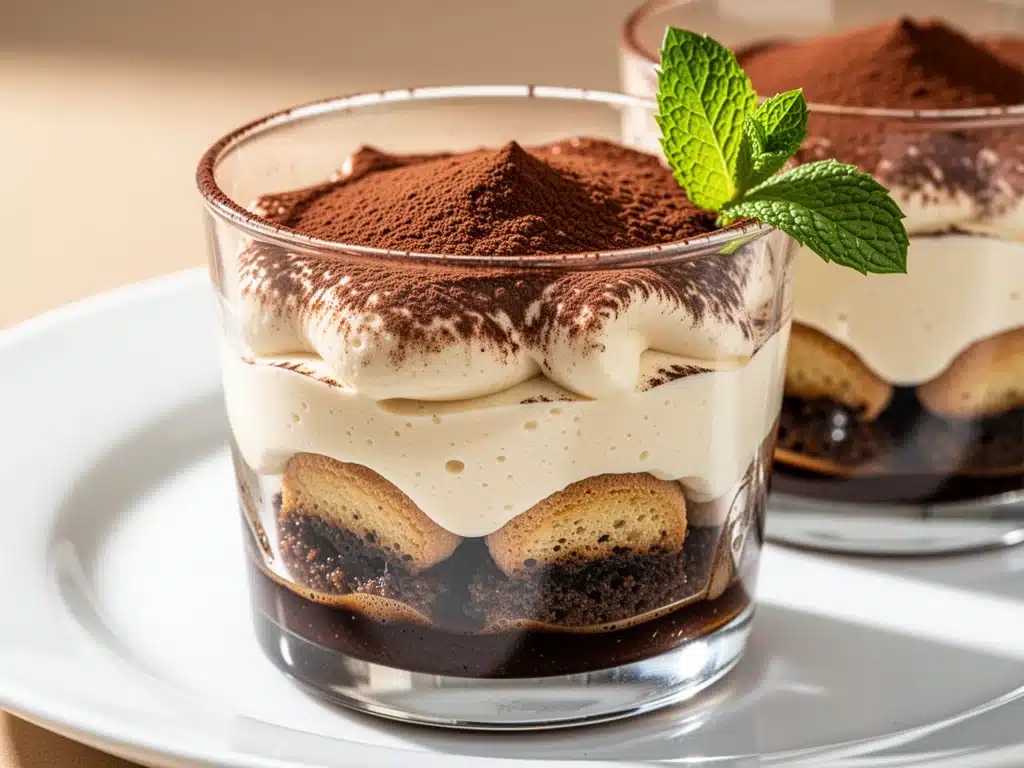
It was last October, and I had made a critical, hubristic error. I decided to attempt a traditional, layered tiramisu for a dinner party. You know the kind—the one that requires a separate bowl for egg yolks, another for whites, a double boiler to temper them, and about four hours of chilling time just so the mascarpone doesn’t turn into soup. I was feeling confident. I was feeling like a pastry chef. I was wrong.
Two hours before guests arrived, I went to check on the dessert. The layers had collapsed. The ladyfingers had turned into a soggy, coffee-soaked mush that looked less like Italian elegance and more like a wet paper towel. I panicked. I called my Italian mother-in-law, expecting her to tell me I’d ruined the family reputation forever. Instead, she laughed. “Maria,” she said, “make the cups. No one cares about the layers when they can’t wait to eat it.”
So, I improvised. I grabbed individual glasses, crushed the cookies instead of layering them, and poured the coffee over them in batches. I stopped worrying about the architecture and started focusing on the flavor. When the guests arrived, something magical happened. They didn’t ask about the structure. They asked about the recipe. They loved that they could grab a spoon and dig in without needing a knife. They loved that it tasted just as rich and creamy as the big version, but without the stress.
That was the moment I discovered Italian Tiramisu Cups. They are the ultimate hack for busy nights, unexpected guests, or anyone (like me) who has zero patience for delicate dessert engineering. This 5-minute no bake dessert is my go-to when I need to impress people without spending all day in the kitchen. It’s creamy, it’s caffeinated, it’s sweet, and it’s ridiculously easy.
I’ve made these cups for everything from last-minute date nights to holiday gatherings. They travel well, they look elegant in clear glassware, and they taste better than most bakery versions I’ve tried. If you’ve ever been intimidated by tiramisu, this is your entry point. Trust me, once you try them, you’ll forget about the big cake entirely.
Why You’ll Love This 5-Minute No Bake Dessert
There are a hundred reasons to make tiramisu, but these cups? They solve the biggest problems with the classic version. Here’s why they’ve taken over my dessert rotation.
Zero Baking Required — Seriously. No oven, no double boiler, no tempering eggs. If you can mix a bowl and dip a cookie, you can make this. I’ve made these while my kids were screaming in the background, and they still came out perfect.
Lightning Fast — The active time is about 5 minutes. The rest is just waiting for the flavors to meld. I can whip this up in the time it takes to order takeout. But unlike takeout, this is fresh, homemade, and actually good for you (okay, maybe not *good* for you, but better than a brownie).
Perfect Portions — One of the biggest annoyances with a whole tiramisu is that you either overeat or have weird leftovers that dry out in the fridge. These cups are individual. You get exactly one serving. No guilt, no waste. It’s the perfect way to control portions when you’re craving something sweet.
Make-Ahead Friendly — These actually taste better the next day. The coffee soaks in, the cream sets slightly, and the flavors deepen. I love making them in the morning for a dinner party, or the night before for a busy Tuesday. They’re stable in the fridge for up to 3 days, which is a lifesaver for meal planning.
Visually Stunning — Because you’re using clear glasses or mason jars, you get those beautiful layers of cream and dark coffee. It looks fancy on a Pinterest board (and it is), but it’s just simple assembly. It screams “I put effort into this” when you really just put effort into buying good ingredients.
Gluten-Free Option — If you have gluten-intolerant friends, just swap the ladyfingers for gluten-free ones or even a crumbled gluten-free sponge cake. The cream part is naturally gluten-free, so it’s easy to adapt. I’ve made these for my celiac sister, and she cries when she eats them because they taste exactly like the real thing.
Ingredients You’ll Need for Italian Tiramisu Cups
Here’s the best part: you probably have most of these ingredients already. Tiramisu is famous for its simplicity. You don’t need fancy gadgets or obscure spices. Just a few high-quality basics.
For the Cream Filling:
Mascarpone Cheese (8 ounces / 225g) — This is the star. Do not substitute with cream cheese. Cream cheese is tangier and denser; mascarpone is rich, mild, and luxurious. If you can’t find mascarpone at your local grocery store, check the specialty cheese aisle or order it online. It’s worth the hunt.
Heavy Cream (1 cup / 240ml) — You need cold heavy cream to whip it properly. Don’t use half-and-half or light cream; it won’t hold the peaks. I keep a carton in the fridge specifically for desserts like this. It’s expensive, but you only need a cup.
Granulated Sugar (¼ cup / 50g) — Just enough to sweeten the cream without overpowering the coffee. You can reduce this to 2 tablespoons if you prefer it less sweet, but I find the balance is perfect at ¼ cup.
Vanilla Extract (1 teaspoon / 5ml) — Pure vanilla, not imitation. It adds a subtle warmth that complements the coffee beautifully. I use Nielsen-Massey because it’s consistent.
Egg Yolks (2 large / about 36g) — This is the traditional way to add richness and stability. If you’re worried about raw eggs, you can use pasteurized eggs or skip them and just use whipped cream, but the yolks give it that custard-like texture. For a vegan version, see below.
For the Coffee and Cookies:
Strong Espresso (1 cup / 240ml) — Brewed and cooled. Do not use instant coffee if you can help it. Fresh espresso or very strong cold brew is best. I use a single-origin dark roast because it has a bold flavor that stands up to the cream. If you don’t have an espresso machine, make a strong pot of French press coffee and let it cool completely.
Sugar (1 tablespoon / 15g) — Dissolved into the warm coffee. This helps the ladyfingers absorb the flavor better. If you’re using cold brew, just skip this or add it to the cream.
Ladyfingers (1 package / about 24-30 cookies) — Also known as savoiardi. These are the dry, crunchy Italian sponge cookies. Look for the ones that are crisp, not soft. Soft ladyfingers will disintegrate. I buy the store brand because they’re cheap and work perfectly. You’ll need about 2-3 cookies per cup.
Cocoa Powder (for dusting) — Unsweetened cocoa powder, preferably Dutch-processed for a darker, richer color. This is the classic finishing touch. It adds a bitter contrast to the sweet cream.
Optional Add-ins:
Amaretto or Marsala Wine (2 tablespoons) — For an adult version. I love adding a splash of amaretto to the coffee for an almond note. It’s optional, but it elevates the flavor profile significantly.
Chocolate Shavings — For extra decadence. I use dark chocolate shavings on top for a nice crunch.
Equipment Needed
You don’t need anything fancy for this. Here’s what I actually use.
Mixing Bowls — Two medium bowls. One for the egg yolks and sugar, one for the heavy cream. I use glass bowls because I can see the consistency better.
Electric Hand Mixer or Stand Mixer — Whipping cream by hand is possible but exhausting. A hand mixer is perfect for this. It takes about 3-4 minutes to get stiff peaks. If you don’t have a mixer, a whisk and some arm strength will work, but it’ll take longer.
Fork — For whisking the egg yolks and sugar. A fork is actually better than a spoon here because it incorporates air more easily.
Shallow Dish — For dipping the ladyfingers. I use a pie plate or a shallow bowl. It makes dipping easier than a deep bowl.
Serving Glasses — This is the key to the “cup” version. I use 8-ounce glasses, mason jars, or even dessert coupes. Clear glass is best so you can see the layers. I like using old-fashioned whiskey glasses because they’re sturdy and look rustic.
Sifter or Small Sieve — For dusting the cocoa powder. A small sieve gives you a nice, even dusting. If you don’t have one, just pinch the cocoa between your fingers and sprinkle it over the top.
Measuring Cups and Spoons — Standard stuff. Make sure your measuring cup for the coffee is accurate because the ratio of coffee to cream matters.
How to Make It: Step-by-Step
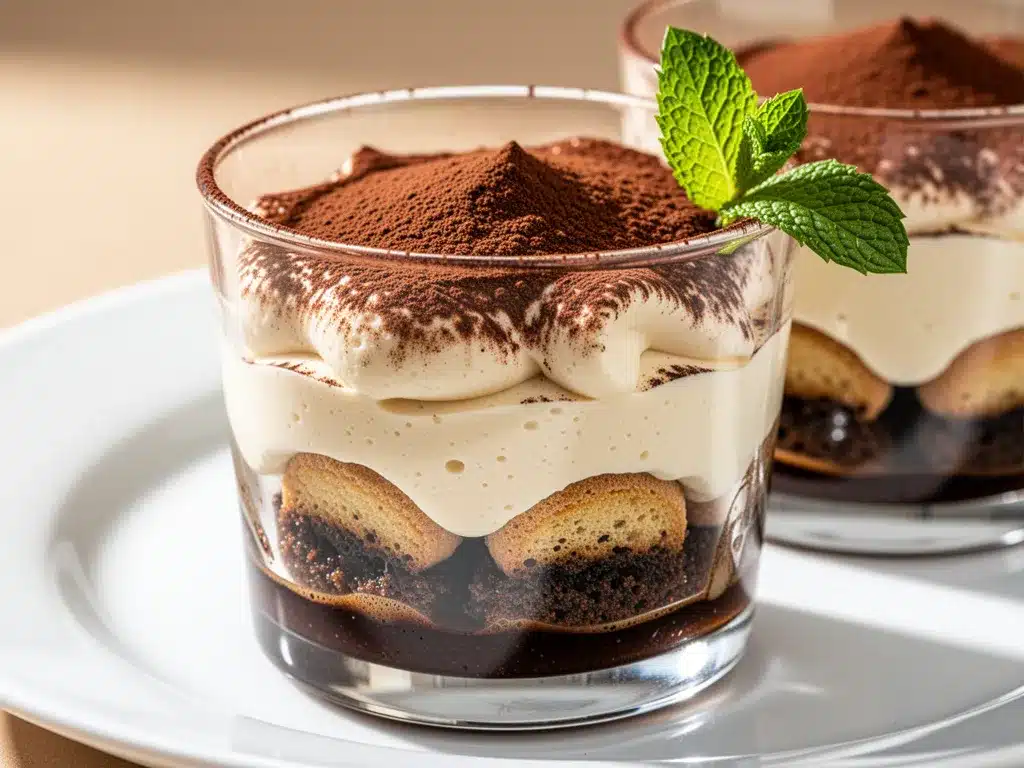
Alright, let’s make these Italian Tiramisu Cups! I’m walking you through exactly how I do it, including the little tricks I’ve picked up over the years.
Step 1: Prep Your Coffee (10 minutes)
Brew your espresso or strong coffee. It needs to be hot so you can dissolve the sugar, but you must let it cool completely to room temperature. If you put warm coffee on the ladyfingers, they’ll melt instantly. I usually brew it the night before and let it sit in the fridge. If you’re in a rush, put the coffee in the freezer for 10 minutes to speed it up. Stir in the tablespoon of sugar while it’s still warm.
Step 2: Whip the Heavy Cream (3 minutes)
In a medium bowl, pour the cold heavy cream. Beat it with your mixer on medium-high speed until you see soft peaks. This means when you lift the beaters, the cream forms a peak that droops over slightly. Don’t over-whip it into butter! Set this aside. We’ll fold it into the mascarpone later.
Step 3: Make the Mascarpone Mixture (5 minutes)
In a separate bowl, whisk the egg yolks and granulated sugar together until they are pale and slightly thickened. This takes about 2-3 minutes of vigorous whisking. If you’re using pasteurized eggs, you can eat them raw. If you’re worried, you can pasteurize them yourself by heating the yolks and sugar over a double boiler until they reach 160°F, then cooling them. Once pale, add the mascarpone cheese and vanilla extract. Beat on low speed just until combined and smooth. Do not overmix, or the mascarpone can curdle.
Step 4: Fold It All Together (2 minutes)
Gently fold the whipped heavy cream into the mascarpone mixture. Use a spatula and cut down the middle, across the bottom, and up the side. Rotate the bowl and repeat. You want to keep as much air in the mixture as possible. It should look light, fluffy, and uniform. If you see streaks of white cream, keep folding gently.
Step 5: Assemble the Cups (5 minutes)
Now for the fun part. Take your ladyfingers and quickly dip them into the cooled coffee. I mean *quickly*. Just a half-second on each side. You want them moist but not soggy. If you soak them too long, they’ll fall apart. Place one or two dipped ladyfingers at the bottom of your glass.
Spoon a generous layer of the cream mixture over the cookies. Use about ¼ cup of cream per cup. Then, add another layer of dipped ladyfingers on top of the cream. Finish with a final layer of cream, smoothing the top with the back of a spoon. You should have about 2-3 layers total, depending on your glass size.
Step 6: Chill and Dust (Wait time)
Refrigerate the cups for at least 1 hour, but ideally 4 hours or overnight. This allows the cookies to soften and the flavors to meld. Just before serving, sift a generous layer of unsweetened cocoa powder over the top of each cup. It should cover the cream completely. This is the classic look that makes everyone say “wow.”
Total Time: About 20 minutes active, plus chilling time.
Expert Tips & Tricks
Here’s everything I’ve learned from making these dozens of times. These tips will save you from my mistakes.
The Dip is Everything
This is the #1 mistake people make. They soak the ladyfingers too long. Remember: it’s a dip, not a bath. The ladyfingers are porous and will absorb moisture rapidly. If you soak them for more than 2 seconds, they’ll disintegrate into mush. I’ve ruined cups this way, and it’s heartbreaking. Quick dip, place in glass, move on.
Cold Ingredients Matter
Make sure your heavy cream and mascarpone are cold. Mascarpone can separate if it gets too warm. If your kitchen is hot, keep your mixing bowl in the fridge for 10 minutes before whipping. Cold cream whips faster and holds its shape better.
Don’t Skip the Resting Time
I know you want to eat it now. But if you eat these immediately, the ladyfingers will still be crunchy and the flavors won’t have blended. The chilling time is when the magic happens. The cream sets slightly, and the coffee permeates the cookies. It transforms from a “cookie dip” into a cohesive dessert. Patience pays off.
Use Good Cocoa Powder
The cocoa powder is the final impression. Don’t use the cheap stuff from the back of the pantry. Get a nice Dutch-processed cocoa powder like Hershey’s Special Dark or Valrhona. It’s darker, less acidic, and looks more professional.
Common Mistakes (and how to avoid them):
Mistake: The cream is grainy.
Fix: You likely overmixed the mascarpone. Mascarpone is delicate. Mix it on low speed and stop as soon as it’s smooth. If it’s already grainy, it’s okay—it will still taste good, just look a bit rustic.
Mistake: The cups are too watery.
Fix: You soaked the cookies too long, or your coffee wasn’t cooled enough. Next time, use less coffee and ensure it’s cold. Also, make sure you’ve drained the excess liquid from the dipping dish before placing the cookies in the glass.
Pro Tricks I’ve Learned:
For Extra Flavor
Add a teaspoon of orange zest to the cream mixture. It adds a bright, citrusy note that cuts through the richness. It’s a subtle change, but it makes the tiramisu taste more complex.
For Better Texture
Crush the top layer of ladyfingers instead of dipping them. Sprinkle crushed cookies on top of the cream before dusting with cocoa. It adds a nice crunch on top, contrasting with the soft cream inside.
Make-Ahead Strategy
These are perfect for meal prep. Make them on Sunday, store in the fridge, and grab one for dessert during the week. They last up to 3 days. Just add the cocoa powder right before serving so it doesn’t get soggy.
Variations & Substitutions
Once you’ve nailed the basic version, here’s how you can mix it up. I’ve tried all of these.
Almond Tiramisu
Add 1 tablespoon of almond extract to the cream mixture. Use amaretto-soaked ladyfingers instead of coffee-soaked. It’s a completely different vibe—nutty and sweet. My husband loves this version.
Chocolate Tiramisu
Replace the cocoa powder dusting with chocolate shavings. Add 2 tablespoons of cocoa powder to the cream mixture itself. It’s like a tiramisu chocolate cake. Rich and intense.
Coffee-Lover’s Version
Add an extra tablespoon of espresso powder to the cream mixture. For people who think normal coffee isn’t strong enough, this packs a punch. I make this for my barista friends.
Dairy-Free Option
Replace mascarpone with a dairy-free cream cheese alternative (like Kite Hill) and heavy cream with coconut cream (the thick part from a chilled can). It’s not exactly the same, but it’s creamy and delicious. I’ve made this for my vegan friends, and they love it.
Vegan Option
Use aquafaba (chickpea water) to whip the “cream,” or use a vegan mascarpone substitute. Skip the egg yolks. It’s a bit more experimental, but there are good vegan mascarpone brands out there now.
Gluten-Free
Use gluten-free ladyfingers. They’re widely available now. Or, use crumbled gluten-free sponge cake or even gluten-free wafers. The technique is the same.
Serving & Storage
How to Serve:
I usually serve these straight from the fridge. They’re best cold. I garnish with a single coffee bean or a small piece of dark chocolate for a fancy touch. If you’re having a dinner party, I love arranging them on a platter with a few sprigs of mint. It looks beautiful and refreshing.
Side Dishes:
These are a complete dessert on their own. You don’t need anything else. But if you want a savory contrast, serve them after a light meal like grilled watermelon feta skewers. The acidity of the watermelon balances the richness of the tiramisu perfectly.
Storage Instructions:
Refrigerator:
Store in an airtight container or covered with plastic wrap for up to 3 days. The cookies will continue to soften, which is good. Do not leave them out at room temperature for more than 2 hours due to the dairy and eggs.
Reheating:
Do not reheat these. Tiramisu is a chilled dessert. Heating it will melt the cream and make the cookies disintegrate. Eat it cold or at room temperature.
Freezing:
I don’t recommend freezing tiramisu cups. The texture of the cream can become grainy when thawed, and the cookies may become mushy. It’s best enjoyed fresh. If you must freeze, freeze the cream mixture separately, then assemble and thaw in the fridge overnight. But honestly, it’s not worth the effort.
Pro tip:
If you’re making these for a crowd, prepare the cream mixture and coffee the night before. Assemble the cups the day of. It saves time and ensures the best texture.
Nutrition Information
I’m not a nutritionist, but here’s the breakdown if you’re tracking. Keep in mind that these are estimates and can vary based on the specific brands you use.
Per Serving (1 cup, based on 8 servings):
- Calories: 380
- Protein: 6g
- Carbs: 35g
- Fiber: 1g
- Sugar: 22g
- Fat: 24g
- Saturated Fat: 14g
- Cholesterol: 110mg
- Sodium: 80mg
What’s Good:
- It’s a single-serving dessert, so portion control is built-in.
- Contains some protein from the dairy.
- Espresso has antioxidants.
What to Know:
- Higher in calories and fat due to the mascarpone and cream.
- Contains dairy and gluten (unless modified).
- Contains caffeine, so be mindful if eating late at night.
My Take:
Look, this is a dessert. It’s meant to be indulgent. It’s not a health food. But it’s better than buying a slice of cake from a bakery, and you know exactly what’s in it. When I want to make it lighter, I use less sugar and add more fruit on the side. But usually? I just enjoy a cup and savor every bite.
Final Thoughts
So that’s my Italian Tiramisu Cups! I know I’ve talked a lot about how easy they are, but when you make a recipe this often, you realize that simplicity is the ultimate sophistication. These cups have saved me from dinner party disasters, late-night cravings, and the stress of complex baking.
This has become my answer to “what’s for dessert” when I want something special but don’t want to spend hours in the kitchen. My family loves them, my friends ask for the recipe, and I love that I can make them in minutes. It’s the perfect balance of effort and reward.
Make it yours! Try different liqueurs, swap in your favorite cookies, or add chocolate shavings. The best recipes are the ones you adapt to your tastes. And if you’re feeling adventurous, try making a grandma’s bread pudding next time you want a warm, comforting dessert. But for now, stick with these cups—they’re pure magic.
If you make this, drop a comment and let me know what you think! I love hearing how recipes turn out in your kitchen. And if something doesn’t work, tell me that too—I’m here to help troubleshoot. Happy cooking! And I hope your kitchen smells half as good as mine does right now.
Frequently Asked Questions
Can I use instant coffee instead of espresso?
You can, but the flavor won’t be as rich. If you must use instant, use 2 tablespoons of instant espresso powder dissolved in 1 cup of hot water. Let it cool completely. Fresh-brewed espresso is definitely better, but instant works in a pinch.
Why did my tiramisu cups turn out watery?
This usually happens if you soaked the ladyfingers too long or if the coffee wasn’t cooled enough. Remember: quick dip! And make sure your coffee is room temperature or cold. If the coffee is warm, it will melt the cookies and make the mixture watery.
Can I make this ahead for a dinner party?
Absolutely! These are perfect for make-ahead. Assemble them up to 2 days in advance. Store them covered in the fridge. Add the cocoa powder dusting right before serving so it doesn’t get soggy. This is my preferred method for dinner parties.
Can I use cream cheese instead of mascarpone?
You can, but the texture and flavor will be different. Cream cheese is tangier and denser. If you use cream cheese, make sure it’s softened and whip it with the sugar first to make it smooth, then fold in the whipped cream. It will still be delicious, just not traditional.
How long do tiramisu cups last in the fridge?
They last up to 3 days in the refrigerator. After that, the cookies may become too soft, and the cream may start to separate. For the best texture, eat them within 2 days.
Can I freeze tiramisu cups?
I don’t recommend freezing them. The dairy can separate when thawed, and the cookies will become mushy. It’s best enjoyed fresh. If you must freeze, freeze the cream mixture only, then assemble and thaw in the fridge overnight.
Is there a way to make this without raw eggs?
Yes! You can skip the egg yolks entirely. Just whip the heavy cream and fold it into the mascarpone. It will be lighter and airier, but still delicious. If you want the richness of the yolks without the risk, use pasteurized eggs. They are safe to eat raw and work perfectly in this recipe.
Pin This Recipe!
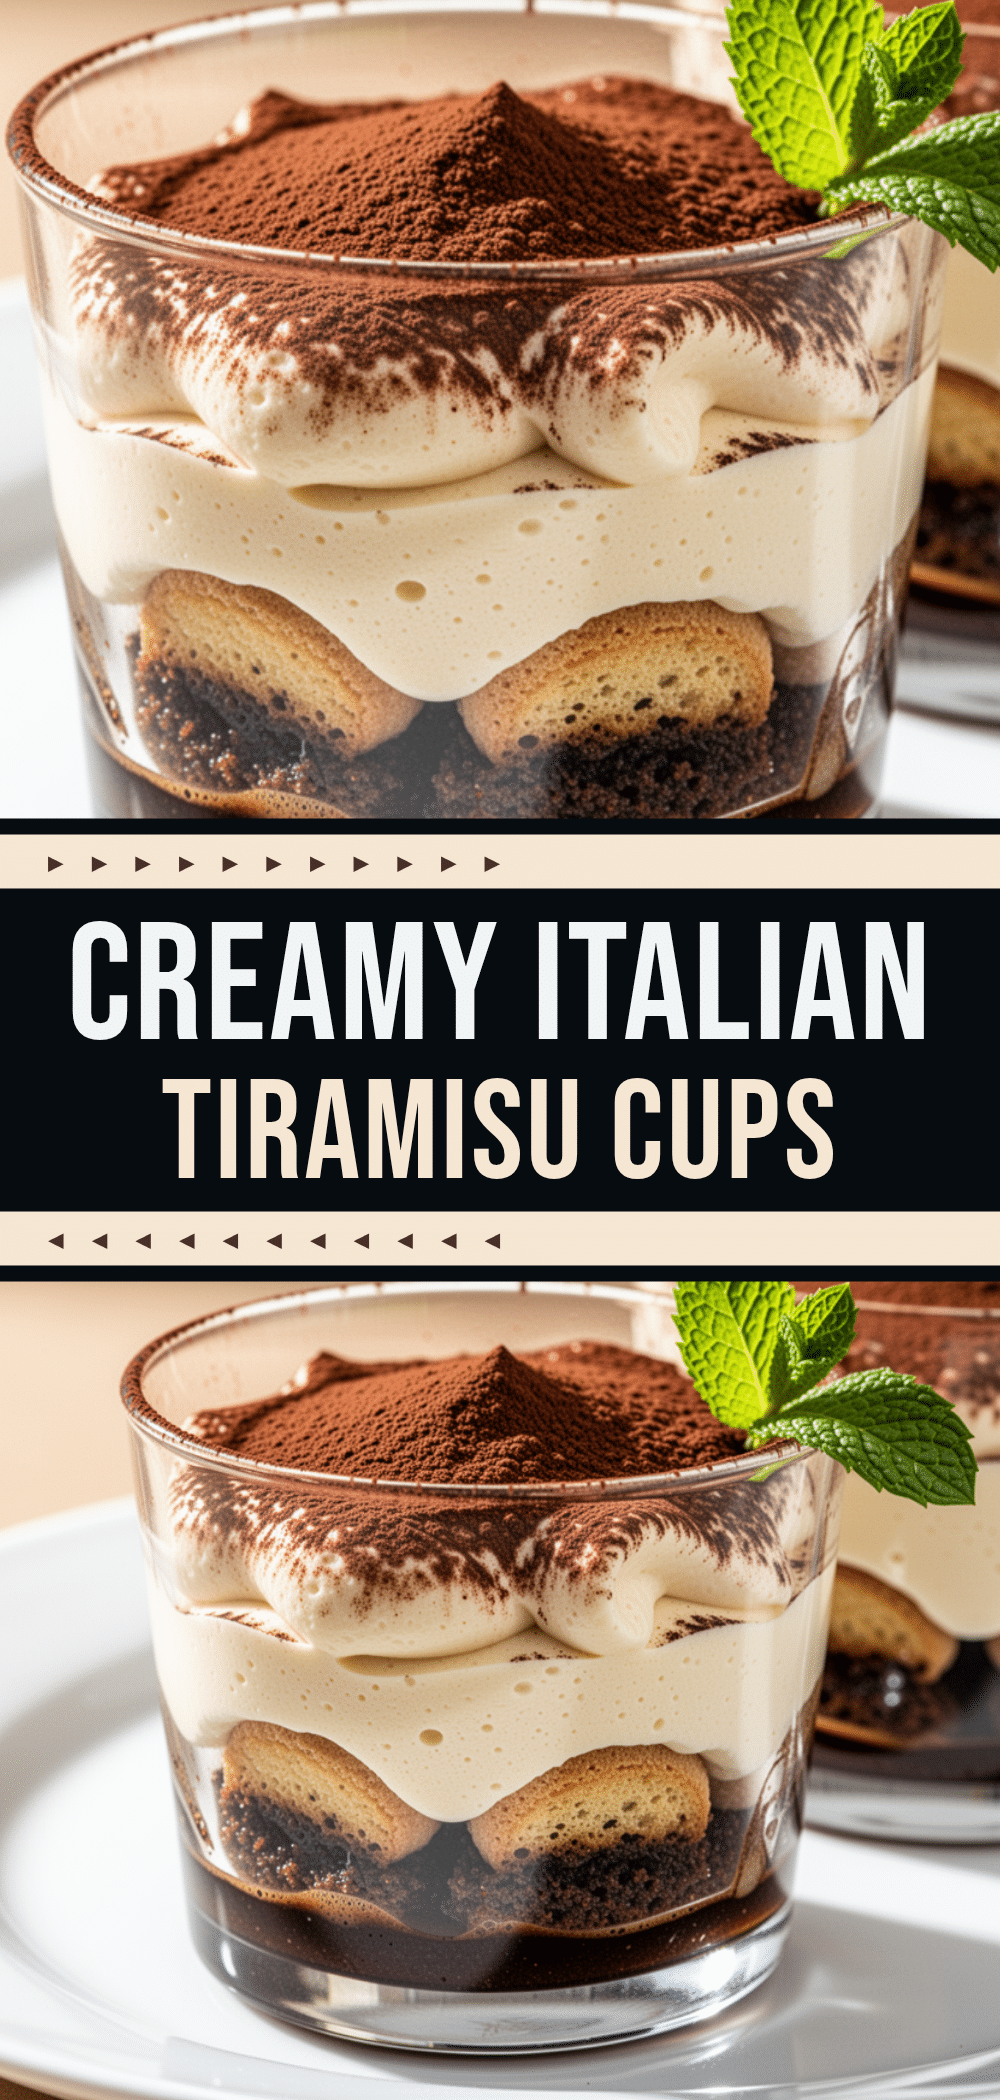
Italian Tiramisu Cups: 5-Min No Bake Dessert
- Total Time: 20 minutes (plus chilling time)
- Yield: 8 servings 1x
Description
A quick, no-bake individual dessert that captures the rich flavors of traditional tiramisu without the hassle. These cups are creamy, caffeinated, and perfect for busy nights or dinner parties.
Ingredients
- 8 ounces (225g) Mascarpone Cheese
- 1 cup (240ml) Heavy Cream, cold
- 1/4 cup (50g) Granulated Sugar
- 1 teaspoon Vanilla Extract
- 2 large Egg Yolks
- 1 cup (240ml) Strong Espresso, brewed and cooled
- 1 tablespoon Sugar (for coffee)
- 1 package (24-30 cookies) Ladyfingers
- Unsweetened Cocoa Powder (for dusting)
- Optional: 2 tablespoons Amaretto or Marsala Wine
- Optional: Chocolate Shavings
Instructions
- Brew espresso or strong coffee and let it cool completely to room temperature. Stir in 1 tablespoon of sugar while warm.
- In a medium bowl, whip the cold heavy cream on medium-high speed until soft peaks form. Set aside.
- In a separate bowl, whisk egg yolks and 1/4 cup granulated sugar until pale and thickened. Add mascarpone and vanilla extract, beating on low just until smooth.
- Gently fold the whipped heavy cream into the mascarpone mixture until uniform and airy.
- Quickly dip ladyfingers into the cooled coffee (about half a second per side) and place them at the bottom of serving glasses.
- Add a layer of cream mixture, followed by another layer of dipped ladyfingers, and finish with a final layer of cream.
- Refrigerate for at least 1 hour, ideally 4 hours or overnight.
- Just before serving, sift unsweetened cocoa powder over the top of each cup.
Notes
Do not soak ladyfingers for more than 2 seconds or they will disintegrate. Ensure heavy cream and mascarpone are cold for best results. Do not freeze the assembled cups as the texture will suffer. For a gluten-free option, use gluten-free ladyfingers. For a dairy-free option, substitute mascarpone with dairy-free cream cheese and heavy cream with coconut cream.
- Prep Time: 15 minutes
- Cook Time: 0 minutes
- Category: Dessert
- Cuisine: Italian
Nutrition
- Serving Size: 1 cup
- Calories: 380
- Sugar: 22
- Sodium: 80
- Fat: 24
- Saturated Fat: 14
- Carbohydrates: 35
- Fiber: 1
- Protein: 6
Keywords: tiramisu, no bake dessert, italian dessert, easy dessert, make ahead dessert, individual desserts, coffee dessert, mascarpone


