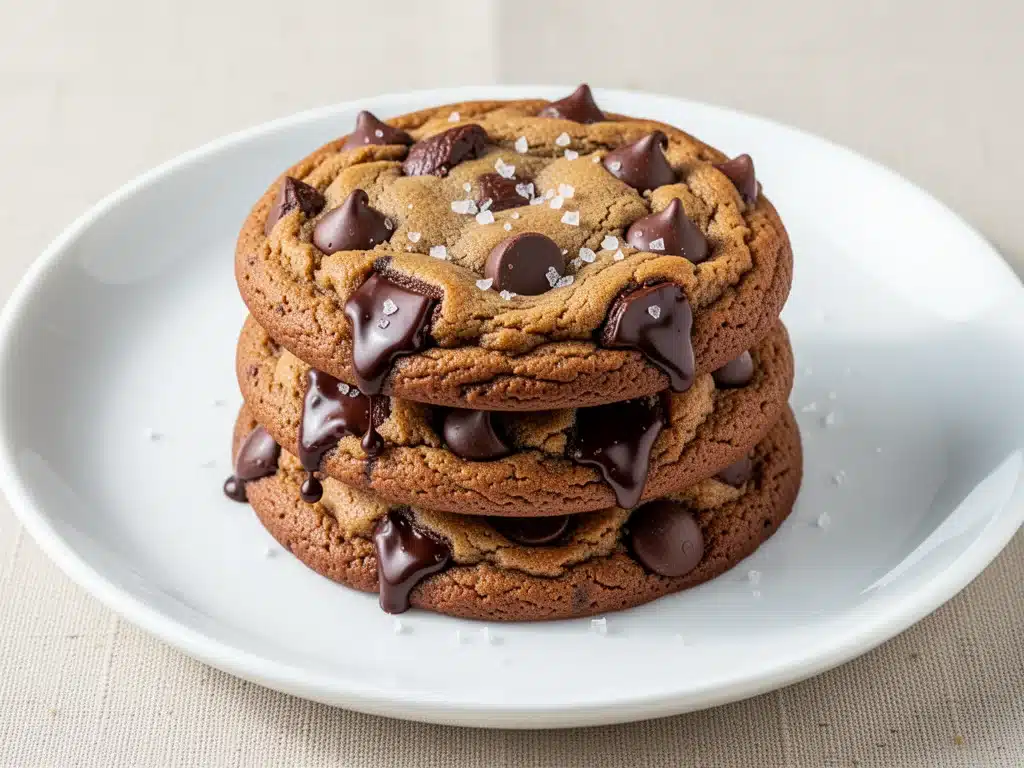
There is a specific kind of magic that happens when you let butter brown in a saucepan. It starts with the familiar sizzle of melting dairy, then shifts into this nutty, toasted aroma that fills your entire kitchen and makes everyone wonder what you’re cooking. Usually, it’s something savory. But last December, I was experimenting with chocolate chip cookies for the first time in years, and I decided to take the risk of browning the butter first.
I was expecting something decent. Maybe a slightly more complex flavor than my usual go-to recipe. What I got was absolute disaster in the best way possible. The first batch came out of the oven with edges that were crisp and caramelized, and centers that were so fudgy they practically oozed when you broke them open. They tasted like dessert butter pecan pie met a chocolate chip cookie. My family didn’t even let them cool completely. I watched my husband steal three before they hit the wire rack.
Since that accidental discovery, I’ve made these fudgy brown butter chocolate chip cookies at least fifteen times. I’ve tweaked the sugar ratios, played with different flours, and tested various chocolate chips to get the texture just right. This isn’t just another holiday treat; it’s the best thing I’ve baked in my kitchen this year. It’s rich, deeply flavored, and has that perfect chewy-fudgy texture that keeps people coming back for seconds. If you’re looking for a dessert that feels fancy but is actually incredibly simple to make, this is it.
These cookies are the star of our holiday cookie exchange every year. They travel well, they look impressive on a platter, and the brown butter flavor pairs beautifully with the holiday spices we’re used to seeing in winter desserts. Whether you’re baking for a party, a gift, or just because it’s Tuesday, this recipe will become your new favorite. Trust me, once you taste the difference that browned butter makes, you’ll never go back to plain melted butter again.
Why You’ll Love This Recipe
I know there are a thousand chocolate chip cookie recipes out there. So why make this one? Because this isn’t just a cookie; it’s an experience. Here’s why these fudgy brown butter chocolate chip cookies have completely taken over our holiday baking rotation:
- Unbeatable Depth of Flavor — Regular cookies taste like cookies. These taste like caramel, toffee, and toasted nuts. Browning the butter creates a whole new layer of flavor that regular butter just can’t compete with. It’s subtle but incredibly complex.
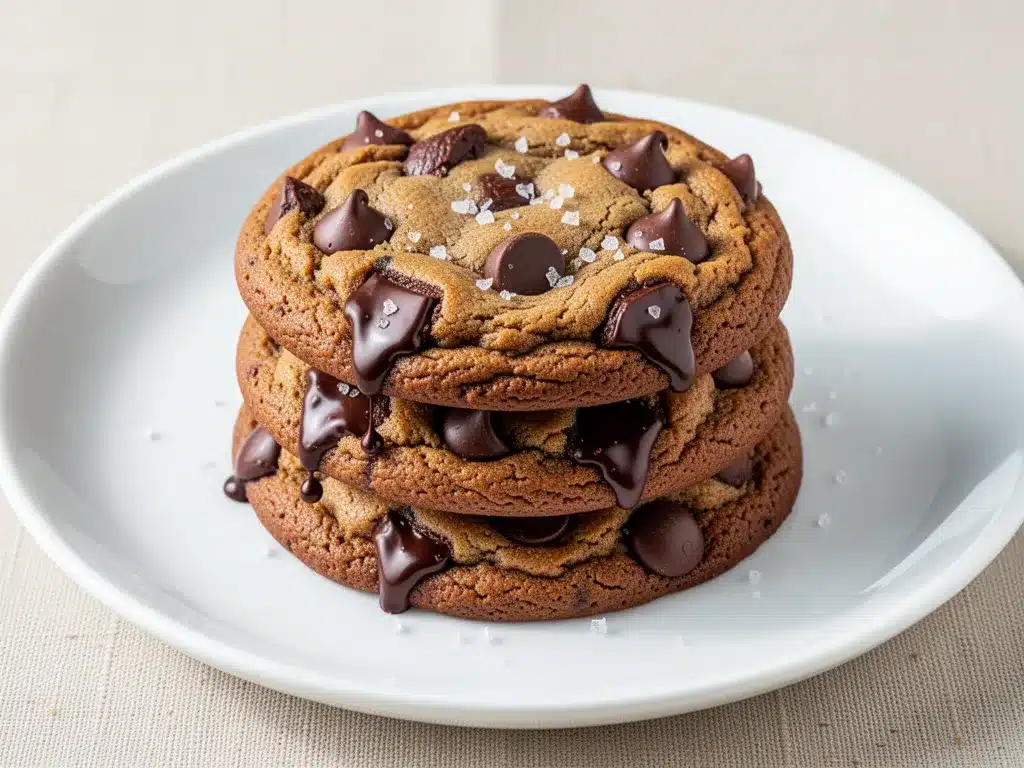
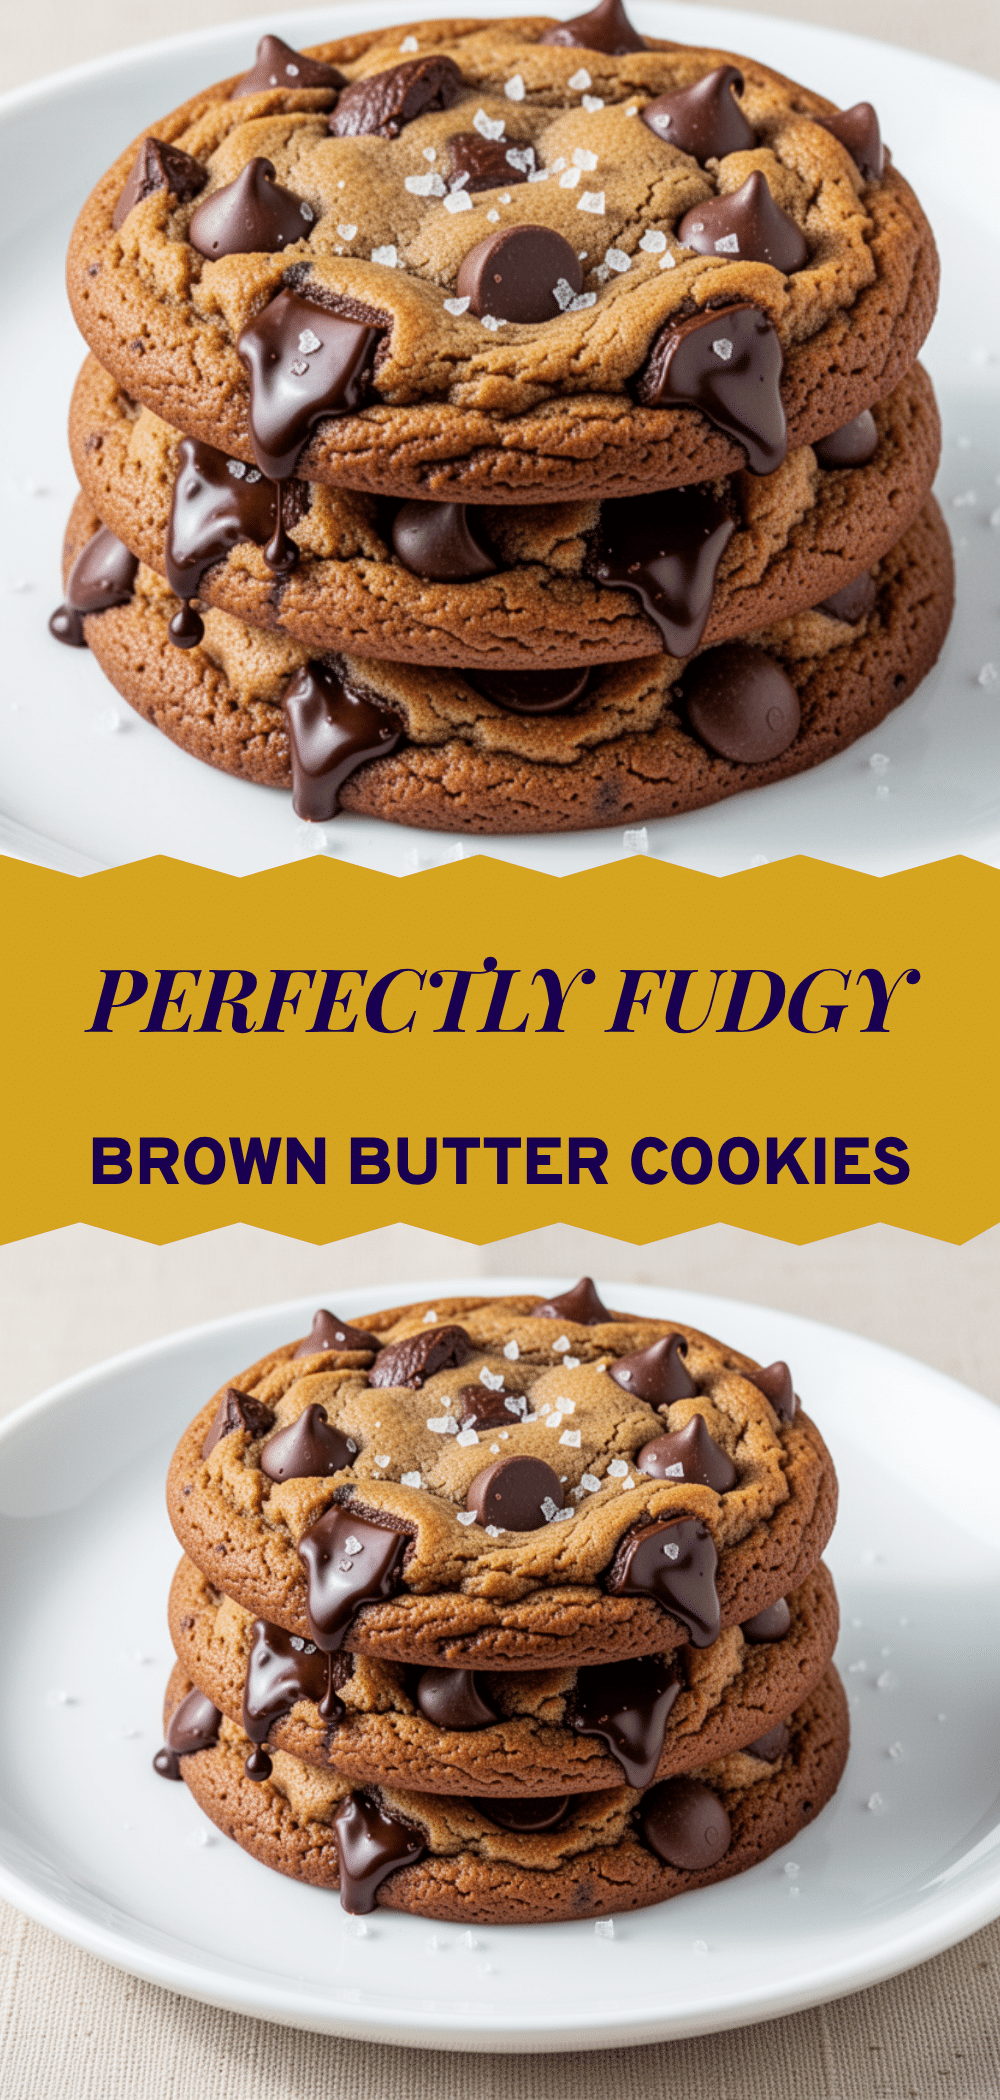
- The Perfect Texture — We’re talking crisp edges that shatter when you bite them, and a center that is soft, chewy, and almost fudgy. Not cakey, not dry, not hard. Just perfect. I’ve tried to replicate this texture with other recipes, but this one is the gold standard.
- Surprisingly Easy — You might think browning butter is tricky, but it’s actually very forgiving. It takes about 5 minutes of watching a pot. The rest is just mixing and baking. I’ve made these while helping my kids with homework, and they turned out perfect every time.
- Make-Ahead Friendly — The dough actually tastes better after it sits in the fridge for 24 hours. The flavors meld together, and the texture improves. This makes it perfect for holiday prep where you want to bake in batches.
- Holiday Perfect — These cookies look stunning dusted with flaky sea salt or dipped in chocolate. They feel special enough for a dinner party but cozy enough for a quiet night in with hot cocoa.
This recipe has saved me more times than I can count. It’s my answer to “what should I bring to the party?” or “what’s a good last-minute gift?” It’s reliable, delicious, and always gets compliments. You’ll love it as much as we do.
Ingredients You’ll Need
This recipe uses simple pantry staples, but the quality of a few key ingredients really matters. Here’s what you need to get that fudgy, brown butter perfection.
For the Base
Unsalted butter (1 cup / 226g) — This is the star of the show. You need real butter, not margarine. Unsalted allows you to control the saltiness. I use high-quality European butter when I can find it because it has a higher fat content, which makes the brown butter even richer.
Granulated sugar (1 cup / 200g) — This provides structure and crispness to the edges. Don’t reduce this too much, or you’ll lose that nice crunch. I use regular white granulated sugar.
Light brown sugar (1 cup / 220g, packed) — This is crucial for the chewiness and moisture. Dark brown sugar works too, but light gives a slightly milder caramel flavor that lets the brown butter shine. Make sure it’s packed tightly when you measure.
Egg yolks (2 large) — I use only yolks for this recipe. Yolks add fat and richness, which contributes to that fudgy texture. Using whole eggs would make the cookies cakier. If you don’t want to waste the whites, save them for grandma’s bread pudding or an omelet.
Vanilla extract (2 teaspoons) — Use real vanilla, not imitation. The flavor is so important here. I keep a bottle of Nielsen-Massey vanilla in my pantry because it makes a noticeable difference in baked goods.
For the Dry Ingredients
All-purpose flour (2 ¼ cups / 280g) — Standard all-purpose flour is perfect. Don’t use cake flour, or they’ll be too tender. Don’t use bread flour, or they’ll be too chewy. Spoon and level your flour for accurate measurement. I spoon it into the cup and level it off with a knife.
Baking soda (1 teaspoon) — This helps the cookies spread and brown. Make sure it’s fresh. If it’s old, your cookies won’t rise properly.
Salt (1 teaspoon) — Salt enhances the chocolate and butter flavors. I use fine sea salt. If you use kosher salt, you might need a bit more, so taste as you go.
For the Mix-Ins
Semi-sweet chocolate chips (2 cups / 340g) — I use Ghirardelli semi-sweet chocolate chips. They hold their shape well and have a great chocolate flavor. You can also chop up a high-quality chocolate bar for a more rustic look and better melt.
Flaky sea salt (for finishing) — This is non-negotiable. Sprinkling flaky sea salt on top right after baking contrasts beautifully with the sweet dough. Maldon sea salt is my favorite because the flakes are big and pretty.
Optional: Toasted pecans or walnuts (1 cup) — If you like nutty cookies, add chopped toasted nuts. They pair amazingly with the brown butter. I sometimes add them for holiday parties, but the pure chocolate version is my personal favorite.
Equipment Needed
You don’t need fancy gadgets for this. Here’s what I actually use in my kitchen:
Saucepan — A medium-sized stainless steel or light-colored aluminum saucepan is best. You need to be able to see the butter changing color. Dark non-stick pans hide the browning process, which can lead to burnt butter. I have a specific saucepan I use just for browning butter because it’s shallow and wide.
Mixing bowls — One large bowl for dry ingredients, one medium for wet. I use glass bowls because I can see the color of the butter through them.
Whisk and spatula — A sturdy whisk for creaming the butter and sugars, and a silicone spatula for folding in the chocolate chips. I love my silicone spatulas because they scrape the bowl clean.
Baking sheets — Two half-sheet pans. I use non-stick baking sheets. If you use dark pans, reduce the oven temperature by 25 degrees to prevent over-browning.
Parchment paper — Line your baking sheets with parchment. This prevents sticking and makes cleanup a breeze. I also use parchment to scoop uniform dough balls.
Cooling rack — Essential for letting the cookies cool slightly so they set properly. Don’t skip this step!
Measuring cups and spoons — Accurate measurements are key in baking. I use standard metal measuring cups for dry ingredients and liquid measuring cups for wet ones.
How to Make It: Step-by-Step
Alright, let’s get baking! This process is straightforward, but the browning butter step requires a little attention. Here’s exactly how I do it.
Step 1: Brown the Butter (5-7 minutes)
Start by cutting the butter into cubes and melting it in your saucepan over medium heat. Stir frequently as it melts. Once it’s fully liquid, it will start to foam and sizzle. Keep stirring! Watch for the foam to subside slightly and for little brown bits to form at the bottom of the pan. The butter will smell nutty, like toasted hazelnuts. This usually takes about 5-7 minutes. Immediately pour the brown butter into a heatproof bowl to stop the cooking. Let it cool for 10-15 minutes until it’s just warm, not hot. If it’s too hot, it will melt the chocolate chips later.
Step 2: Cream the Butter and Sugars (3-4 minutes)
In a large mixing bowl, combine the slightly cooled brown butter, granulated sugar, and brown sugar. Use a hand mixer or stand mixer with the paddle attachment to beat them together on medium-high speed for about 3-4 minutes. You want the mixture to be light, fluffy, and well combined. This step incorporates air, which helps with texture. If you don’t have a mixer, you can do this by hand, but it will take more effort.
Step 3: Add Egg Yolks and Vanilla (1-2 minutes)
Add the egg yolks and vanilla extract to the butter mixture. Beat on medium speed until fully incorporated. The mixture might look a bit curdled at first—that’s normal. Keep beating until it comes together into a smooth, glossy paste.
Step 4: Mix in Dry Ingredients (2-3 minutes)
In a separate medium bowl, whisk together the flour, baking soda, and salt. Gradually add the dry ingredients to the wet ingredients, mixing on low speed. Stop mixing as soon as the flour disappears. Overmixing develops gluten, which makes cookies tough. You want them tender and fudgy, not chewy like bread. Scrape down the sides of the bowl to ensure everything is incorporated.
Step 5: Fold in Chocolate Chips (1 minute)
Use a silicone spatula to gently fold in the chocolate chips. Be careful not to crush them. You want chunks of chocolate throughout, so distribute them evenly. If you’re adding nuts, fold them in now.
Step 6: Chill the Dough (30 minutes to 24 hours)
This step is crucial for flavor and texture. Cover the bowl with plastic wrap and refrigerate the dough for at least 30 minutes. If you have time, let it chill for 24 hours. The cold dough is easier to scoop, and the flavors deepen significantly. I usually make the dough the night before I want to bake.
Step 7: Scoop and Bake (12-14 minutes)
Preheat your oven to 350°F (175°C). Line two baking sheets with parchment paper. Scoop the dough into 2-inch balls (about 3 tablespoons each) and place them on the baking sheets, spaced 2 inches apart. They will spread. Bake for 12-14 minutes. The edges should be golden brown and crisp, but the centers should still look slightly underbaked and soft. They will continue to cook on the hot baking sheet after you take them out.
Step 8: Cool and Finish (10 minutes)
Let the cookies cool on the baking sheet for 5 minutes. This allows them to set. Then, transfer them to a cooling rack to cool completely. Right after baking, while they are still warm, sprinkle with flaky sea salt. The salt melts slightly into the cookie, creating those beautiful salty-sweet pockets.
Total Time: About 1 hour 30 minutes (including chilling time)
Expert Tips & Tricks
Here’s everything I’ve learned from making these cookies dozens of times. These tips will save you from my mistakes.
- Don’t Burn the Butter — Brown butter is easy to burn. Once you see the brown bits, remove it from the heat immediately. The residual heat will continue to cook it. If it smells like burnt toast, start over. It’s worth it.
- Cool the Butter — If you add hot brown butter to the sugar, it will melt the sugar and make a greasy mess. Let it cool until it’s just warm to the touch. About 10-15 minutes is usually enough.
- Chill the Dough — I know it’s tempting to bake right away, but chilling is essential. It prevents the cookies from spreading too much and becoming thin and crispy all the way through. You want that fudgy center. Chill for at least 30 minutes, but 24 hours is ideal.
- Underbake Slightly — These cookies continue to cook on the hot pan. If you wait until they look fully set in the oven, they will be dry and cakey when cooled. Pull them out when the edges are set but the centers look soft and slightly glossy.
- Use a Scale — Baking is science. Measuring flour by volume can lead to too much flour, which makes dry cookies. If you have a kitchen scale, use it. 280g of flour is much more accurate than 2 ¼ cups.
- Room Temperature Egg Yolks — Cold egg yolks can seize the butter mixture. Let them sit out for 15 minutes before adding. Or, just warm them slightly in a bowl of warm water.
Common Mistakes:
Mistake: Cookies are flat and crispy. Fix: You didn’t chill the dough long enough, or you used melted butter instead of browned and cooled butter. Also, check your oven temperature with an oven thermometer; many ovens run hot.
Mistake: Cookies are cakey. Fix: You overmixed the dough, or you used whole eggs instead of just yolks. Stick to the recipe for that fudgy texture.
Mistake: Butter is burnt. Fix: Lower the heat. Brown butter should be done over medium, not high heat. And watch it like a hawk!
Variations & Substitutions
Once you’ve nailed the basic version, here’s how you can mix it up. I’ve tried all of these.
White Chocolate Macadamia Nut — Swap the semi-sweet chips for white chocolate chips and add 1 cup of toasted macadamia nuts. This is a favorite for Christmas parties.
Peanut Butter Swirl — Add ½ cup of peanut butter to the dough before chilling. Or, swirl a dollop of peanut butter on top of each dough ball before baking.
Double Chocolate — Add 2 tablespoons of cocoa powder to the dry ingredients and use dark chocolate chips. For chocolate lovers only.
Gluten-Free — Use a 1:1 gluten-free flour blend. The texture might be slightly more delicate, but the flavor is still amazing. I’ve used Bob’s Red Mill 1:1 blend with good results.
Dairy-Free — Use a high-quality dairy-free butter stick (not tub margarine) and dairy-free chocolate chips. The flavor won’t be exactly the same, but it’s still delicious.
Lower Sugar — Reduce both sugars by ¼ cup. The cookies will be less sweet and slightly denser. Good if you’re watching sugar intake.
Serving & Storage
How to Serve: These cookies are best served at room temperature. They are soft and chewy, perfect with a glass of cold milk or a cup of hot coffee. For holiday gatherings, arrange them on a platter with a dusting of powdered sugar or a drizzle of melted chocolate.
Side Dishes: Pair with holiday sangria for a festive drink, or serve alongside warm beef and barley stew if you’re having a cozy winter dinner.
Storage: Store cookies in an airtight container at room temperature for up to 5 days. Place a slice of bread in the container to keep them soft. They will stay fresh and fudgy for days.
Freezing: You can freeze the dough balls on a baking sheet, then transfer to a freezer bag. Bake from frozen, adding 1-2 minutes to the baking time. Or, freeze baked cookies for up to 3 months. Thaw at room temperature before serving.
Reheating: Warm cookies in the microwave for 10-15 seconds to restore that fresh-baked softness. They taste like they just came out of the oven.
Nutrition Information
I’m not a nutritionist, but here’s the breakdown if you’re tracking. Keep in mind that these are rich, indulgent cookies, so moderation is key.
Per Cookie (based on 24 cookies):
| Nutrient | Amount |
|---|---|
| Calories | 220 |
| Total Fat | 12g |
| Saturated Fat | 7g |
| Cholesterol | 45mg |
| Sodium | 180mg |
| Total Carbs | 28g |
| Dietary Fiber | 1g |
| Sugars | 18g |
| Protein | 3g |
What’s Good: The use of egg yolks adds some protein and healthy fats. The chocolate provides antioxidants. It’s a better treat than many store-bought options.
What to Know: High in sugar and saturated fat due to the butter and chocolate. If you’re watching your intake, stick to one or two cookies. The brown butter adds flavor, so you might enjoy them more with less quantity.
My Take: These are a holiday treat, not a daily snack. Enjoy them guilt-free as a special indulgence. They’re worth every calorie.
Final Thoughts
So that’s my fudgy brown butter chocolate chip cookie recipe! I’ve talked your ear off about browned butter, but when you taste it, you’ll understand why I’m so obsessed. This recipe has become a staple in my kitchen, especially during the holidays. It’s my go-to for cookie exchanges, gifts, and quiet nights in.
These cookies are rich, flavorful, and have that perfect chewy texture that makes people ask for the recipe. They’re easier to make than you think, and the results are always impressive. Whether you’re a seasoned baker or a beginner, this recipe will give you confidence and delicious results.
Make it yours! Try different chocolates, add nuts, or play with the salt. The best recipes are the ones you adapt to your tastes. I can’t wait to hear what you think. If you make these, drop a comment and let me know how they turned out. And if something doesn’t work, tell me—I’m here to help.
Happy baking! I hope your kitchen smells like heaven.
Frequently Asked Questions
Q: Can I use salted butter instead of unsalted?
A: You can, but you’ll need to reduce the added salt in the recipe by half. Salted butter varies in salt content, so it’s hard to control the final flavor. I recommend unsalted for consistency, but if you must use salted, cut the salt down to ½ teaspoon.
Q: Why did my cookies spread too much?
A: This usually happens if the butter was too hot when mixed with the sugar, or if the dough wasn’t chilled long enough. Make sure the brown butter is cooled to just warm, and chill the dough for at least 30 minutes. Also, check your oven temperature; if it’s too hot, the cookies will spread before they set.
Q: Can I freeze the cookie dough?
A: Absolutely! Scoop the dough into balls and freeze them on a baking sheet. Once frozen, transfer to a freezer bag. They’ll last for up to 3 months. Bake from frozen, adding 1-2 minutes to the baking time. This is great for holiday prep!
Q: Why did my butter turn brown too fast?
A: Your heat was probably too high. Brown butter should be done over medium heat. If you see it browning quickly, reduce the heat immediately. It’s better to take your time. Burnt butter tastes bitter and ruins the cookies.
Q: Can I use dark chocolate chips instead of semi-sweet?
A: Yes! Dark chocolate chips will make the cookies less sweet and more intense. I love using a mix of semi-sweet and dark chocolate for a balanced flavor. Just adjust the sugar if you find it too bitter.
Q: How do I know when the brown butter is done?
A: It’s done when the foam subsides, the milk solids at the bottom turn golden brown, and the kitchen smells nutty and toasted. It takes about 5-7 minutes. Don’t walk away! Watch it closely.
Q: Can I make these cookies ahead for a party?
A: Yes! Make the dough up to 3 days ahead and store it in the fridge. Bake the cookies the day of the party. They taste best fresh, but they also store well for a few days. If you need to bake further ahead, freeze the dough balls and bake them when needed.
Pin This Recipe!
Fudgy Brown Butter Chocolate Chip Cookies: Best Holiday Treat
- Total Time: 1 hour 30 minutes
- Yield: 24 cookies 1x
Description
Rich, deeply flavored cookies with crisp caramelized edges and soft, fudgy centers, made using browned butter for an unbeatable nutty depth of flavor.
Ingredients
- 1 cup (226g) unsalted butter
- 1 cup (200g) granulated sugar
- 1 cup (220g) light brown sugar, packed
- 2 large egg yolks
- 2 teaspoons vanilla extract
- 2 ¼ cups (280g) all-purpose flour
- 1 teaspoon baking soda
- 1 teaspoon fine sea salt
- 2 cups (340g) semi-sweet chocolate chips
- Flaky sea salt (for finishing)
- 1 cup toasted pecans or walnuts (optional)
Instructions
- Cut butter into cubes and melt in a saucepan over medium heat. Stir frequently until foam subsides and brown bits form at the bottom (5-7 minutes). Pour into a heatproof bowl and cool for 10-15 minutes until just warm.
- In a large mixing bowl, combine cooled brown butter, granulated sugar, and brown sugar. Beat on medium-high speed for 3-4 minutes until light and fluffy.
- Add egg yolks and vanilla extract. Beat on medium speed until fully incorporated and smooth.
- In a separate bowl, whisk together flour, baking soda, and salt. Gradually add dry ingredients to wet ingredients on low speed, mixing just until flour disappears.
- Fold in chocolate chips (and nuts if using) with a silicone spatula.
- Cover dough and refrigerate for at least 30 minutes, or up to 24 hours.
- Preheat oven to 350°F (175°C). Line baking sheets with parchment paper. Scoop dough into 2-inch balls, spacing them 2 inches apart.
- Bake for 12-14 minutes until edges are golden brown but centers look slightly underbaked.
- Let cookies cool on the baking sheet for 5 minutes, then transfer to a cooling rack. Sprinkle with flaky sea salt while warm.
Notes
Ensure brown butter is cooled to just warm before mixing with sugar to prevent melting. Chill dough for best texture and to prevent excessive spreading. Do not overbake; cookies continue to cook on the hot pan. Use a kitchen scale for accurate flour measurement.
- Prep Time: 30 minutes
- Cook Time: 14 minutes
- Category: Dessert
- Cuisine: American
Nutrition
- Serving Size: 1 cookie
- Calories: 220
- Sugar: 18
- Sodium: 180
- Fat: 12
- Saturated Fat: 7
- Carbohydrates: 28
- Fiber: 1
- Protein: 3
Keywords: brown butter cookies, chocolate chip cookies, fudgy cookies, holiday baking, cookie exchange, brown butter chocolate chip cookies


