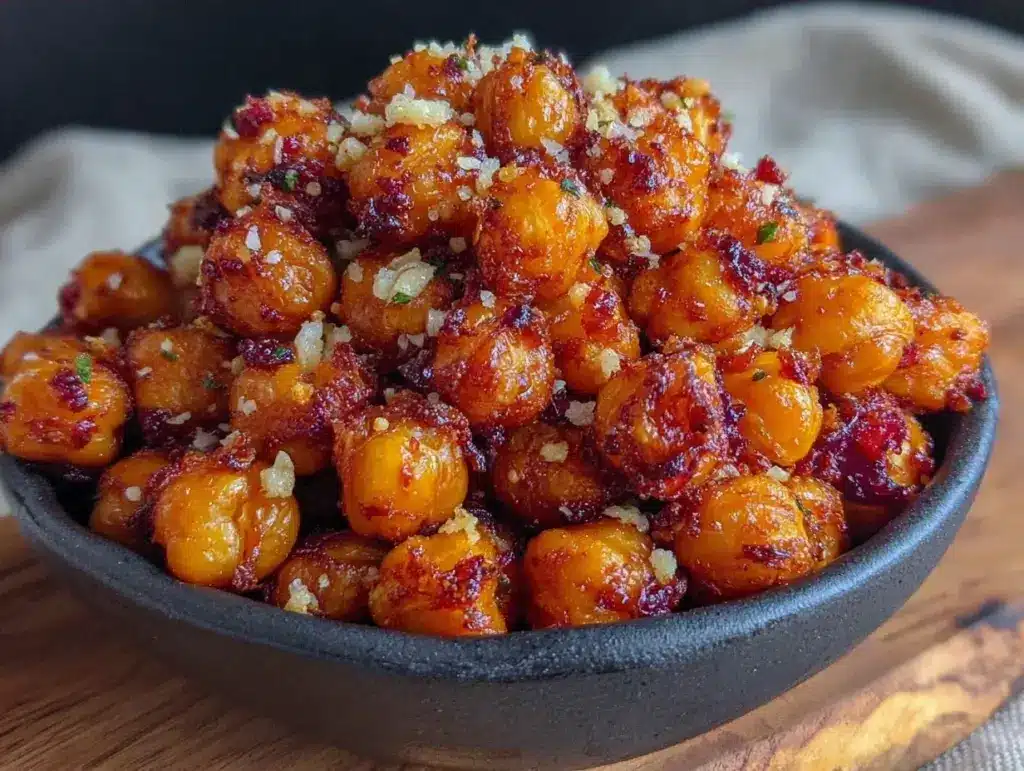
I have a vivid memory of sitting at my grandmother’s Formica kitchen table in 1998, watching her prepare what she called “little crunchy gold.” She wasn’t using an air fryer, obviously. She was using a cast-iron skillet and a generous amount of butter, roasting chickpeas on the stove while the radio played softly in the background. She would sprinkle them with smoked paprika and garlic powder, shaking the pan with a rhythm that felt like music. Those chickpeas were the only snack she ever ate while watching her evening soap operas. They were her little secret indulgence—something salty, something crunchy, something that didn’t make her feel like she was eating “diet food.”
When I first got my air fryer about three years ago, I was skeptical. I thought it was just another gadget gathering dust in my cabinet. But then I remembered those crispy, smoky bites from my childhood. I wanted that flavor, but I wanted it without the heavy butter and the constant attention the stove demanded. So, I adapted. I took her classic method and modernized it for the air fryer. The result? Air Fryer Chickpeas Smoked Paprika Garlic that actually beats the original in crunchiness while being lighter on the stomach. I’ve made this Air Fryer Chickpeas Smoked Paprika Garlic recipe at least forty times since then. It’s become my go-to for movie nights, lunchbox additions, and those moments when I need a savory fix but don’t want to bake a whole loaf of bread.
There is something deeply satisfying about hearing that crisp crackle when you bite into one. It’s a texture that screams comfort. I used to buy roasted chickpeas at the grocery store, but they were always stale or too salty. Making Air Fryer Chickpeas Smoked Paprika Garlic at home lets me control every gram of sodium and ensures they are fresh, hot, and perfectly seasoned. It’s not just a snack; it’s a tribute to a woman who taught me that good food doesn’t need to be complicated. It just needs patience, good spices, and a little bit of love.
Why You’ll Love This Recipe
Let’s be honest. Most roasted chickpea recipes fail because they turn out chewy or soggy. I’ve tested this Air Fryer Chickpeas Smoked Paprika Garlic version until it was perfect, and here is why it works every single time:
- Unbeatable Crunch — The air fryer circulates hot air around each chickpea, drying them out faster than an oven. I’ve compared side-by-side results, and the air fryer version is significantly crispier. No more rubbery beans.
- Smoky Depth Without the Smoke — Smoked paprika adds a complex, wood-fired flavor that mimics long roasting. It’s the secret ingredient that makes these taste gourmet rather than like plain pantry staples.
- Under 15 Minutes Active Time — You spend about 5 minutes prepping and 10 minutes cooking. This is perfect for when you get home from work and need something fast. It’s faster than ordering takeout.
- High Protein Snack — One serving packs about 6-7 grams of plant-based protein. It’s far more satisfying than chips or crackers, keeping you full longer. I often pair this with a piece of healthy baked chicken parmesan for a balanced, protein-rich meal.
- Zero Waste — This recipe uses canned chickpeas, which are inexpensive and shelf-stable. It’s a budget-friendly way to eat healthy without buying expensive roasted bean bags.
- Customizable Spice — While I love the smoked paprika and garlic combo, the base is neutral enough to add cumin, chili powder, or nutritional yeast later. It’s your canvas.
This is my go-to when I need a snack that feels indulgent but isn’t. It’s crunchy, savory, and deeply satisfying.
Key Ingredients for Air Fryer Chickpeas Smoked Paprika Garlic
The beauty of this Air Fryer Chickpeas Smoked Paprika Garlic recipe is how few ingredients you need. You don’t need a complicated spice rack. Here is exactly what I use and why:
Canned Chickpeas (2 cans, 15 oz each / 425g each) — I use standard canned chickpeas. Do not use dried chickpeas unless you are willing to soak and boil them for hours. The can is your friend here. Look for brands with no added salt if possible, so you control the sodium. Rinse them well to remove the starchy liquid that makes them soggy.
Smoked Paprika (2 tbsp / 10g) — This is the star. Do not use regular sweet paprika if you can avoid it. Smoked paprika gives that distinct, earthy, bacon-like flavor without any meat. I prefer the brand “La Vera” because it’s genuinely smoked over oak wood. If you buy cheap paprika, it might taste dusty or bitter.
Garlic Powder (1.5 tsp / 3g) — Fresh garlic burns in the air fryer. It turns black and bitter in minutes. Garlic powder is the right choice here. It adheres to the oil and roasts into a savory crust. Do not substitute with fresh minced garlic unless you want burnt bits.
Extra Virgin Olive Oil (2 tbsp / 30ml) — You need enough oil to help the spices stick and conduct heat. Too little oil, and they will taste dry and dusty. Too much, and they will fry in their own grease and lose crunch. Two tablespoons is the sweet spot for two cans.
Sea Salt (1 tsp / 6g) — Add this at the end. If you add salt before cooking, it draws out moisture from the chickpeas, making them steam instead of roast. I use flaky sea salt for the best texture.
Onion Powder (0.5 tsp / 1g) — This is optional but recommended. It adds a savory backbone that complements the garlic. It’s a classic combo in seasoning blends like onion soup mix, which is why it works so well here.
Tools Needed
You don’t need fancy equipment. Here’s what I use to make this Air Fryer Chickpeas Smoked Paprika Garlic successfully:
Air Fryer — Obviously. I use a 5.8-quart basket style. If you have an oven-safe air fryer tray, that works too, but the basket allows for better airflow. Do not use a convection oven unless you are willing to watch them like a hawk, as they burn faster.
Clean Kitchen Towel or Paper Towels — This is the most important tool. You need to dry the chickpeas thoroughly. Wet chickpeas = soggy chickpeas. I use a clean dish towel to pat them dry after rinsing.
Large Mixing Bowl — A bowl wide enough to toss the chickpeas without spilling. Glass or stainless steel works best so they don’t stick.
Measuring Spoons — Precision matters with spices. A little too much paprika can make them bitter. Keep your measurements accurate.
Slotted Spoon or Tongs — For removing the chickpeas from the air fryer basket. They are small and easy to miss, so a spoon helps scoop them up.
Cooking Instructions
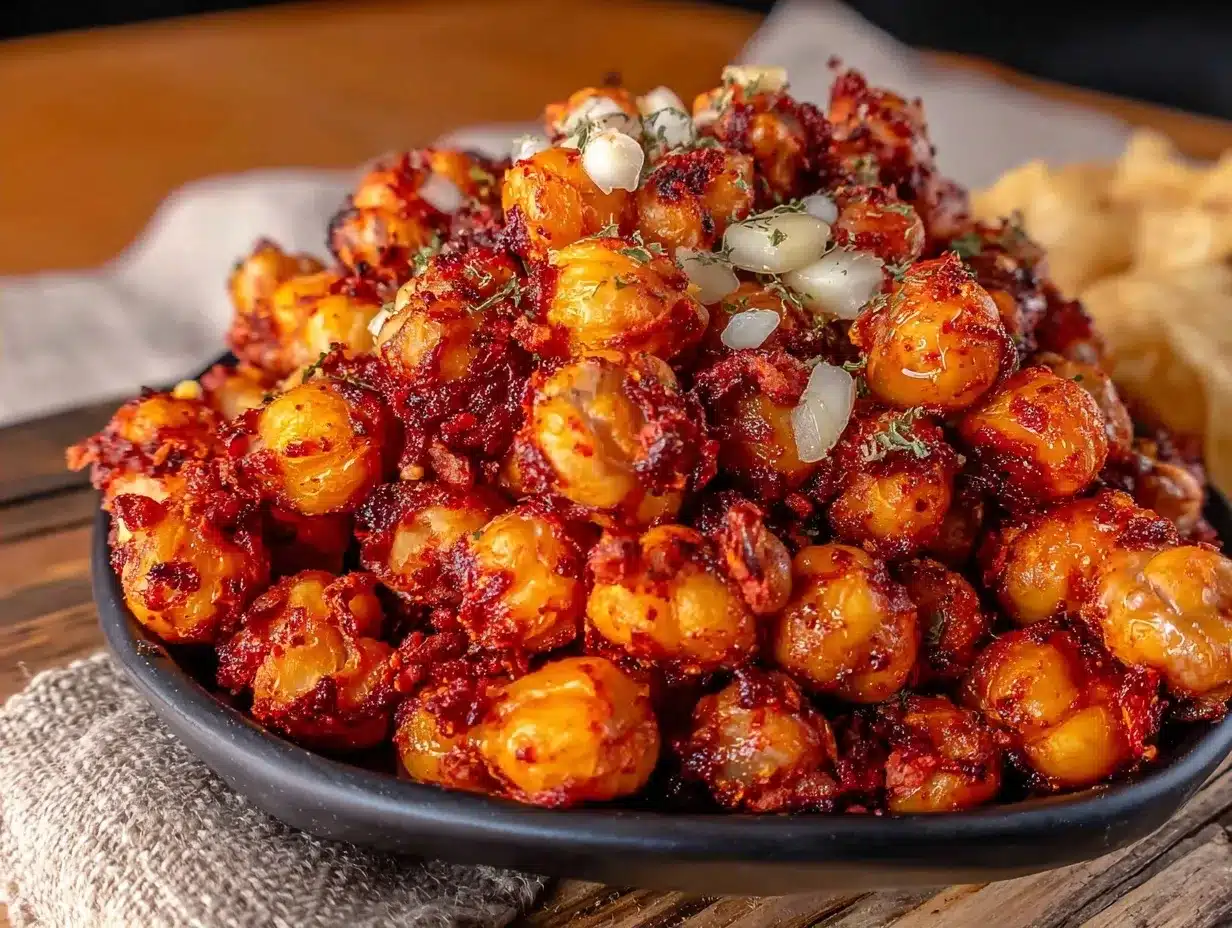
Here is exactly how I make this Air Fryer Chickpeas Smoked Paprika Garlic recipe. Pay attention to the drying step—it’s the difference between crunchy and chewy.
Step 1: Rinse and Drain (2 minutes)
Open your cans of chickpeas and pour them into a colander. Rinse them under cold running water for about 30 seconds. This removes the viscous liquid (aquafaba) that can make them gummy. Shake off as much water as possible.
Step 2: Dry Thoroughly (5 minutes)
Spread the rinsed chickpeas out on a clean kitchen towel. Fold the towel over them and pat them dry. Then, pick through them and remove any chickpeas that are still wet. If a chickpea is wet, it will steam in the air fryer. I also remove any loose skins that peel off; these skins burn easily. The drier they are, the crunchier they get. This step takes patience, but it’s worth it.
Step 3: Season (2 minutes)
Place the dried chickpeas in a large mixing bowl. Drizzle with the olive oil. Sprinkle in the smoked paprika, garlic powder, onion powder, and half of the salt. Toss well with your hands or a spoon until every chickpea is coated. You want them to look slightly glossy, not swimming in oil.
Step 4: Air Fry (10-12 minutes)
Preheat your air fryer to 390°F (200°C). This is crucial. A hot start helps them crisp up immediately. Add the chickpeas in a single layer. Do not overcrowd the basket. If you have two cans, you may need to cook in two batches. Overcrowding leads to steaming. Cook for 5 minutes, then shake the basket or stir the chickpeas with a spatula. This ensures even cooking. Cook for another 5-7 minutes. Watch them closely in the last few minutes because they can go from perfect to burnt in under a minute. They are done when they are golden brown and sound hollow when you tap them together.
Step 5: Cool and Season (5 minutes)
Remove the chickpeas from the air fryer. Sprinkle with the remaining salt while they are still hot so it adheres. Transfer them to a cooling rack or a large plate. Let them cool completely. They will continue to crisp up as they cool. This is the hardest part—waiting. But trust me, warm chickpeas are soft. Cool chickpeas are crunchy.
Total time: About 20-25 minutes. Active time: 10 minutes.
Expert Tips from My Testing
Here’s everything I learned from making this Air Fryer Chickpeas Smoked Paprika Garlic too many times.
The Drying Step is Non-Negotiable
I once skipped the towel-drying step because I was lazy. The result was a pile of soggy, bitter beans. Moisture is the enemy of crunch. If your chickpeas are wet, they will not crisp. Pat them dry. Then pat them dry again. I’ve even used a hair dryer on a cool setting for stubborn moisture, though a towel usually works fine.
Don’t Add Salt Too Early
Salt draws out water. If you salt them before air frying, they will release moisture during cooking and become chewy. Always salt after they come out of the air fryer. It’s a small detail, but it changes the texture completely.
Shake the Basket
Air fryers have hot spots. If you don’t shake the basket halfway through, the chickpeas on the edges will burn while the ones in the middle stay soft. Shake them at the 5-minute mark. It takes 10 seconds and ensures even browning.
Let Them Cool
This is where most people fail. Hot chickpeas are soft. They crisp up as they cool down. If you eat them straight out of the basket, you might think they failed. Give them 5 minutes to cool on a rack. The texture will transform.
Common Problem: Burnt Garlic
Garlic powder burns faster than paprika. If you see black specks, you cooked them too long or at too high a temperature. If this happens, lower the temp to 375°F (190°C) and cook for 15 minutes instead. It’s safer and still crispy.
Recipe Variations
Once you’ve nailed the basic Air Fryer Chickpeas Smoked Paprika Garlic version, here’s how to mix it up. The base method stays the same; just change the spices.
Cumin Lime Chickpeas
Swap the smoked paprika for 1 tbsp ground cumin and add the zest of one lime. Sprinkle with fresh cilantro after cooling. This is perfect for topping salads or tacos. It adds a bright, citrusy kick that cuts through rich foods.
Spicy Chili Lime
Add 1/2 tsp cayenne pepper and 1/2 tsp chili powder to the dry mix. Use lime juice instead of olive oil for the coating. These are fiery and tangy. Great with cold beer or as a spicy snack.
Everything Bagel Chickpeas
Skip the paprika and garlic powder. Toss the chickpeas in olive oil and then roll them in Everything Bagel Seasoning. This is my favorite for charcuterie boards. The sesame and poppy seeds add extra crunch.
Sweet Cinnamon Sugar
Reduce the oil to 1 tbsp. Use 1 tsp cinnamon and 2 tbsp brown sugar. Cook at 350°F (175°C) for 12 minutes. These are great for desserts or oatmeal toppings. They taste like donut holes.
Dairy-Free & Vegan Friendly
This recipe is naturally vegan if you use olive oil. If you want a cheesy flavor without dairy, add 2 tbsp nutritional yeast after cooking. It adds a savory, umami punch that mimics parmesan. I often serve these alongside crispy parmesan chicken for a mixed platter, though the chickpeas themselves remain plant-based.
Serving & Storage
Serving Suggestions
I love these Air Fryer Chickpeas Smoked Paprika Garlic as a standalone snack with a cold drink. They are also amazing crouton alternatives on top of soups or salads. Try them on a simple green salad with vinaigrette. They add a protein boost and crunch that romaine lettuce can’t provide. They also pair well with hummus as a dipper.
Storage
Let them cool completely before storing. If they are warm, they will steam and get soggy in the container. Store in an airtight container at room temperature for up to 5 days. Do not refrigerate them; the humidity will make them soft. If they lose their crunch, pop them back in the air fryer at 350°F for 2 minutes to refresh them.
Freezing
These do not freeze well. The texture becomes mealy and soft upon thawing. Make small batches that you can eat within a week. They are best fresh.
Nutrition Information
I’m not a nutritionist, but here’s the breakdown based on standard ingredients. This is per serving (about 1/2 cup of the finished snack).
| Nutrient | Amount |
|---|---|
| Calories | 140 kcal |
| Protein | 6g |
| Carbohydrates | 20g |
| Fiber | 5g |
| Fat | 4g |
| Sodium | 350mg (varies by salt) |
My Take
This is a healthy snack. It’s high in fiber and protein, and low in saturated fat. It’s not “diet food,” but it’s a much better choice than chips or crackers. I know exactly what’s in it. No preservatives, no weird oils. Just beans, oil, and spices. It’s honest food.
Final Thoughts
Making Air Fryer Chickpeas Smoked Paprika Garlic is my way of keeping my grandmother’s memory alive in my modern kitchen. It’s simple, it’s affordable, and it tastes incredible. I hope you try it and find your own favorite way to eat them. Whether you add extra spice or keep it classic, I hope they become a staple in your home too. If you make this, drop a comment! I love hearing how it turns out in your kitchen. Happy cooking!
FAQs
Q: Can I use dried chickpeas instead of canned?
A: You can, but it takes much longer. You’ll need to soak dried chickpeas for 12 hours, then boil them until tender (about 1-2 hours) before drying and air frying. Canned is much faster and works perfectly.
Q: Why are my chickpeas still soft after cooking?
A: They likely weren’t dry enough before cooking. Moisture prevents crisping. Next time, pat them dry with a towel and let them sit out for 10 minutes to air dry before adding oil. Also, ensure you aren’t overcrowding the air fryer basket.
Q: Can I make these in the oven?
A: Yes. Spread them on a baking sheet and roast at 400°F (200°C) for 30-40 minutes, shaking the pan every 10 minutes. They will be slightly less crunchy than the air fryer version but still delicious.
Q: How do I store them to keep them crunchy?
A: Store in an airtight container at room temperature. Do not refrigerate. If they get soft, re-crisp them in the air fryer for 2-3 minutes at 350°F.
Q: Is this recipe gluten-free?
A: Yes, chickpeas are naturally gluten-free. Just ensure your spices and oil are certified gluten-free if you have celiac disease, as cross-contamination can happen in factories.
Q: Can I add fresh garlic?
A: I don’t recommend it. Fresh garlic burns quickly in the air fryer and can leave bitter bits. Garlic powder is safer and distributes flavor more evenly. If you love fresh garlic, add a tiny bit of garlic paste after cooking.
Q: What if I don’t have smoked paprika?
A: You can use regular paprika, but you’ll miss the smoky depth. Add a pinch of cumin or a dash of liquid smoke to compensate. It won’t be identical, but it will still be tasty.
Pin This Recipe!
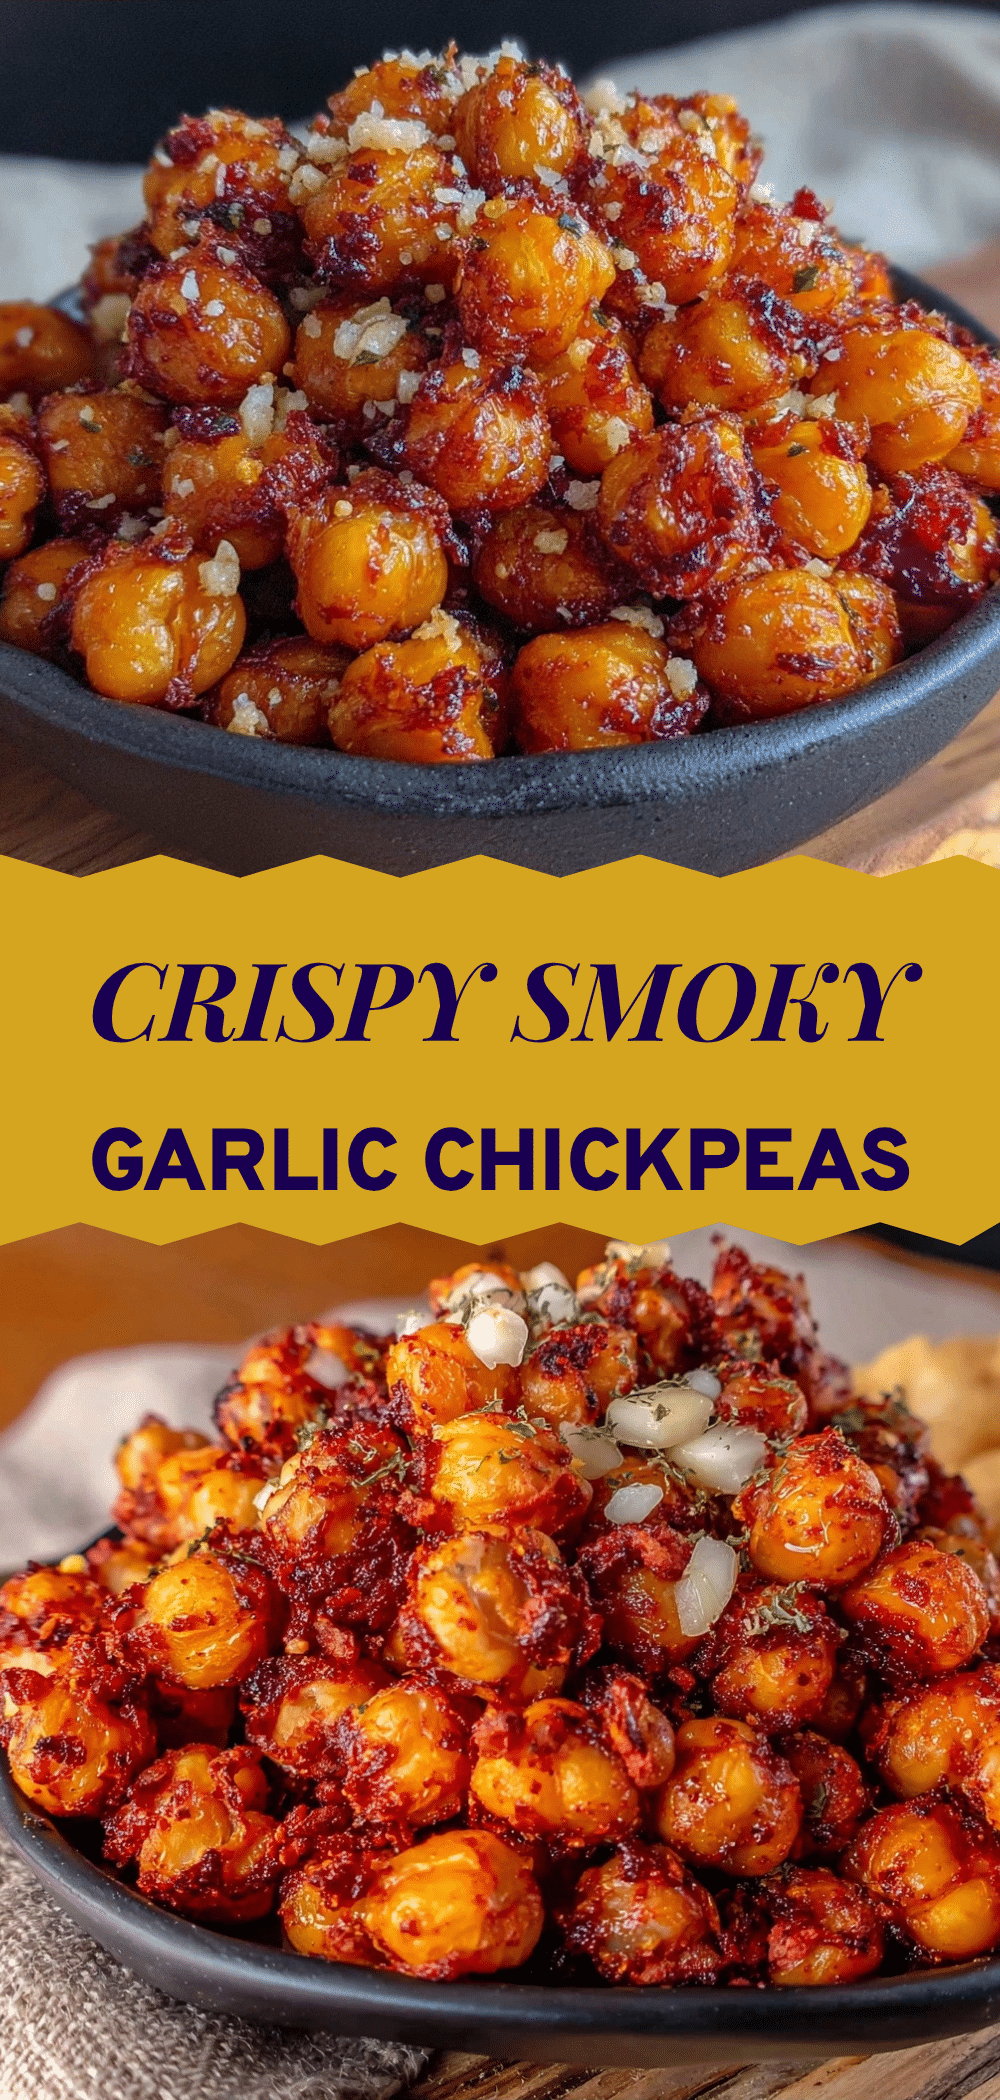

Air Fryer Chickpeas: Grandma’s Smoked Paprika Garlic Recipe
- Total Time: 20-25 minutes
- Yield: 4 servings 1x
Description
A crunchy, savory snack inspired by childhood memories, these air-fried chickpeas are seasoned with smoked paprika and garlic powder for a healthy, high-protein treat that beats traditional roasted beans in texture and flavor.
Ingredients
- 2 cans (15 oz / 425g each) canned chickpeas
- 2 tbsp (30ml) extra virgin olive oil
- 2 tbsp (10g) smoked paprika
- 1.5 tsp (3g) garlic powder
- 0.5 tsp (1g) onion powder
- 1 tsp (6g) sea salt, divided
Instructions
- Rinse the chickpeas under cold running water in a colander for 30 seconds to remove the starchy liquid (aquafaba). Shake off excess water.
- Spread the chickpeas on a clean kitchen towel. Pat them dry thoroughly, picking through to remove any loose skins or wet chickpeas. This step is crucial for crispiness.
- Place the dried chickpeas in a large mixing bowl. Drizzle with olive oil and sprinkle with smoked paprika, garlic powder, onion powder, and half of the salt. Toss well until every chickpea is coated and looks slightly glossy.
- Preheat the air fryer to 390°F (200°C).
- Add the chickpeas to the air fryer basket in a single layer. Do not overcrowd; cook in batches if necessary. Cook for 5 minutes, then shake the basket or stir the chickpeas.
- Continue cooking for another 5-7 minutes, watching closely. They are done when golden brown and sound hollow when tapped. Remove immediately to prevent burning.
- Transfer the hot chickpeas to a cooling rack or plate. Sprinkle with the remaining salt while hot. Let them cool completely before eating to ensure maximum crunch.
Notes
Do not add salt before cooking, as it draws out moisture and prevents crisping. Ensure chickpeas are completely dry before oiling. If garlic powder burns, lower temperature to 375°F (190°C). Store in an airtight container at room temperature for up to 5 days; do not refrigerate.
- Prep Time: 10 minutes
- Cook Time: 10-12 minutes
- Category: Snack
- Cuisine: American
Nutrition
- Serving Size: 1/2 cup
- Calories: 140
- Sugar: 2
- Sodium: 350
- Fat: 4
- Saturated Fat: 0.5
- Carbohydrates: 20
- Fiber: 5
- Protein: 6
Keywords: air fryer chickpeas, smoked paprika chickpeas, healthy snack, vegan snack, high protein snack, gluten-free snack, roasted chickpeas, air fryer recipes


