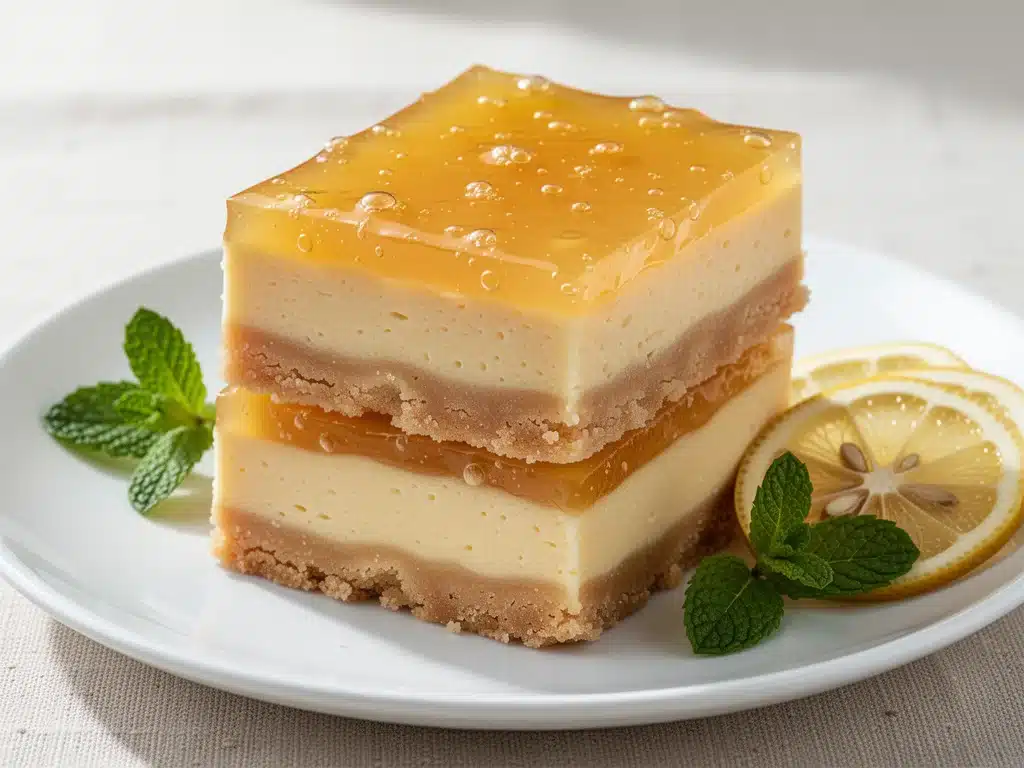
Last summer, I was tasked with bringing dessert to a Labor Day potluck that was supposed to be “light and refreshing.” You know the drill. You want to bring something that doesn’t weigh everyone down after hours of grilling, but you also don’t want to bring something that looks like a sad piece of parchment paper. So, I pulled out this recipe for Lemon Curd Cheesecake Bars. I’ve made them so many times now that I can probably mix the batter in my sleep, but that first batch? It was a revelation.
I remember pulling the pan out of the oven, the kitchen smelling like sunshine and butter, and cutting that first square. The crust crumbled perfectly. The cheesecake layer was dense yet airy. And then, that bright, tangy lemon curd on top? It cut through the richness in a way that made everyone at the table stop talking and just eat. My aunt, who usually complains that desserts are “too sweet,” asked for the recipe before she even finished her second piece.
Since then, these Lemon Curd Cheesecake Bars have become my secret weapon for every summer gathering, from backyard BBQs to office potlucks. They’re the perfect balance of creamy, tangy, and buttery. But here’s the real reason I love them: they are a dream for meal prep. Unlike a whole cheesecake that needs to sit in the fridge for 12 hours before you can even touch it, these bars can be made ahead, sliced, and stored in the fridge for days without losing their texture or flavor. In fact, they taste better the next day, as the flavors have time to meld and settle.
If you’ve ever been intimidated by making lemon curd from scratch or worried that a cheesecake bar would be too heavy for a warm day, don’t be. This recipe is forgiving, easy to make, and tastes like something you’d buy at a high-end bakery for $6 a piece. I’ve tested this recipe over a dozen times, tweaking the crust ratio and the curd thickness, until I landed on this perfect version. It’s tart, it’s sweet, and it’s incredibly easy to pull together. Let’s get baking.
Why You’ll Love This Recipe
There are a few reasons these bars keep showing up in my regular rotation, but they really come down to convenience meeting quality. Here is why you’re going to want to make these on repeat:
- They Are Actually Make-Ahead Friendly — Most bar cookies need to be eaten the day they are made. Not these. I make these on Sunday, and they are still perfect on Thursday. They hold their shape, they don’t get soggy, and the lemon curd actually thickens as it chills, making them easier to slice.
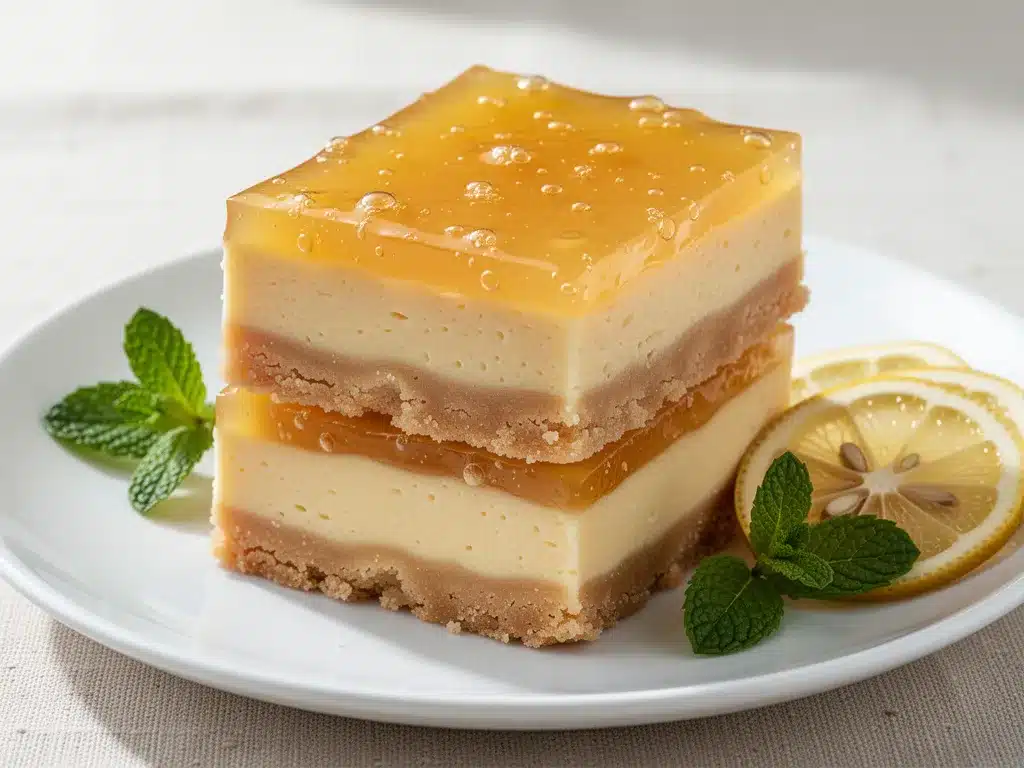
- The Texture Contrast Is Addictive — We have the shortbread-like buttery crust, the dense creamy cheesecake layer, and the glossy, tart lemon curd on top. Three distinct textures in every bite. It’s not just “lemon cake.” It’s a layered experience.
- They Travel Like a Champ — I’ve driven these across town in the backseat of my car (yes, in the summer heat, though I keep them in a cooler bag just to be safe). They don’t slide, they don’t melt, and they don’t crumble into dust. They are the ultimate potluck dessert because you can cut them into neat squares and hand them out without a mess.
- They Taste Like Summer — There is something about the combination of lemon and cream cheese that just screams summer. It’s bright and zesty, which is exactly what you want when the weather is hot and you don’t feel like eating a heavy chocolate cake. It feels like a vacation in a bar.
- Minimal Cleanup — You only need one mixing bowl for the crust, one for the cheesecake, and a small saucepan for the curd. That’s it. No complicated machinery, no dozen different dishes. Just simple, clean cooking.
Real talk: if you want a dessert that impresses people but doesn’t require a culinary degree, this is it. It’s elegant, it’s delicious, and it’s easy.
Ingredients You’ll Need
This recipe calls for a few specific items, but most of it is pantry staples. I’m particular about the quality of the lemon curd, so pay attention to that part. Here is what you need to get started.
For the Shortbread Crust
Unsalted butter (1/2 cup / 113g, softened) — This gives the crust its rich, melt-in-your-mouth texture. Don’t use margarine. I soften mine in the microwave for 15 seconds—just enough so it’s pliable but not melted into a puddle.
Granulated sugar (1/4 cup / 50g) — Not too sweet. The sweetness comes mostly from the curd. This just helps bind the crust.
All-purpose flour (1 cup / 125g) — Standard flour works fine. Don’t bother with pastry flour here; we want a sturdy base that can hold up to the heavy cheesecake layer.
Cornstarch (1 tablespoon / 8g) — This is the secret ingredient for the crust. It makes it tender and crisp rather than chewy. It’s like a cookie crust without being too hard.
Salt (1/4 teaspoon) — Essential to balance the butter. Never skip the salt in shortbread.
For the Cheesecake Layer
Full-fat cream cheese (16 oz / 450g, softened) — This is non-negotiable. Light cream cheese will make this watery and flat. I use Philadelphia blocks. Let them sit on the counter for 30 minutes before mixing. Cold cream cheese leads to lumps.
Granulated sugar (1 cup / 200g) — Yes, a full cup. The tartness of the lemon curd balances this sweetness perfectly. If you reduce the sugar, the curd will be too sour.
Eggs (2 large + 1 yolk) — I use two whole eggs and one extra yolk. The extra yolk adds richness and helps set the texture without making it rubbery. Room temperature eggs are best so they emulsify smoothly.
Heavy cream (2 tablespoons / 30ml) — Just a splash. It keeps the cheesecake layer luxuriously creamy and prevents it from cracking.
Lemon zest (1 tablespoon) — From one large lemon. This adds a burst of lemon flavor directly into the cheesecake, bridging the gap between the crust and the curd.
Vanilla extract (1 teaspoon) — Pure vanilla, please. It adds warmth and depth.
For the Lemon Curd Topping
Fresh lemon juice (1/2 cup / 120ml) — About 3-4 lemons. Please, for the love of all things holy, do not use bottled lemon juice. The flavor is flat and waxy. Freshly squeezed is the only way to go.
Granulated sugar (1/2 cup / 100g) — Standard amount for curd.
Egg yolks (3 large) — For that rich, custard-like consistency.
Unsalted butter (1/2 cup / 113g, cubed) — Added at the end to give the curd its glossy shine and smooth texture.
Lemon zest (1 teaspoon) — Optional, but I always add a little extra for aroma.
Equipment Needed
You don’t need a fancy kitchen for this. Here is what you actually need:
8×8 inch baking pan — I use a metal pan for even browning. Glass works too, but you might need to bake it a minute longer. Line it with parchment paper with an overhang on the sides—this is crucial for lifting the bars out later.
Mixer — A hand mixer is fine, but a stand mixer is easier for the cream cheese. You need it to be smooth.
Saucepan — A small, heavy-bottomed saucepan for the lemon curd. This prevents scorching. I use a 1-quart pan.
Whisk and spatula — For mixing the batter and stirring the curd. Silicone spatulas are great for scraping the bowl clean.
Microplane or zester — For the lemon zest. A regular grater works, but a microplane gives you fluffy, aromatic zest without the bitter white pith.
How to Make It: Step-by-Step
Alright, let’s make these! I’m walking you through exactly how I do it, including the little tricks I’ve picked up to ensure your bars are perfect.
Step 1: Make the Shortbread Crust (10 minutes)
Preheat your oven to 350°F (175°C). Line your 8×8 inch baking pan with parchment paper, leaving an overhang on the long sides. This will act as a sling to lift the bars out later. In a medium bowl, mix the softened butter, sugar, flour, cornstarch, and salt. Use your fingers or a fork to mix it until it looks like wet sand. Press this mixture firmly and evenly into the bottom of your prepared pan. Don’t be shy—press it down tight. If the crust is loose, the bars will fall apart. Bake for 15 minutes until the edges are lightly golden. Let it cool completely while you make the other layers.
Step 2: Make the Lemon Curd (15 minutes active, 1 hour cooling)
This can be done while the crust bakes, or the day before. In a small saucepan, whisk together the fresh lemon juice, sugar, and egg yolks. Cook over medium-low heat, whisking constantly. Do not walk away. You are looking for the mixture to thicken enough to coat the back of a spoon. This usually takes 8-10 minutes. It should look like a thin custard. Once it thickens, remove from heat and whisk in the cubed butter and lemon zest until the butter is melted and the curd is smooth and glossy. Pour into a bowl, cover with plastic wrap (touching the surface of the curd to prevent a skin from forming), and let it cool to room temperature, then refrigerate until cold. It will thicken more as it chills.
Step 3: Make the Cheesecake Batter (10 minutes)
In a large bowl, beat the softened cream cheese and sugar until completely smooth and creamy. This is key—no lumps! Add the eggs one at a time, mixing on low speed just until combined. Overmixing at this stage can incorporate too much air, which leads to cracking. Add the heavy cream, vanilla, and lemon zest. Mix briefly until combined. Pour the batter over the cooled crust. Smooth the top with a spatula.
Step 4: Bake the Cheesecake (30-35 minutes)
Bake the bars at 350°F (175°C) for 30-35 minutes. The edges should be set, but the center should still have a slight jiggle—like Jell-O. It will firm up as it cools. Do not overbake, or the texture will become dense and dry. Remove from the oven and let it cool in the pan on a wire rack for at least 1 hour. It needs to come to room temperature completely before you add the curd.
Step 5: Add the Lemon Curd and Chill (4 hours minimum)
Once the cheesecake layer is cool, pour the chilled lemon curd over the top. Use an offset spatula or a knife to spread it evenly. You want a nice, generous layer. Cover the pan with plastic wrap or foil and refrigerate for at least 4 hours, or ideally overnight. This chilling time is what allows the layers to set firmly so you can cut clean squares.
Step 6: Slice and Serve
Use the parchment paper sling to lift the entire block out of the pan. Place it on a cutting board. Use a sharp knife to cut into squares. For clean cuts, wipe the knife with a damp paper towel between each slice. This prevents the curd from smearing. Serve chilled.
Expert Tips & Tricks
Here is everything I’ve learned from making this dozens of times. These tips will save you from my mistakes.
Room Temperature Ingredients Are Key
I cannot stress this enough. Your cream cheese and eggs must be room temperature. If you try to mix cold cream cheese, you will get lumps that you can never fully beat out. Plan ahead and take your ingredients out of the fridge 30-60 minutes before you start. If you forget, you can warm the cream cheese in the microwave in 5-second bursts, stirring in between, until it’s pliable.
Don’t Skip the Cornstarch in the Crust
It seems like a weird ingredient for a crust, but it changes the texture entirely. Without it, the crust is more like a hard cookie. With it, it’s tender and crumbly, almost like a shortbread biscuit. It provides the perfect contrast to the soft cheesecake.
Cool Completely Before Adding Curd
If you add the lemon curd to a warm cheesecake, the heat will melt the curd, and it will seep into the cheesecake layer. You’ll lose your distinct layers. Patience pays off here. Let the cheesecake cool to room temperature, then chill it for an hour before adding the curd.
How to Know When Curd Is Done
The lemon curd is ready when it coats the back of a spoon and you can draw a line through it with your finger that stays clear. It will look somewhat thin in the pan but will thicken significantly as it cools. If it looks like scrambled eggs, your heat was too high. Low and slow is the way.
Storage for Make-Ahead Success
These bars keep beautifully in the refrigerator for up to 5 days in an airtight container. They also freeze well for up to 3 months. To freeze, cut the bars first, then wrap them individually in plastic wrap and place them in a freezer bag. Thaw in the fridge overnight before serving. This makes them the ultimate make-ahead dessert for parties.
Variations & Substitutions
Once you’ve nailed the basic version, here is how you can mix it up. I’ve tried all of these.
Blueberry Lemon Cheesecake Bars
Skip the lemon curd topping. Instead, fold 1 cup of fresh or frozen blueberries into the cheesecake batter before baking. The blueberries will burst and create a beautiful marbled effect. You can add a thin layer of lemon curd on top if you want extra tartness.
Key Lime Version
Swap the lemon juice and zest for key lime juice and zest. The flavor is more tropical and slightly less sweet. Use the same amounts. This pairs beautifully with a graham cracker crust if you prefer that flavor over shortbread.
Gluten-Free Crust
Use a 1:1 gluten-free flour blend in the crust recipe. The cornstarch helps mimic the texture, so it works well. Ensure your lemon curd and cream cheese are certified gluten-free if you have celiac disease.
Lighter Cheesecake
You can substitute half of the cream cheese with Greek yogurt (full-fat) for a tangier, lighter texture. The bars will be less dense, but still creamy. Reduce the sugar by 2 tablespoons since Greek yogurt adds tartness.
Coconut Twist
Add 1/2 cup of shredded coconut to the crust mixture. Press it in firmly. This adds a nice chewiness and tropical flavor that pairs well with the lemon.
Serving & Storage
How to Serve: I usually serve these chilled, straight from the fridge. The cold temperature makes the lemon curd taste even brighter and more refreshing. They are perfect with a cup of hot tea or coffee, or alongside a slice of grandma’s bread pudding if you want a heavy dessert night.
Side Dishes: These bars are rich, so they don’t need much else. But if you’re serving them at a brunch, they pair well with frozen sangria slushies or a simple fruit salad. For a dinner party, they can stand in for dessert after a light meal like grilled watermelon feta skewers.
Storage Instructions: Store in an airtight container in the refrigerator for up to 5 days. If you stack them, place parchment paper between the layers to prevent sticking. They do not freeze well with the lemon curd on top if you keep them whole, because the curd can become icy. If you want to freeze, cut them first and wrap individually.
Reheating: Do not reheat these. They are best served cold. Warming them up will melt the curd and make the texture messy.
Nutrition Information
I’m not a nutritionist, but here’s the breakdown if you’re tracking. These are rich bars, so portion control is key.
Per Serving (based on 16 bars):
- Calories: 280
- Protein: 4g
- Carbs: 32g
- Fiber: 0g
- Sugar: 24g
- Fat: 16g
- Saturated Fat: 9g
- Cholesterol: 65mg
- Sodium: 120mg
What’s Good: The cream cheese provides some calcium and protein. The lemon adds a bit of vitamin C. It’s a balanced dessert in terms of flavor—sweet and tart.
What to Know: It is high in sugar and saturated fat due to the cream cheese, butter, and sugar. It’s a treat, not a health food. But it’s homemade, so you know exactly what’s in it. No preservatives, no weird gums.
Final Thoughts
So that’s my go-to Lemon Curd Cheesecake Bars! I’ve probably talked your ear off at this point, but when you make a recipe this often, you have a lot to say about it. These bars have saved me more times than I can count. They are my answer to “I need to bring something impressive but easy” and “I want a dessert that tastes like summer.” My friends are happy, my family is happy, and I’m happy because I’m not stressed about cooking.
Make it yours! Try different fruit curds, swap in your favorite zest, or add a sprinkle of sea salt on top before serving. The best recipes are the ones you adapt to your family’s tastes. If you make this, drop a comment and let me know what you think! I love hearing how recipes turn out in your kitchen. And if something doesn’t work, tell me that too—I’m here to help troubleshoot.
Happy baking! And I hope your kitchen smells half as good as mine does right now.
Frequently Asked Questions
Can I use store-bought lemon curd?
Yes, you can! If you are short on time, a high-quality store-bought lemon curd works fine. Just spread it on top of the cooled cheesecake. However, homemade curd is much brighter and fresher-tasting. It’s worth the 15 minutes if you have the time.
Why did my cheesecake crack?
Cracking usually happens from overmixing or overbaking. When you mix the batter, stop as soon as the ingredients are combined. Also, check your oven temperature. If it’s too hot, the edges set too fast and the center expands, causing cracks. A slight jiggle in the center when you take it out is good—it will firm up as it cools.
Can I make these ahead of time?
Absolutely. This is one of their best features. You can make the crust and cheesecake layer a day ahead, chill them, then add the curd the next day. Or, you can make the entire thing 2-3 days in advance. They actually taste better after sitting in the fridge for a day.
How do I cut clean slices?
Use a sharp knife. Dip the knife in hot water and wipe it dry before each cut. This heats the blade slightly, allowing it to slice through the cold curd and cheesecake smoothly without dragging. Clean the knife between every cut.
Can I freeze the lemon curd?
Yes, lemon curd freezes well for up to 3 months. Store it in an airtight container. Thaw it in the fridge before using. The texture might change slightly, so whisk it well before spreading it on the bars.
What if I don’t have an 8×8 pan?
You can use a 9×9 pan, but the layers will be thinner. You might need to reduce the baking time by 5-10 minutes. Keep an eye on it. A 9×13 pan is too big—the bars will be too thin and might burn.
Can I make this in a springform pan?
Yes, but you’ll need to press the crust firmly into the bottom. The baking time might be slightly longer because a springform pan is deeper. Check for the jiggle at the standard time.
Pin This Recipe!
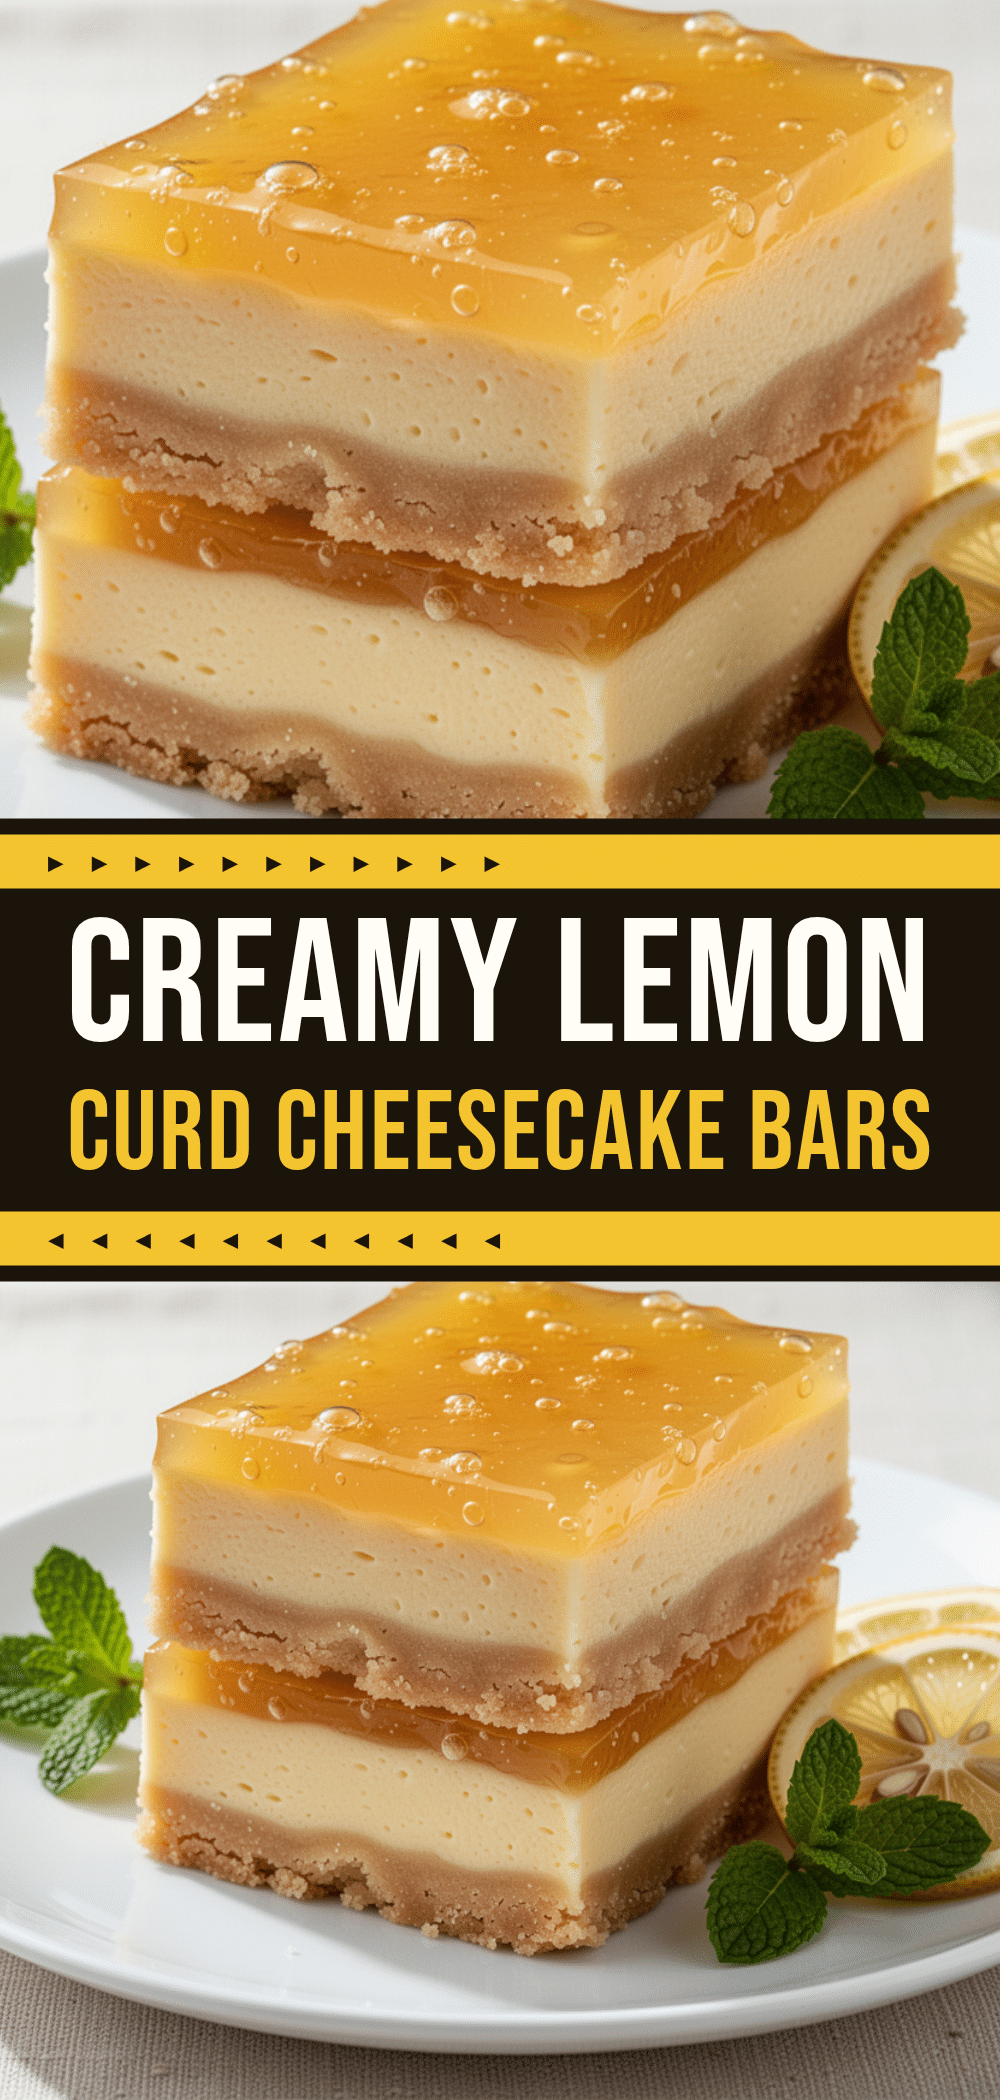
Lemon Curd Cheesecake Bars: Easy Make Ahead Dessert
- Total Time: 5 hours 20 minutes
- Yield: 16 servings
Description
These Lemon Curd Cheesecake Bars feature a buttery shortbread crust, a dense yet airy cream cheese layer, and a bright, tangy homemade lemon curd topping. They are easy to make, travel well, and taste even better the next day.
Ingredients
- For the Shortbread Crust: 1/2 cup (113g) unsalted butter, softened; 1/4 cup (50g) granulated sugar; 1 cup (125g) all-purpose flour; 1 tablespoon (8g) cornstarch; 1/4 teaspoon salt
- For the Cheesecake Layer: 16 oz (450g) full-fat cream cheese, softened; 1 cup (200g) granulated sugar; 2 large eggs + 1 egg yolk, room temperature; 2 tablespoons (30ml) heavy cream; 1 tablespoon lemon…
- For the Lemon Curd Topping: 1/2 cup (120ml) fresh lemon juice; 1/2 cup (100g) granulated sugar; 3 large egg yolks; 1/2 cup (113g) unsalted butter, cubed; 1 teaspoon lemon zest
Instructions
- Preheat oven to 350°F (175°C). Line an 8×8 inch baking pan with parchment paper, leaving an overhang on the long sides.
- For the crust: In a medium bowl, mix softened butter, sugar, flour, cornstarch, and salt until it resembles wet sand. Press firmly and evenly into the bottom of the prepared pan. Bake for 15 minutes until edges are lightly golden. Let cool completely.
- For the lemon curd: In a small saucepan, whisk together lemon juice, sugar, and egg yolks. Cook over medium-low heat, whisking constantly, until the mixture thickens enough to coat the back of a spoon (8-10 minutes). Remove from heat and whisk in cubed butter and lemon zest until smooth. Cover with plastic wrap touching the surface and refrigerate until cold.
- For the cheesecake batter: In a large bowl, beat softened cream cheese and sugar until smooth. Add eggs one at a time, mixing on low speed just until combined. Add heavy cream, vanilla, and lemon zest; mix briefly to combine.
- Pour the cheesecake batter over the cooled crust and smooth the top. Bake at 350°F (175°C) for 30-35 minutes until edges are set but the center has a slight jiggle.
- Remove from oven and let cool in the pan on a wire rack for at least 1 hour until completely cool to the touch.
- Pour the chilled lemon curd over the cooled cheesecake layer and spread evenly. Cover and refrigerate for at least 4 hours or overnight to set.
- Use the parchment sling to lift the bars out of the pan. Cut into squares using a sharp knife, wiping the blade between cuts for clean slices. Serve chilled.
Notes
Ensure all dairy ingredients (cream cheese, eggs, butter) are at room temperature to prevent lumps. Do not overmix the cheesecake batter to avoid cracking. The lemon curd must be completely cool before adding to the cheesecake to prevent melting. For clean cuts, dip the knife in hot water and wipe dry between slices. These bars keep in the refrigerator for up to 5 days or can be frozen for up to 3 months.
- Prep Time: 35 minutes
- Cook Time: 45 minutes
- Category: Dessert
- Cuisine: American
Nutrition
- Serving Size: 1 bar
- Calories: 280
- Sugar: 24
- Sodium: 120
- Fat: 16
- Saturated Fat: 9
- Carbohydrates: 32
- Protein: 4
Keywords: lemon curd cheesecake bars, make ahead dessert, summer dessert, easy cheesecake, shortbread crust, lemon dessert, potluck dessert


