I still remember the exact moment I realized my keto journey was going to be harder than I thought. It wasn’t the first week of cutting carbs. It wasn’t even the dreaded “keto flu.” It was a Tuesday night in November, raining outside, and I had just walked past a bakery window. The smell hit me like a physical blow—warm, melted chocolate, rich butter, sweet sugar. My brain screamed for it. My body, currently running on fat and stubbornness, said no.
I went home, stared into the fridge for twenty minutes, and ended up eating a handful of almonds while watching a cooking show. I felt deprived. I felt like I was living in a flavorless world where desserts were a thing of the past. I almost ordered a slice of cheesecake online. I almost quit.
But then, I remembered a comment on a forum from a woman who swore she could make a chocolate lava cake in five minutes that tasted like sin but kept her in ketosis. I laughed. I thought it was impossible. But desperation is a powerful motivator. So, I grabbed my microwave-safe mug, scavenged my pantry for almond flour, unsweetened cocoa, and a secret weapon (more on that in a bit), and I threw together what I thought would be a sad, rubbery experiment.
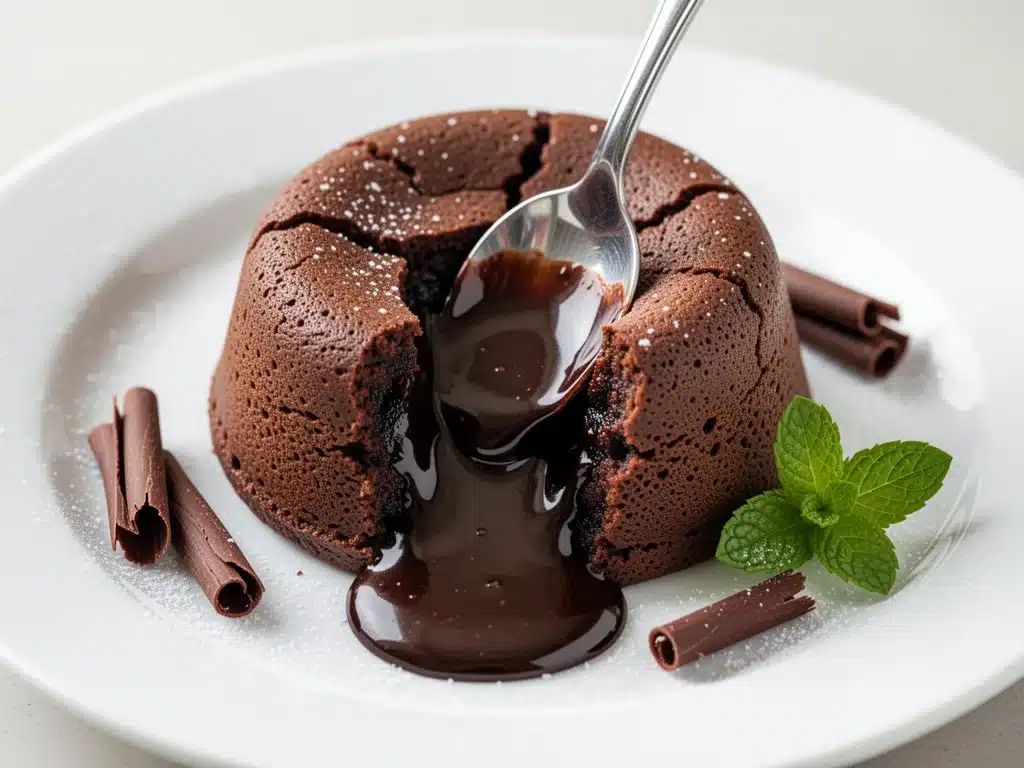
Five minutes later, I pulled it out. It looked like a disaster. It looked like a dense brick. I poked it. A gooey, molten center oozed out like dark lava. I took a bite. And I literally cried. Not because it was sad, but because it was the best thing I had tasted in months. It was warm. It was rich. It was chocolatey. It was keto-friendly.
That single mug cake changed everything. It proved that you don’t have to sacrifice joy to stick to a lifestyle. Since then, I’ve made this keto chocolate lava cake dozens of times. I’ve tweaked the ratios, tested different sweeteners, and even figured out how to make it in the oven for a proper dessert. It’s become my go-to when I need a sweet fix that doesn’t derail my progress. And honestly? It’s faster than ordering takeout.
If you’re tired of dry keto cookies or bland protein bars, this recipe is your salvation. It’s simple, it’s fast, and it tastes like you cheated on your diet (but you didn’t). Let’s get into why this is the only chocolate dessert you’ll ever need.
Why You’ll Love This Low Carb Dessert
There are about a million reasons I keep making this, but they all boil down to one thing: it actually tastes good. Seriously. Here are the big ones that keep me coming back to the kitchen:
It Takes Five Minutes Flat — I mean it. Five minutes from start to finish. I’ve made this after a long day at work when I’m too tired to think. I’ve made it at 11 PM when the midnight munchies hit. I’ve even made it while on a Zoom call (though I had to mute my chewing). It’s the ultimate lazy dessert.
Zero Guilt, All Flavor — This isn’t a “diet” dessert that tastes like cardboard and regret. It’s rich, fudgy, and deeply chocolatey. The molten center is the star of the show. One bite, and your brain registers it as an indulgent treat, not a health food. My husband, who isn’t even on keto, asks for this more often than my regular chocolate cake. And that says a lot.
Pantry-Friendly Ingredients — You probably have most of this already. Almond flour, cocoa powder, butter, eggs, sweetener. These aren’t obscure ingredients you need to drive to three different stores to find. I keep these stocked specifically so I can whip this up on a whim. It’s my emergency snack when I’m traveling or stuck in a hotel room with no options.
Perfectly Portioned — Because it’s made individually, you don’t have to worry about overeating. It’s a single-serving dessert. One mug, one cake, done. No scraping the last bit of frosting off the pan at 2 AM. It keeps you honest. If you want seconds? Well, that’s on you. But usually, one is enough.
Gluten-Free and Grain-Free — If you have sensitivities, this is a dream. No wheat, no gluten, no grains. It’s naturally friendly for a lot of dietary restrictions. I’ve served this to friends with celiac disease, and they couldn’t tell the difference from the real thing. That’s a win in my book.
This is my answer to “what’s for dessert” when I want something sweet but don’t want to feel sluggish the next day. It’s reliable, delicious, and makes everyone happy.
Ingredients You’ll Need
Here’s the best part: this recipe is ridiculously simple. You don’t need fancy gadgets or exotic ingredients. I’m particular about three things here, and I’ll tell you exactly why they matter.
For the Cake Base
Almond Flour (1/4 cup / 25g) — This is your flour substitute. I use super-fine almond flour because it gives a smoother texture. If you use coarse almond meal, the cake will be gritty. Don’t skip this. I’ve tried coconut flour, but it absorbs too much liquid and makes a dry brick. Almond flour is the gold standard for keto baking.
Unsweetened Cocoa Powder (2 tablespoons / 10g) — Use high-quality cocoa. Hershey’s is fine, but if you can find a Dutch-process cocoa or a high-cacao brand like Guittard, the chocolate flavor will be way deeper. This is where the chocolate taste lives, so don’t cheap out.
Butter (2 tablespoons / 30g) — Salted or unsalted? I prefer salted because it cuts the sweetness. Melted butter adds richness and helps create that gooey center. If you’re dairy-free, use coconut oil, but the texture will be slightly different.
Egg (1 large) — This binds everything together. Room temperature eggs mix better, but I’ve made this with cold eggs and it still works. Just whisk it well. The egg is what gives the cake structure without gluten.
Keto Sweetener (2-3 tablespoons / 20-30g) — I use a blend of erythritol and monk fruit (like Swerve or Lakanto). It measures cup-for-cup like sugar, which makes it easy. I don’t recommend liquid stevia because it can leave a bitter aftertaste. Granular sweeteners give the best texture.
For the Lava Center
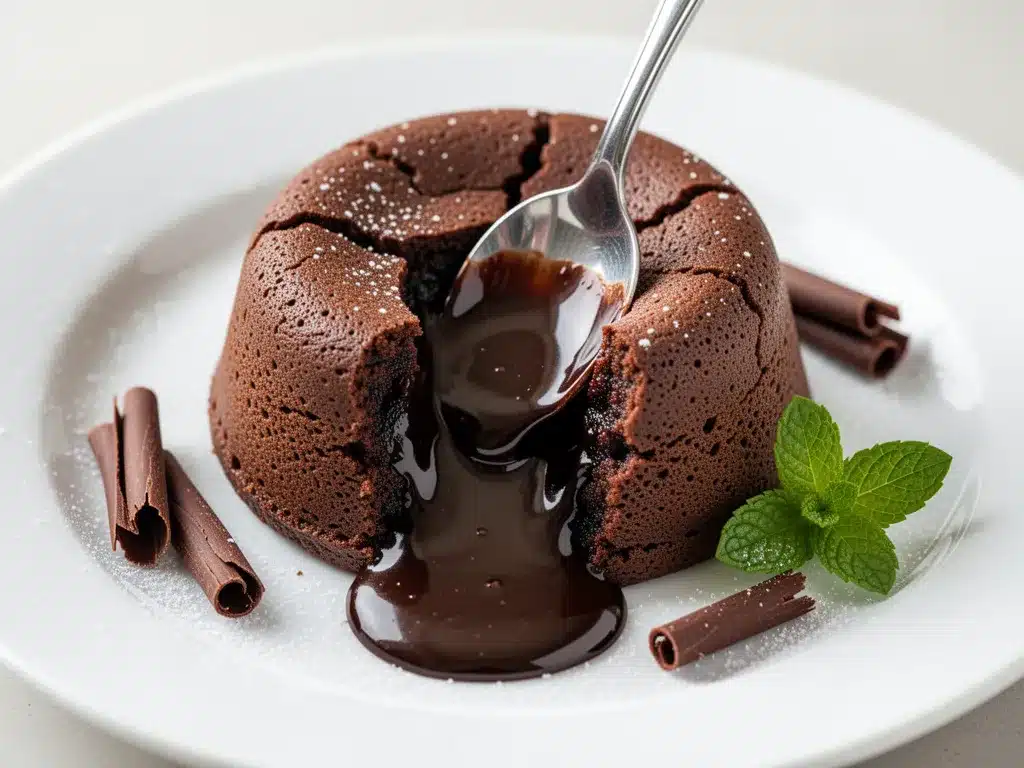
Dark Chocolate Chips (1 tablespoon / 15g) — This is the secret weapon. Use high-quality dark chocolate chips (70% cacao or higher). Place them in the center of the batter before cooking. They melt into a liquid pool, creating that signature lava effect. If you don’t have chips, chop up a square of dark chocolate. Same result.
Optional Add-ins
Vanilla Extract (1/4 teaspoon) — Adds depth. I always add this. It makes the chocolate taste more like a dessert and less like a science experiment.
Pinch of Salt — Enhances the chocolate flavor. Don’t skip it.
Heavy Cream (for serving) — A dollop of whipped cream or just a splash of cold cream makes it even richer. I sometimes drizzle a little sugar-free chocolate syrup on top if I’m feeling fancy.
Pro Tip: I keep my almond flour in an airtight container in the fridge. It stays fresh longer and doesn’t get rancid. Also, measure your almond flour by weight if you can. Cup measurements can vary wildly depending on how packed it is.
Equipment Needed
You don’t need fancy equipment for this. Here’s what I actually use.
Mug orrame Bowl — I use a 12-ounce ceramic mug. It needs to be big enough to let the cake rise without overflowing. I’ve made this in ramekins too, which gives a more elegant presentation if you’re serving guests. Just add 1-2 minutes to the cooking time.
Microplane or Small Whisk — For mixing. You want everything smooth and lump-free. A fork works, but a whisk is faster.
Microwave — Obviously. But if you’re using an oven, you’ll need a small baking dish. See variations below.
Measuring Spoons — Accuracy matters more here than in some recipes because keto flours behave differently. I use a set of stainless steel spoons. They’re durable and easy to clean.
Knife — To chop chocolate if you’re not using chips.
Optional but nice: A small spoon for serving. I like using a little ice cream scoop to make the presentation look intentional, even if it’s just a mug cake.
How to Make It: Step-by-Step
Alright, let’s make this! I’m walking you through exactly how I do it, including the little tricks I’ve picked up to ensure that perfect molten center.
Step 1: Prep Your Mug (1 minute)
Butter your mug. Seriously. Coat the inside with a little butter and dust it with a teaspoon of almond flour. Tap out the excess. This prevents sticking. I learned this the hard way when I had to scrape half the cake out of a mug that wasn’t prepped. It’s a small step that saves you a lot of frustration.
Step 2: Mix the Dry Ingredients (1 minute)
In your mug, add the almond flour, cocoa powder, sweetener, and salt. Whisk them together until there are no lumps. The cocoa powder tends to clump, so take a minute to break it up. You want a uniform mixture before you add the wet ingredients.
Step 3: Add the Wet Ingredients (1 minute)
Melt the butter in the microwave for 10-15 seconds. It should be liquid but not hot. Pour it into the mug along with the egg and vanilla extract. Whisk vigorously. The mixture will look thick and pasty at first, but keep whisking until it’s smooth and glossy. It should look like brownie batter. If it’s too dry, add a teaspoon of water or milk. If it’s too wet, add a pinch more almond flour.
Step 4: The Lava Center (1 minute)
Now for the magic. Drop the dark chocolate chips into the center of the batter. Don’t mix them in. Just press them gently into the middle. This creates the pocket for the lava. If you mix them in, you’ll just get chocolate chunks, not a molten center. This is the most important step.
Step 5: Cook It (3-5 minutes)
Microwave on high for 3 minutes. Start with 3 minutes. If you’re using a powerful microwave (1000+ watts), start with 2.5 minutes. If you’re using a lower-wattage microwave (700-800 watts), you might need 4 minutes. The cake should be set on the edges but still jiggly in the center. It will continue to cook a bit from residual heat. Do not overcook it, or the lava will solidify. A jiggly center is good. A solid center is a mistake.
Step 6: Rest and Serve (1 minute)
Let it sit for 1 minute. This allows the center to settle and become gooey rather than runny. If you eat it immediately, it might be too hot and liquid. Letting it rest creates that perfect, thick lava consistency. Top with a dollop of whipped cream or a sprinkle of sugar-free cocoa powder if you want.
Total Time: About 5 minutes (1 minute prep, 4 minutes cook time)
Expert Tips & Tricks
Here’s everything I’ve learned from making this dozens of times. These tips will save you from my mistakes.
Microwave Wattage Matters
This is the #1 reason people fail at this recipe. My microwave is 1100 watts, and 3 minutes is perfect. If your microwave is weaker, you’ll need more time. If it’s stronger, you’ll need less. I always test one cake at 2.5 minutes and one at 3.5 minutes the first time I make it to dial in my appliance. Don’t guess—test.
Don’t Overmix the Egg
Once you add the egg, mix just until combined. Overmixing can incorporate too much air, which makes the cake rise too much and then deflate, leaving you with a dry texture. Gentle is better.
Room Temperature Ingredients
If your butter is cold, it won’t mix well with the almond flour. Melt it completely. Same with the egg. If you’re in a rush, warm the egg in hot water for a minute. It helps everything blend smoother.
The Resting Period is Non-Negotiable
I know it’s tempting to dig in immediately. But the 1-minute rest is crucial. It allows the heat to distribute evenly and the center to thicken from runny to gooey. If you skip this, you’ll get hot chocolate soup, not lava cake.
Common Mistakes (and how to avoid them)
Mistake: The cake is dry and crumbly. Fix: You overcooked it. Reduce the time by 30 seconds next time. Also, make sure you’re using enough butter. Keto baking is fat-dependent; less fat means drier cake.
Mistake: The lava didn’t melt. Fix: You didn’t use enough chocolate, or you mixed it in instead of leaving it in the center. Also, ensure your chocolate chips are high-quality. Some keto chips have additives that prevent melting.
Mistake: The cake overflowed. Fix: Your mug was too small. Use a larger mug or ramekin. The cake rises significantly.
Pro Tricks I’ve Learned:
For Extra Richness — Add a tablespoon of cream cheese to the batter. It adds tang and makes the texture denser and fudgier. I love this variation.
For a Nutty Twist — Stir in a tablespoon of chopped walnuts or pecans. Adds crunch and pairs beautifully with the chocolate.
Make-Ahead Strategy — You can prep the dry ingredients in a jar ahead of time. When you’re ready, just add the wet ingredients and cook. Great for meal prepping sweet treats for the week.
Variations & Substitutions
Once you’ve nailed the basic version, here’s how you can mix it up. I’ve tried all of these.
Mocha Lava Cake
Add a teaspoon of instant espresso powder to the dry ingredients. It intensifies the chocolate flavor without making it taste like coffee. Perfect for coffee lovers.
Peppermint Chocolate
Stir in 1/4 teaspoon peppermint extract. Top with sugar-free crushed peppermint candies. Great for holidays.
Coconut Version
Swap almond flour for coconut flour (use 1 tablespoon instead of 1/4 cup, as it’s more absorbent). Add 1 tablespoon coconut oil. Add shredded coconut on top.
Oven-Baked Version
If you want a more “cake-like” texture, bake in ramekins at 350°F (175°C) for 12-15 minutes. The center will still be soft. This is better if you’re serving multiple people and want a plated dessert.
Dietary Modifications:
Whole Egg Substitute — If you’re out of eggs, you can use a flax egg (1 tablespoon ground flax + 3 tablespoons water), but the texture will be slightly different. It won’t be as fluffy.
Sugar-Free Syrup — Instead of chips, use a sugar-free chocolate syrup in the center. It melts faster and creates a thinner lava. Good if you prefer a runnier center.
Protein Boost — Add a scoop of unflavored or chocolate protein powder. Reduce almond flour by 1 tablespoon. The cake will be denser and higher in protein. I do this when I need a post-workout snack.
Serving & Storage
How to Serve:
I usually serve this straight from the mug. It looks rustic and cozy. But here are other ways I’ve enjoyed it:
With Whipped Cream — A dollop of sugar-free whipped cream adds lightness. I use homemade whipped cream from heavy cream and a drop of vanilla.
With Berries — Fresh raspberries or strawberries cut the richness. The tartness balances the sweet chocolate perfectly.
With Ice Cream — A scoop of keto vanilla ice cream on top. The contrast of hot cake and cold ice cream is amazing.
Storage Instructions:
Refrigerator: This is best made fresh. If you have leftovers, store in an airtight container for up to 2 days. Reheat in the microwave for 30 seconds. It will be slightly denser.
Freezing: I don’t recommend freezing the batter. It doesn’t thaw well. You can freeze the baked cake, but the texture will change. It’s best enjoyed warm.
Meal Prep: Mix the dry ingredients in small jars or bags. When you’re ready, add the wet ingredients and cook. This saves time during the week. I prep 4 jars on Sunday for the week.
Pro Tip: If you’re serving guests, make individual ramekins and bake them in the oven. It looks more elegant and allows you to prepare multiple servings at once. Just add 1-2 minutes to the cooking time.
Nutrition Information
I’m not a nutritionist, but here’s the breakdown if you’re tracking. Note that nutrition can vary based on brands and exact measurements.
Per Serving (1 mug cake):
– Calories: 320
– Protein: 12g
– Carbs: 8g
– Fiber: 4g
– Net Carbs: 4g
– Sugar: 1g
– Fat: 28g
What’s Good:
– Low net carbs, perfect for keto
– High healthy fats from almond flour and butter
– Good amount of protein from egg and almond flour
What to Know:
– Higher in calories due to fat content
– Contains nuts (almonds)
– Moderate sodium depending on butter used
My Take:
Look, this is a dessert. It’s not a salad. But it’s way better than a regular chocolate cake, which might have 30g of net carbs. This satisfies the sweet tooth without kicking you out of ketosis. I eat this as a treat, not a meal. When I want to make it lighter, I reduce the butter slightly, but honestly? The fat is what makes it good. Enjoy it in moderation.
Final Thoughts
So that’s my go-to keto chocolate lava cake! I’ve probably talked your ear off at this point, but when you make a recipe this often, you have a lot to say about it.
This has saved my sweet tooth more times than I can count. It’s my answer to “what’s for dessert” when I’m tired, don’t want to cook a big meal, and still want something that tastes really good. My kids are happy (even the non-keto ones), my husband’s happy, and I’m happy because I’m not stressed about derailing my diet.
Make it yours! Try different add-ins, swap in your favorite sweetener, adjust the chocolate. The best recipes are the ones you adapt to your family’s tastes. And if you’re looking for more keto-friendly treats, check out my overnight chia seed pudding for a breakfast option that’s just as easy.
If you make this, drop a comment and let me know what you think! I love hearing how recipes turn out in your kitchen. And if something doesn’t work, tell me that too—I’m here to help troubleshoot.
Happy cooking! And I hope your kitchen smells half as good as mine does right now.
Frequently Asked Questions
Q: Can I use coconut flour instead of almond flour?
A: You can, but you need to use less. Coconut flour is much more absorbent. Use about 1 tablespoon of coconut flour instead of 1/4 cup almond flour. You might also need to add an extra egg or a splash of milk to keep it moist. I prefer almond flour for the texture, but coconut flour works in a pinch.
Q: Why is my lava cake dry?
A: Most likely, you overcooked it. Microwave times vary wildly. Start with 2.5 minutes and check. The center should still be jiggly. Also, make sure you’re using enough fat (butter/oil). Keto baking relies on fat for moisture.
Q: Can I make this in the oven?
A: Yes! Grease ramekins, fill them with batter, and bake at 350°F (175°C) for 12-15 minutes. The center will be soft. This is great if you’re making multiple servings at once.
Q: Is this recipe gluten-free?
A: Yes! Almond flour and cocoa powder are naturally gluten-free. Just make sure your sweetener and chocolate chips are certified gluten-free if you have celiac disease.
Q: Can I use a sugar substitute other than erythritol?
A: Sure. You can use allulose, monk fruit, or stevia. Allulose browns better and doesn’t have the cooling effect of erythritol. Stevia is very potent, so start with a small amount. I’ve used all of them, and they all work.
Q: How many net carbs are in this cake?
A: Approximately 4g net carbs per serving, depending on the brands of ingredients you use. Almond flour has about 2g net carbs per quarter cup, and cocoa powder has about 1-2g. The sweetener has 0 net carbs. Always check your specific labels.
Q: Can I double this recipe?
A: You can, but you’ll need to use two mugs or ramekins. Microwaving two at once might require adjusting the time. I usually make them one at a time to ensure even cooking. If you’re using the oven, you can definitely make multiple ramekins at once.
Pin This Recipe!
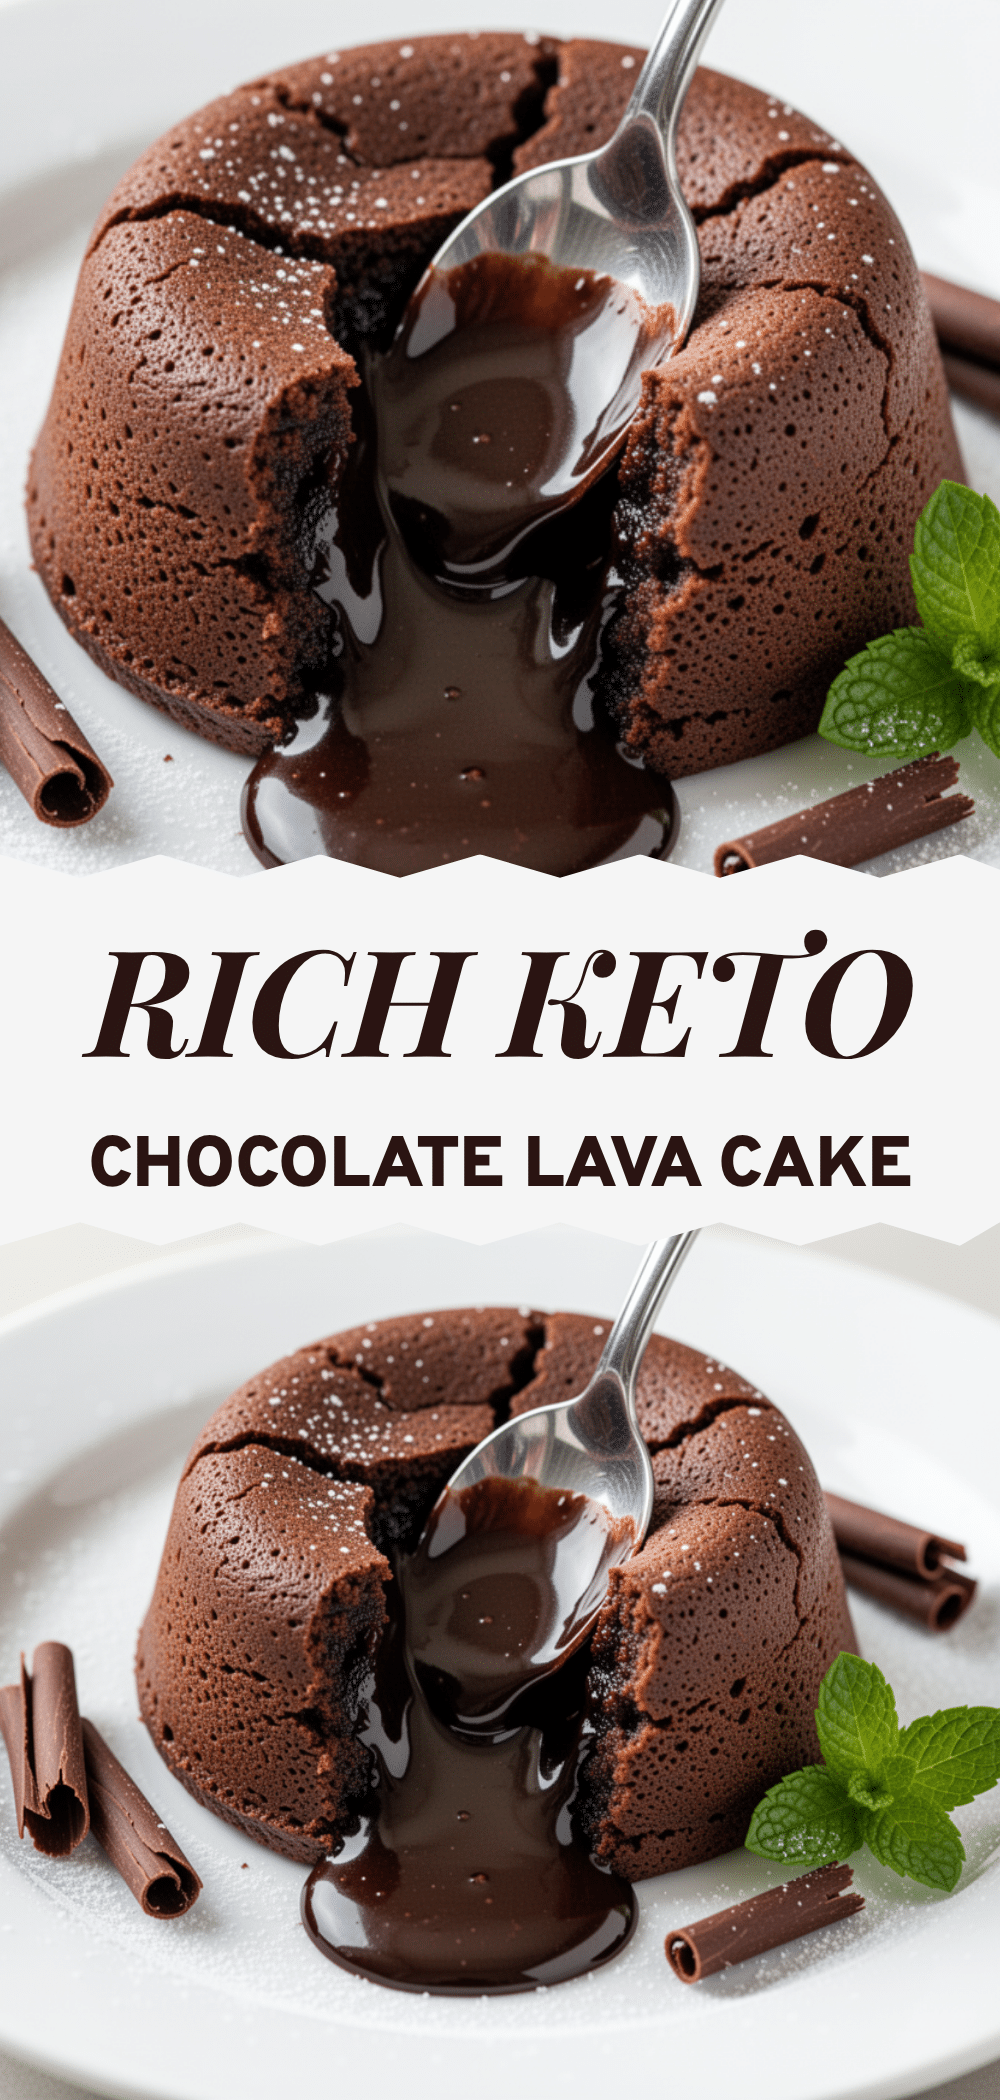
Keto Chocolate Lava Cake: Easy 5-Min Low Carb Dessert
- Total Time: 5 minutes
- Yield: 1 serving 1x
Description
A rich, fudgy, single-serving chocolate lava cake that is ready in just 5 minutes. This low-carb, gluten-free dessert features a molten center and uses simple pantry ingredients like almond flour and dark chocolate chips.
Ingredients
- 1/4 cup (25g) super-fine almond flour
- 2 tablespoons (10g) unsweetened cocoa powder
- 2 tablespoons (30g) butter, melted
- 1 large egg, room temperature
- 2–3 tablespoons (20-30g) keto sweetener (erythritol/monk fruit blend)
- 1 tablespoon (15g) dark chocolate chips (70% cacao or higher)
- 1/4 teaspoon vanilla extract
- Pinch of salt
Instructions
- Butter the inside of a 12-ounce microwave-safe mug and dust with a teaspoon of almond flour, tapping out excess.
- In the mug, whisk together almond flour, cocoa powder, sweetener, and salt until no lumps remain.
- Add the melted butter, egg, and vanilla extract to the dry ingredients. Whisk vigorously until the mixture is smooth and glossy, resembling brownie batter.
- Drop the dark chocolate chips into the center of the batter. Press them gently into the middle without mixing them in to create the lava pocket.
- Microwave on high for 3 minutes (adjust based on wattage: 2.5 mins for 1000+ watts, 4 mins for 700-800 watts). The edges should be set but the center jiggly.
- Let the cake rest for 1 minute to allow the center to thicken into a gooey consistency.
- Serve immediately, optionally topped with whipped cream or sugar-free syrup.
Notes
Microwave wattage significantly affects cooking time. Start with 2.5-3 minutes and check for a jiggly center; overcooking will solidify the lava. Do not overmix the egg to avoid incorporating too much air. The 1-minute resting period is crucial for the texture. For oven baking, use ramekins at 350°F (175°C) for 12-15 minutes.
- Prep Time: 1 minute
- Cook Time: 4 minutes
- Category: Dessert
- Cuisine: American
Nutrition
- Serving Size: 1 mug cake
- Calories: 320
- Sugar: 1
- Sodium: 150
- Fat: 28
- Saturated Fat: 12
- Carbohydrates: 8
- Fiber: 4
- Protein: 12
Keywords: keto, low carb, chocolate lava cake, mug cake, gluten-free, grain-free, quick dessert, microwave dessert, sugar-free


