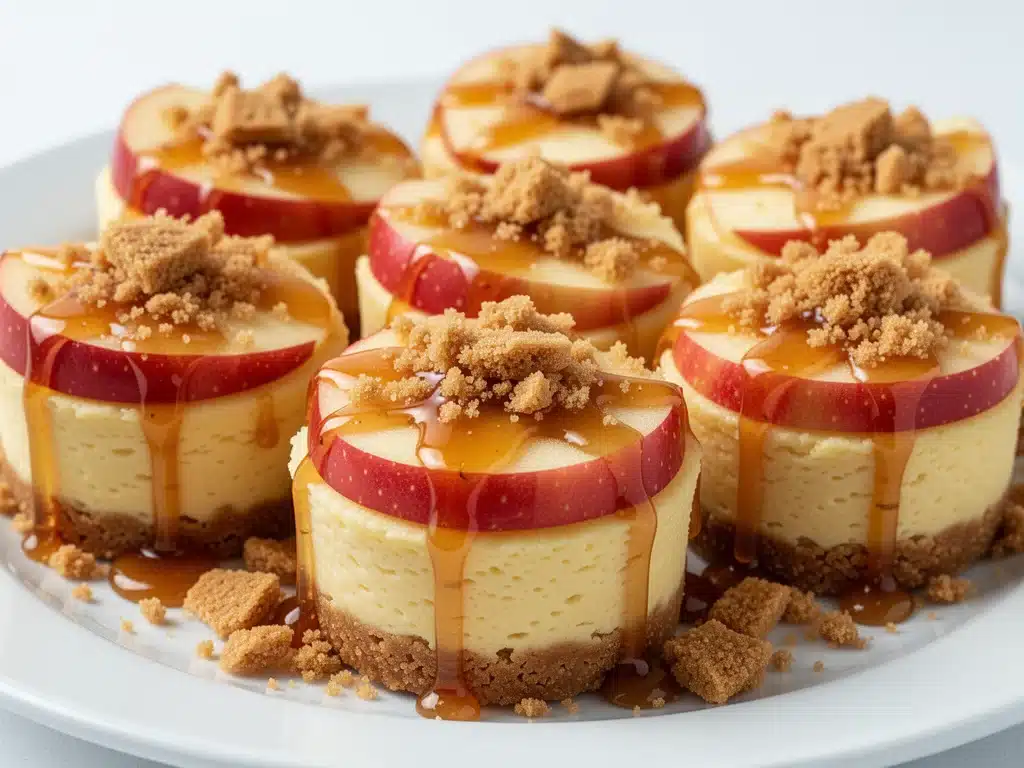
Let me confess something that might get me banned from the local baking club: I used to hate making cheesecake.
Not because I didn’t love eating it—I absolutely do. It’s my weakness. I’m the person who orders the slice before the appetizer even arrives. But the actual process? Terrifying.
Every time I attempted a full-sized cheesecake, something went wrong. The crust crumbled. The filling cracked like a desert floor. Or worse, it sank in the middle, looking like a sad, dense crater. I spent years buying those plastic-wrapped slices from the grocery store, telling myself I’d make one “someday” when I had more time, better skills, or a bigger oven.
That changed last weekend during a last-minute Labor Day gathering. My neighbor asked if I could bring dessert. I panicked. I didn’t have hours to spend in the kitchen, and I definitely didn’t have the energy to battle a water bath for a 9-inch cake. So, I did the only logical thing: I scaled it down. Way down.
I grabbed some graham crackers, cream cheese, a jar of caramel, and two crisp apples. I threw it together in 15 minutes, popped it in the fridge, and waited.
When I brought them over, my neighbor’s kids didn’t just eat them—they devoured them. “Are these store-bought?” she asked, squinting at me like I’d pulled a rabbit out of a hat. When I told her I made them in under 20 minutes with zero baking, she looked at me like I’d discovered fire.
That was the moment I realized: who needs a whole cheesecake when you can have Caramel Apple Cheesecake Bites? They’re portable, they’re no-bake, they don’t crack, and they disappear so fast you’ll need to make two batches.
I’ve made these at least a dozen times since that Saturday. They’ve become my secret weapon for potlucks, last-minute guests, and when I just need a sweet fix without the drama of a traditional dessert. If you’ve ever been intimidated by cheesecake, or just short on time, this is your new best friend. It’s creamy, it’s crunchy, it’s sweet, and it’s ridiculously easy.
Why You’ll Love These No-Bake Cheesecake Bites
There are about ten reasons I keep making these, but let’s be real—you don’t need another complicated recipe that requires a stand mixer and three hours of chilling. Here’s why these bites have taken over my kitchen (and your fridge).
Zero Baking Required — Seriously. No oven, no water bath, no cracking. If you can mash a banana, you can make the crust. The filling is just a quick blend in a food processor. It’s as simple as it gets.
Ready in Under 30 Minutes — Well, technically, you need to chill them for an hour. But active prep time? About 15 minutes. That’s faster than ordering takeout. I make these on weeknights when I want something fancy but don’t want to stand over a stove.
Perfectly Portioned — One of the biggest issues with whole cheesecakes is leftovers. You slice it, and the next day it’s dry or absorbed all the smells from your fridge. These bites are single-serving. You grab one, you enjoy it, it’s gone. No guilt, no waste.
Texture Heaven — The combination of the buttery, crunchy graham cracker crust and the smooth, tangy cream cheese filling is unmatched. Plus, the warm caramel and crisp apple add that fresh contrast that keeps it from being too heavy. It’s like a deconstructed apple pie met a cheesecake, and they fell in love.
Make-Ahead Friendly — These actually taste better after chilling for a few hours. The flavors meld together, the crust sets perfectly, and the caramel softens just enough. I often make a batch on Sunday for the week ahead. They last in the fridge for up to 5 days, though good luck keeping them that long.
Impressive but Effortless — I’ve served these to foodie friends who judge everything they eat. They always ask for the recipe. When I tell them it’s no-bake and takes 15 minutes to make, the look on their faces is priceless. It makes you look like a pro without the stress.
This is my go-to when I need dessert to just work. No fancy techniques, no weird ingredients, just reliable, delicious food that makes everyone happy. And if you’re looking for other easy no-bake treats, you might also enjoy my grandma’s bread pudding for when you want something warm and comforting instead.
Ingredients You’ll Need
Here’s the best part: you probably have most of this already. This isn’t a recipe that requires a trip to three different specialty stores. It’s pantry-friendly, fridge-staple goodness.
For the Crust:
Graham Cracker Crumbs (1 ½ cups / 150g) — I buy pre-made crumbs to save time, but if you have leftover boxes, crush them in a bag with a rolling pin. It’s therapeutic. Don’t use the sweetened dessert squares; stick to plain graham cracker crumbs for that classic flavor.
Unsalted Butter (6 tablespoons / 85g, melted) — This binds the crust. Use real butter, not margarine. Margarine makes the crust greasy and sad. Melt it in the microwave for 30 seconds.
Granulated Sugar (2 tablespoons / 25g) — Just a little bit to sweeten the crust. If your graham crackers are already very sweet, you can skip this.
Pinch of Salt — Crucial. It balances the sweetness and brings out the buttery flavor. Don’t skip it.
For the Filling:
Full-Fat Cream Cheese (16 oz / 450g, softened) — This is the star. Use brick cream cheese, not the spreadable kind in a tub. The tub kind has too much air and moisture, and your bites will be runny. Let it sit on the counter for 30 minutes before blending. Softened cheese blends smoothly; cold cheese creates lumps.
Heavy Cream (½ cup / 120ml, cold) — This adds richness and helps whip the filling slightly. Don’t use half-and-half; it won’t give you the same fluffy texture.
Confectioners’ Sugar (½ cup / 60g) — Powdered sugar dissolves instantly, unlike granulated sugar which might leave gritty bits. Sift it if it’s clumpy.
Vanilla Extract (1 teaspoon) — Pure vanilla, not imitation. It makes a huge difference in flavor depth. I use my favorite bottle of Madagascar vanilla.
For the Topping:
Caramel Sauce (½ cup / 120ml) — I use store-bought caramel sauce because it’s consistent and saves time. Look for a thick, creamy brand. Homemade is great, but for these bites, consistency matters. Warm it up slightly before drizzling so it pours easily.
Fresh Apples (2 medium, like Honeycrisp or Fuji) — You want apples that are crisp and hold their shape. Gala works too, but Honeycrisp is my favorite for the crunch. Peel them if you prefer a smoother texture, but I leave the skin on for color and nutrition.
Optional Garnish: A tiny sprinkle of flaky sea salt on top adds a gourmet touch. It sounds fancy, but it’s just a pinch.
Equipment Needed
You don’t need fancy equipment for this. Here’s what I actually use.
Food Processor — This is the easiest way to get a smooth filling. If you don’t have one, a hand mixer or stand mixer works, but you’ll need to beat it longer to get rid of lumps. I prefer the food processor because it blends the cream cheese and sugar in seconds.
Mini Muffin Pan (or a regular one if you want larger bites) — I use mini muffin tins for these bites. They’re the perfect size for a snack or dessert. If you only have a regular muffin pan, just double the filling and make 12 large bites.
Measuring Cups and Spoons — Standard stuff. Accuracy matters more here than in some recipes because the ratio of cream cheese to sugar affects the texture.
Spatula — A rubber spatula is great for scraping down the sides of the food processor and folding in the apples.
Piping Bag (Optional) — If you want them to look super professional, pipe the filling into the crusts. But honestly? A spoon works just fine. I’m a realist.
Small Knife — For dicing the apples. A small paring knife gives you more control for tiny, even cubes.
How to Make It: Step-by-Step
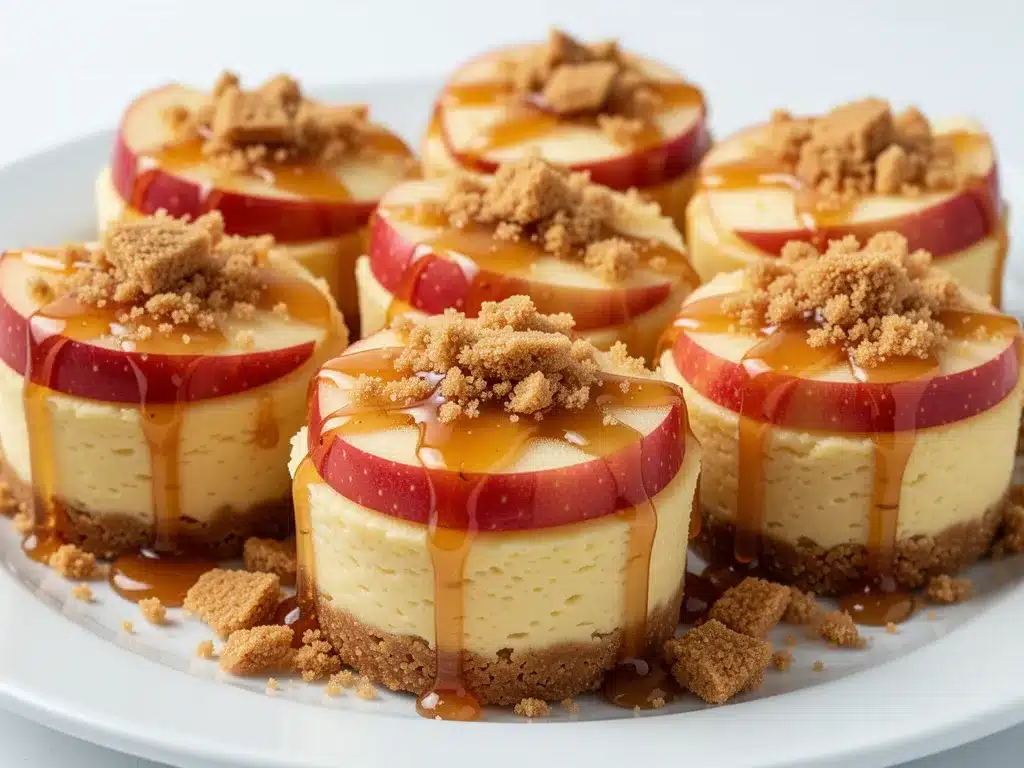
Alright, let’s make these! I’m walking you through exactly how I do it, including the little tricks I’ve picked up to ensure they’re perfect every time.
Step 1: Prep the Crust (5 minutes)
In a medium bowl, mix the graham cracker crumbs, melted butter, sugar, and salt. Stir until it looks like wet sand. The mixture should hold together when you pinch it. If it’s too dry, add another teaspoon of butter. If it’s too greasy, add a sprinkle of crumbs.
Press about 1 tablespoon of the mixture into the bottom of each cup in your mini muffin pan. Use the bottom of a measuring cup or your fingers to pack it down firmly. You want a solid base, not a loose crumble. If the crusts aren’t packed, they’ll fall apart when you bite them.
Pro Tip: Put the crusts in the freezer for 10 minutes while you make the filling. This helps them set quickly so they don’t get soggy.
Step 2: Make the Filling (5 minutes)
Add the softened cream cheese, heavy cream, confectioners’ sugar, and vanilla extract to a food processor. Pulse a few times to combine, then blend on high for about 1-2 minutes until completely smooth and creamy. Scrape down the sides with a spatula and blend again to ensure no lumps remain.
The filling should be thick but pourable. If it’s too thick, add another tablespoon of heavy cream. If it’s too runny, you probably didn’t soften the cream cheese enough, or you added too much cream. Aim for a consistency like thick frosting.
Step 3: Add the Apples (2 minutes)
Peel and dice the apples into tiny cubes (about ¼ inch). You want them small enough that they fit in the bites without breaking the crust. Toss the apple cubes into the cheesecake filling and gently fold them in with a spatula. Be careful not to overmix, or you’ll crush the apples.
Sensory Cue: The filling should look speckled with white apple bits. It should smell tangy, sweet, and vanilla-forward.
Step 4: Assemble the Bites (5 minutes)
Remove the crusts from the freezer. Using a spoon or a piping bag, fill each crust with the cheesecake mixture. Fill them to the top, slightly mounding it over the edge. Use the back of the spoon to smooth it out if you’re feeling fancy, but rustic is fine too.
Tip: If you’re using a spoon, dip it in warm water first. This helps the mixture slide off cleanly and keeps your spoon from sticking.
Step 5: Top and Chill (1 hour)
Drizzle each bite with warm caramel sauce. I like to zigzag it across the top for a pretty effect. If you’re using flaky sea salt, sprinkle a tiny pinch on top of the caramel now.
Place the entire pan in the refrigerator. Chill for at least 1 hour, or until the filling is firm. If you’re in a rush, you can put them in the freezer for 30 minutes, but the fridge is safer to avoid freezing the apples.
Visual Cue: After chilling, the bites should hold their shape perfectly. The crust should be firm, and the filling should be set but creamy.
Expert Tips & Tricks
Here’s everything I’ve learned from making these dozens of times. These tips will save you from my mistakes.
Softened Cream Cheese is Non-Negotiable
I cannot stress this enough. If your cream cheese is cold, your filling will be lumpy. You’ll spend minutes beating it, and it still won’t be smooth. Cut the block into small cubes and let it sit on the counter for 30-60 minutes. If you forget, microwave it in 5-second bursts, stirring in between, until it’s soft but not melted.
Don’t Skip the Chill Time
I know you want to eat them now. Don’t. The filling needs time to set. If you eat them immediately, they’ll be messy and runny. The chill time allows the flavors to meld and the texture to firm up. Patience pays off.
Choose the Right Apple
Soft apples like Red Delicious will turn mushy. Use crisp, tart-sweet apples like Honeycrisp, Fuji, or Gala. They hold their texture in the cold filling. If you prefer a softer apple, cook them slightly first, but that’s extra work. Raw and crisp is easier and better.
Warm the Caramel
Caramel sauce straight from the jar is thick and gloopy. Warm it in the microwave for 10-15 seconds or in a small saucepan over low heat. It should pour in a thin, steady stream. This makes drizzling much easier and prevents clumps.
Store Properly
Keep these in an airtight container in the fridge. They last up to 5 days. If you stack them, put parchment paper between layers to prevent sticking. They freeze well too! Freeze them for up to 2 months. Thaw in the fridge overnight before serving.
Common Mistakes (and how to avoid them):
- Mistake: Crust falls apart. Fix: Pack it down firmly. Add a tiny bit more butter if it’s too dry.
- Mistake: Filling is grainy. Fix: You didn’t blend it long enough, or the sugar was clumpy. Blend longer and sift the sugar.
- Mistake: Apples are too big. Fix: Dice them smaller. Tiny cubes distribute better and look more elegant.
Variations & Substitutions
Once you’ve nailed the basic version, here’s how you can mix it up. I’ve tried all of these.
Pumpkin Spice Version
Swap the apple for 2 tablespoons of pumpkin puree and add 1 teaspoon of pumpkin pie spice to the filling. Use gingersnap crumbs instead of graham crackers for the crust. Perfect for fall.
Berry Blast
Replace the apple with ½ cup of fresh blueberries or raspberries. The tartness pairs beautifully with the sweet caramel. Add a thin layer of berry jam on top of the crust before filling.
Chocolate Chip
Stir ¼ cup of mini chocolate chips into the filling. Skip the caramel and drizzle with chocolate sauce instead. Kids love this version.
Gluten-Free
Use gluten-free graham cracker crumbs or crushed gluten-free cookies. Everything else is naturally gluten-free. I use Knox gluten-free graham crackers, and they work perfectly.
Dairy-Free
Use vegan cream cheese (like Kite Hill or Miyoko’s), coconut cream instead of heavy cream, and dairy-free butter for the crust. Use a dairy-free caramel sauce. It’s surprisingly good, though the texture is slightly denser.
No Caramel
If you’re not a caramel fan, skip it entirely. Add a dollop of whipped cream on top, or drizzle with chocolate sauce. Or just eat them plain—they’re delicious on their own.
Serving & Storage
How to Serve:
I usually serve these straight from the fridge. They’re best cold and firm. I arrange them on a platter with a few extra apple slices and a small bowl of warm caramel on the side for dipping. It looks rustic and inviting.
Side Dishes:
These are rich, so they don’t need much else. A simple green salad or some grilled watermelon feta skewers balances the sweetness nicely. For a heavier meal, serve them after a light pasta dinner.
Storage Instructions:
Refrigerator: Store in an airtight container for up to 5 days. The apples may soften slightly over time, but they’re still good.
Freezer: Freeze on a baking sheet until solid, then transfer to a freezer bag. They last up to 2 months. Thaw in the fridge for 4 hours before serving. Do not thaw at room temperature, or the apples will get mushy.
Reheating: Do not reheat. These are meant to be eaten cold. Heating them will melt the cream cheese and make the texture weird.
Pro tip: If you’re making these for a party, make them the night before. They taste better the next day, and you won’t be stressed in the morning.
Nutrition Information
I’m not a nutritionist, but here’s the breakdown if you’re tracking. Keep in mind, these are estimates based on standard ingredients.
Per Bite (based on 24 bites):
| Calories | 110 |
| Protein | 2g |
| Carbs | 12g |
| Fiber | 0.5g |
| Sugar | 10g |
| Fat | 6g |
| Saturated Fat | 4g |
| Cholesterol | 20mg |
| Sodium | 90mg |
What’s Good:
- Portion-controlled (110 calories is manageable)
- Contains calcium from the cream cheese
- Small amount of fiber from the apple and graham cracker
What to Know:
- Higher in sugar due to caramel and sugar in the filling
- Contains dairy and gluten
- Not suitable for vegan or dairy-free diets without modifications
My Take:
Look, this is dessert. It’s sweet, rich, and indulgent. It’s not a health food. But it’s a controlled portion, which is better than eating half a whole cheesecake. When I want to make it lighter, I reduce the sugar in the filling and use a lighter caramel. But usually? I just enjoy one or two and call it a day.
Final Thoughts
So that’s my go-to Caramel Apple Cheesecake Bites! I’ve probably talked your ear off at this point, but when you make a recipe this often, you have a lot to say about it.
This has saved me more times than I can count. It’s my answer to “what’s for dessert” when I’m tired, don’t want to bake, and still want something that tastes really good. My kids are happy, my guests are impressed, and I’m happy because I’m not stressed about cooking.
Make it yours! Try different apples, swap the caramel for chocolate, or add a dash of cinnamon. The best recipes are the ones you adapt to your family’s tastes. And if you’re looking for more easy holiday desserts, you might also like these Labor Day Maple Bourbon Ribs for the savory side of things, or these Frozen Labor Day Sangria Slushies to drink with them.
If you make this, drop a comment and let me know what you think! I love hearing how recipes turn out in your kitchen. And if something doesn’t work, tell me that too—I’m here to help troubleshoot.
Happy cooking! And I hope your kitchen smells half as good as mine does right now.
Frequently Asked Questions
Can I use low-fat cream cheese?
You can, but the texture will be different. Low-fat cream cheese has more water and less fat, which can make the filling runny and less creamy. For the best results, use full-fat brick cream cheese. If you must use low-fat, drain it in a cheesecloth for 30 minutes to remove excess moisture.
Why did my filling turn out watery?
Usually, this happens if the cream cheese wasn’t softened properly, or if you added too much heavy cream. Also, if the apples released too much juice, it can thin the filling. To fix this, chill the bites longer, or add a teaspoon of instant pudding mix to the filling next time to help thicken it.
Can I make these ahead of time?
Yes! These are actually better made a day in advance. The flavors meld together, and the crust sets perfectly. You can make them up to 2 days ahead and keep them in the fridge. Just add the caramel drizzle right before serving to prevent it from soaking in.
Can I freeze the unbaked bites?
It’s better to freeze them after they’re assembled. If you freeze just the crusts, they might get soggy when you add the filling later. Assemble them, chill until firm, then freeze in a single layer on a baking sheet. Once frozen, transfer to a freezer bag. Thaw in the fridge before serving.
What kind of apples are best?
Crisp, tart-sweet apples work best. Honeycrisp, Fuji, Gala, and Pink Lady are all great choices. Avoid soft apples like Red Delicious or McIntosh, as they will turn mushy in the cold filling. Peel them if you don’t like the skin, but leaving it on adds color and nutrients.
Can I use a different nut for the crust?
Absolutely! You can use crushed ginger snaps, Oreos, or even pretzels for a sweet-and-salty twist. Just replace the graham cracker crumbs with an equal amount of your chosen cookie or cracker. The butter and sugar ratios stay the same.
Pin This Recipe!
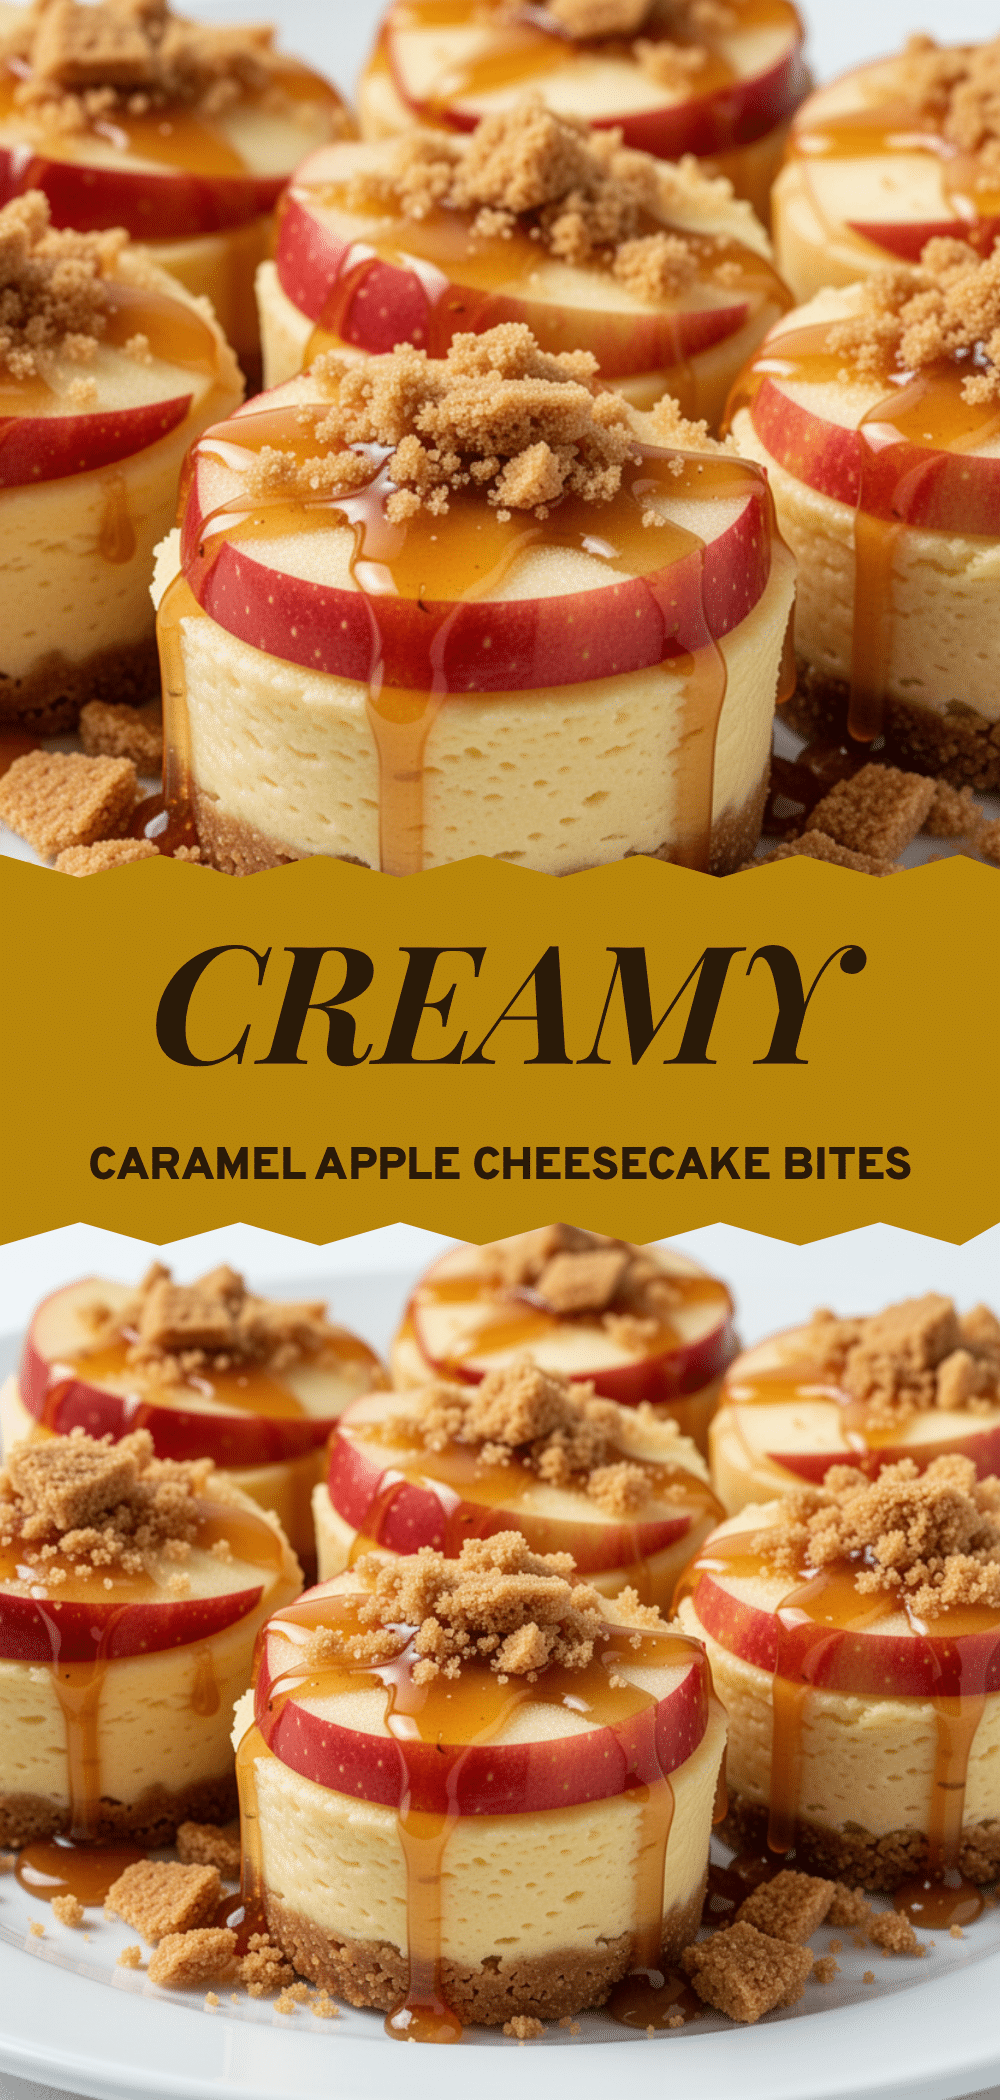

Caramel Apple Cheesecake Bites: No Bake Dessert
- Total Time: 1 hour 15 minutes
- Yield: 24 servings 1x
Description
These no-bake Caramel Apple Cheesecake Bites are a creamy, crunchy, and sweet dessert that comes together in just 15 minutes of active prep time. Perfect for potlucks or last-minute cravings, they require zero baking and offer perfectly portioned servings.
Ingredients
- 1 ½ cups (150g) graham cracker crumbs
- 6 tablespoons (85g) unsalted butter, melted
- 2 tablespoons (25g) granulated sugar
- Pinch of salt
- 16 oz (450g) full-fat cream cheese, softened
- ½ cup (120ml) heavy cream, cold
- ½ cup (60g) confectioners’ sugar
- 1 teaspoon vanilla extract
- ½ cup (120ml) caramel sauce
- 2 medium crisp apples (like Honeycrisp or Fuji), peeled and diced
- Flaky sea salt for garnish (optional)
Instructions
- In a medium bowl, mix graham cracker crumbs, melted butter, sugar, and salt until the mixture resembles wet sand.
- Press about 1 tablespoon of the crust mixture firmly into the bottom of each cup in a mini muffin pan.
- Place the crusts in the freezer for 10 minutes to set while preparing the filling.
- In a food processor, combine softened cream cheese, heavy cream, confectioners’ sugar, and vanilla extract.
- Pulse to combine, then blend on high for 1-2 minutes until completely smooth and creamy, scraping down sides as needed.
- Peel and dice apples into tiny ¼-inch cubes.
- Gently fold the diced apples into the cheesecake filling.
- Remove crusts from the freezer and fill each with the cheesecake mixture, mounding slightly over the edge.
- Drizzle each bite with warm caramel sauce in a zigzag pattern.
- Sprinkle with flaky sea salt if desired.
- Refrigerate for at least 1 hour until the filling is firm before serving.
Notes
Ensure cream cheese is fully softened to avoid lumps. Use crisp apples like Honeycrisp or Fuji to maintain texture. Caramel sauce should be warmed slightly for easier drizzling. These can be stored in the fridge for up to 5 days or frozen for up to 2 months.
- Prep Time: 15 minutes
- Cook Time: 0 minutes
- Category: Dessert
- Cuisine: American
Nutrition
- Serving Size: 1 bite
- Calories: 110
- Sugar: 10
- Sodium: 90
- Fat: 6
- Saturated Fat: 4
- Carbohydrates: 12
- Fiber: 0.5
- Protein: 2
Keywords: no bake cheesecake, caramel apple dessert, easy dessert, party snacks, make ahead dessert, mini cheesecake bites


