There is a specific kind of magic that happens in late October. The air gets crisp, the leaves turn that brilliant shade of burnt orange, and suddenly, every bakery window displays something pumpkin-spiced. For years, I was that person who bought the pumpkin lattes, bought the candles, and bought the store-bought pumpkin bars. I loved the *idea* of fall dessert. But let’s be honest? Store-bought bars are often dry, overly sweet, and lack that homemade comfort that makes a recipe stick.
Last weekend, I decided enough was enough. I wanted a dessert that tasted like autumn but didn’t require a degree in pastry arts or a pantry full of obscure spices. I wanted something that smelled like my grandmother’s kitchen but took less time than ordering takeout. So, I threw together what I thought would be a mediocre pumpkin bar batter. I used canned pumpkin (because life is short), a handful of pantry staples, and zero fancy techniques.
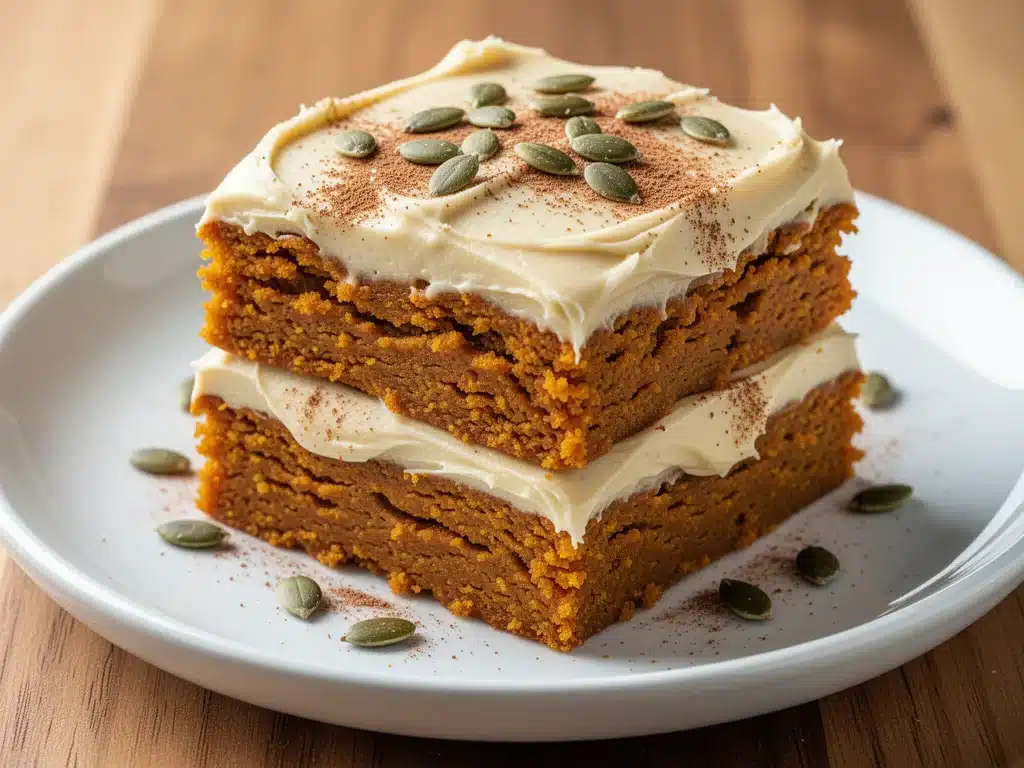
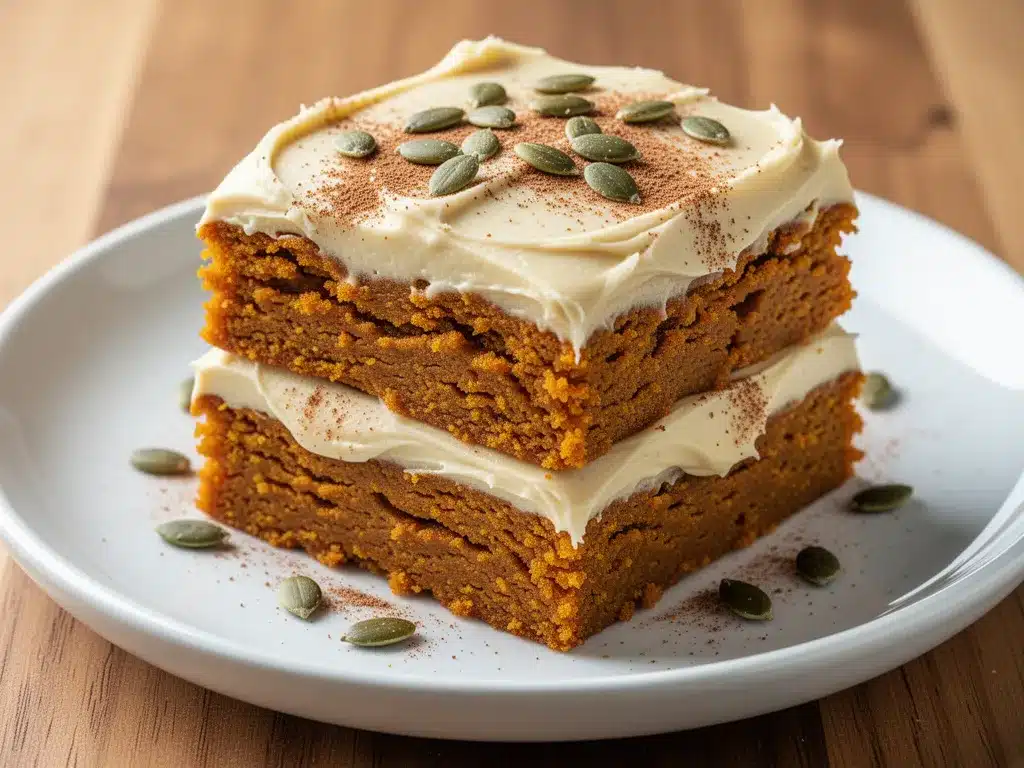
Twenty minutes later, the smell of cinnamon, nutmeg, and brown sugar was drifting through the entire house. My husband walked in, sniffed the air, and asked if I’d finally hired a professional baker. That is when I knew these fall harvest pumpkin bars were special. They are dense, moist, and have that perfect crumb that holds together without being cakey. They are the ultimate cozy fall dessert for when you need a sweet treat that feels like a warm hug.
I’ve made these bars three times in the last month. Three times. Because once you taste them, you’ll want to keep making them. And the best part? This recipe is stupid simple. You only need five main ingredients. If you can mix a bowl and spread batter, you can make these. Let me show you how I got it right (after one slightly burnt first attempt, naturally).
Why You’ll Love This 5-Ingredient Pumpkin Bar Recipe
There are a lot of pumpkin desserts out there. I’ve tried pumpkin bread, pumpkin muffins, pumpkin pie, and pumpkin cookies. But these bars? They hit a different note. Here is why these fall harvest pumpkin bars have earned a permanent spot in my fall baking rotation:
- Actually Moist — I’ve seen so many pumpkin bar recipes turn out dry as dust. These stay moist for days. The secret is the ratio of pumpkin to flour and the addition of oil instead of butter. Trust me on this. The texture is dense but tender, not crumbly.
- Five Ingredients Max — Seriously. I’m not exaggerating. You don’t need eggs, you don’t need vanilla extract, you don’t need baking powder if you have good baking soda. Just pumpkin, sugar, spices, flour, and oil. That’s it. It’s almost too easy.
- One-Bowl Wonder — No electric mixer required. No multiple bowls to wash. Just one large bowl, a whisk, and a spatula. This is the easiest dessert I’ve made all year. It’s even easier than my overnight chia seed pudding, which is saying something because that one requires zero cooking.
- Perfect for Gifting — These bars slice beautifully and travel well. I wrapped a pan in foil and gave it to my neighbors last week. They are still texting me asking for the recipe. Great for potlucks, bake sales, or just keeping in the fridge for a midnight snack.
- Freezer-Friendly — I usually make two batches. One for eating immediately and one for the freezer. They freeze beautifully for up to three months. Just thaw them on the counter for an hour. It’s like having fresh-baked dessert on standby for busy weeknights.
This recipe has saved me from buying overpriced, dry bars at the grocery store more times than I can count. It’s my go-to when I want to feel festive without spending hours in the kitchen. It’s cozy, it’s comforting, and it’s ridiculously good.
Ingredients You’ll Need for Fall Harvest Pumpkin Bars
Here’s the best part: you probably have almost all of these ingredients already. This is a pantry-friendly recipe, which is why it works so well for busy weeks. I’m particular about three things here, and I’ll tell you exactly why.
The Pumpkin
Canned pumpkin puree (15 ounces / 425g) — This is crucial. Do not use pumpkin pie filling. Pie filling has sugar and spices already added, which will throw off the balance of this recipe. You want 100% pure pumpkin puree. I always use Libby’s because it has a consistent texture, but any brand works. Make sure it’s not watery; if your can looks separated, stir it well before measuring.
The Sweeteners
Granulated sugar (1 cup / 200g) — This gives the bars their structure and slight crunch on top. You can use brown sugar for a deeper molasses flavor, but I prefer the combination of both. If you only have one, use brown sugar for a chewier bar.
Light brown sugar (½ cup / 100g) — This adds moisture and that classic fall depth. If you don’t have brown sugar, you can use all granulated sugar, but the bars will be slightly less moist.
The Fats and Binders
Vegetable oil (½ cup / 120ml) — I use vegetable oil or canola oil. Some recipes use melted butter, but oil keeps the bars moist for longer. Butter can make them dense and heavy. Oil keeps that tender crumb. You can use melted coconut oil if you want a slight coconut flavor, but it’s not necessary.
Large eggs (2 eggs) — Wait, didn’t I say five ingredients? Okay, technically five *main* ingredients if you count eggs as basic. But yes, you need eggs to bind it all together. Room temperature eggs work best, but cold ones are fine too. Don’t skip them, or the bars won’t set.
The Dry Mix
All-purpose flour (1 ½ cups / 190g) — Standard flour works perfectly. Don’t try to substitute with almond flour or gluten-free flour unless you have experience; the texture will change. Spoon the flour into the cup and level it off. Do not scoop directly from the bag, or you’ll pack too much flour and get dry bars.
Pumpkin pie spice (2 teaspoons) — This is a blend of cinnamon, nutmeg, ginger, and cloves. It’s the flavor of fall in a jar. If you don’t have pumpkin pie spice, you can make your own: 1 tsp cinnamon, ½ tsp nutmeg, ¼ tsp ginger, and a pinch of cloves. But buying the blend saves time and tastes consistent.
Baking soda (1 teaspoon) — This helps the bars rise and brown. Make sure it’s fresh. If your baking soda is old, the bars might not rise properly.
Salt (½ teaspoon) — This is non-negotiable. Salt enhances the sweetness and balances the spices. Don’t skip it.
Optional Topping
Cream cheese (4 oz / 115g) — For the glaze. This adds a tangy contrast to the sweet bars. It’s optional but highly recommended. If you skip it, the bars are still delicious, just less fancy.
Equipment You’ll Need
You don’t need fancy equipment for this. Here’s what I actually use:
- 8×8 inch baking pan — This is the standard size for these bars. You can use a 9×9 pan, but they will be thinner and might bake faster. Stick to 8×8 for the best texture.
- Parchment paper — I always line my pan with parchment paper, leaving an overhang on the sides. This makes lifting the bars out super easy. No more digging for stuck pieces.
- Large mixing bowl — Any bowl that can hold 3-4 cups works. I use a glass bowl so I can see what’s happening.
- Whisk — For mixing the wet ingredients. A fork works too, but a whisk is faster.
- Spatula — For folding in the flour and spreading the batter. A silicone spatula is best.
- Small saucepan or microwave-safe bowl — For melting the cream cheese for the glaze.
How to Make Fall Harvest Pumpkin Bars: Step-by-Step
Alright, let’s make these! I’m walking you through exactly how I do it, including the little tricks I’ve picked up to ensure they turn out perfect every time.
Step 1: Prep Your Pan and Oven (5 minutes)
Preheat your oven to 350°F (175°C). Line your 8×8 inch baking pan with parchment paper. Leave a little overhang on the long sides—this is your handle for lifting the bars out later. Lightly spray the parchment with cooking spray. This step is crucial for easy removal.
Step 2: Mix the Wet Ingredients (3 minutes)
In your large mixing bowl, combine the sugar, brown sugar, oil, and eggs. Whisk vigorously for about 2 minutes. You want the mixture to look pale and slightly fluffy. This incorporates air, which helps the bars rise. Don’t rush this step. If you just dump everything in, the bars will be dense.
Step 3: Add the Pumpkin (1 minute)
Add the canned pumpkin puree to the sugar mixture. Whisk until fully combined. The batter will look thick and orange. It should be smooth with no lumps. If you see lumps, keep whisking. It’s important to get a uniform batter.
Step 4: Combine Dry Ingredients (2 minutes)
In a separate small bowl, whisk together the flour, pumpkin pie spice, baking soda, and salt. This ensures the spices are evenly distributed. If you skip this, you might get a bite full of pure cinnamon, which is too strong.
Step 5: Fold It All Together (2 minutes)
Gradually add the dry ingredients to the wet ingredients. Use your spatula to gently fold them together. Stop as soon as the flour disappears. Do not overmix! Overmixing develops gluten, which makes the bars tough. You want them tender. The batter will be thick and sticky. This is normal.
Step 6: Bake (25-30 minutes)
Pour the batter into your prepared pan and spread it evenly. Bake at 350°F for 25-30 minutes. The bars are done when a toothpick inserted into the center comes out clean or with just a few moist crumbs. They should be golden brown on top. Do not overbake, or they will be dry. If the top is browning too fast, cover it loosely with foil after 20 minutes.
Step 7: Cool Completely (30 minutes)
This is the hardest part. Let the bars cool in the pan on a wire rack. They need to cool completely before you cut them. If you cut them warm, they will fall apart. Use the parchment overhang to lift them out once cool. This ensures clean edges.
Step 8: Make the Glaze (5 minutes)
While the bars cool, make the glaze. In a small saucepan, melt the cream cheese and powdered sugar over low heat. Stir constantly until smooth. Alternatively, microwave it in 15-second intervals, stirring between each. Drizzle the glaze over the cooled bars. Use a knife to swirl it in for a marbled effect.
Expert Tips & Tricks for Perfect Pumpkin Bars
Here’s everything I’ve learned from making these dozens of times. These tips will save you from my mistakes.
Don’t Skimp on the Spice — The pumpkin pie spice is the heart of this recipe. If you reduce it, you’ll just get pumpkin cake. Be generous with the spice. It’s what makes them taste like fall.
Room Temperature Ingredients — If you can, bring your eggs and cream cheese to room temperature before starting. This helps them emulsify better with the sugar and oil, creating a smoother batter.
Check Your Baking Soda — Baking soda loses its potency over time. If your bars don’t rise, check your baking soda. To test it, drop a little in vinegar. It should fizz immediately. If it doesn’t, buy new.
Cooling is Key — I know it’s tempting to cut into them while they’re warm. But resist! The bars continue to set as they cool. Cutting them warm results in messy, crumbly pieces. Patience pays off.
Glaze Consistency — If your glaze is too thick, add a teaspoon of milk. If it’s too thin, add more powdered sugar. You want it drizzle-able but not runny.
Variations & Substitutions
Once you’ve nailed the basic version, here’s how you can mix it up. I’ve tried all of these.
Spice It Up — Add a pinch of cayenne pepper to the batter for a subtle kick. It sounds weird, but it enhances the cinnamon flavor. Great for those who like a little heat.
Chocolate Chip — Fold in ½ cup of chocolate chips before baking. The combination of pumpkin and chocolate is amazing. Use semi-sweet or dark chocolate for a richer taste.
Walnut or Pecan — Sprinkle ½ cup of chopped nuts on top before baking. It adds crunch and texture. Toast the nuts first for extra flavor.
Gluten-Free — Use a 1:1 gluten-free flour blend. The texture might be slightly different, but it still works. Make sure your baking soda is certified gluten-free.
Dairy-Free — Skip the cream cheese glaze or use a dairy-free cream cheese alternative. The bars themselves are naturally dairy-free (if you use oil and skip the glaze).
Serving & Storage
How to Serve:
I usually serve these bars with a cup of hot coffee or tea. They are perfect for fall brunches, afternoon snacks, or after-dinner dessert. They pair beautifully with my grandma’s bread pudding if you’re making a big dessert spread.
Storage Instructions:
Room Temperature: Store in an airtight container for up to 3 days. They stay moist at room temperature.
Refrigerator: Store in the fridge for up to 5 days. The glaze might harden in the fridge, so let them sit out for 10 minutes before eating.
Freezer: Wrap individual bars in plastic wrap and then in foil. Freeze for up to 3 months. Thaw at room temperature.
Pro Tip: If the bars seem dry, wrap them in a damp paper towel and microwave for 10 seconds. It revives the moisture instantly.
Nutrition Information
I’m not a nutritionist, but here’s the breakdown if you’re tracking. This is a rich dessert, so portion control is key.
Per Serving (based on 16 bars):
- Calories: 180
- Protein: 2g
- Carbs: 28g
- Fat: 8g
- Sugar: 18g
- Fiber: 1g
What’s Good: They are lower in fat than traditional pound cakes because we use oil and pumpkin instead of lots of butter.
What to Know: They are high in sugar due to the glaze and sweeteners. Use less sugar if you prefer a less sweet treat.
Final Thoughts
So that’s my recipe for fall harvest pumpkin bars! I’ve probably talked your ear off at this point, but when you make a recipe this often, you have a lot to say about it. These bars have become my answer to “what’s for dessert” when I want something cozy and festive without the stress.
They are my answer to “what’s for dessert” when I’m tired, don’t want to bake a cake, and still want something that tastes really good. My kids are happy, my husband’s happy, and I’m happy because I’m not stressed about cooking.
Make it yours! Try different add-ins, swap in your favorite spices, or skip the glaze if you’re watching sugar. The best recipes are the ones you adapt to your family’s tastes.
If you make this, drop a comment and let me know what you think! I love hearing how recipes turn out in your kitchen. And if something doesn’t work, tell me that too—I’m here to help troubleshoot.
Frequently Asked Questions
Can I use fresh pumpkin instead of canned?
You can, but it’s tricky. Fresh pumpkin has more water content. You’ll need to roast the pumpkin, puree it, and then strain it to remove excess liquid. It takes much longer than opening a can. For this recipe, canned is the easiest and most consistent option.
Why did my pumpkin bars turn out dry?
Usually, this means you overbaked them or used too much flour. Make sure you’re spooning and leveling your flour, not scooping. Also, check your oven temperature. If your oven runs hot, check the bars a few minutes early.
Can I make these ahead of time?
Yes! Make them 2 days ahead and store them in an airtight container. They actually taste better the next day as the flavors meld. Just add the glaze right before serving so it doesn’t get soggy.
Can I freeze these bars?
Absolutely. Freeze them without the glaze for best results. Wrap them tightly in plastic and foil. Thaw at room temperature and add the glaze when ready to serve.
What if I don’t have pumpkin pie spice?
You can make your own. Mix 1 tsp cinnamon, ½ tsp nutmeg, ¼ tsp ginger, and a pinch of cloves. It tastes just as good as the store-bought blend.
Can I use butter instead of oil?
You can, but the bars will be denser and less moist. Oil is the secret to that tender crumb. If you must use butter, melt it and let it cool slightly before adding.
How do I store the glaze?
If you have leftover glaze, store it in the fridge in an airtight container. It will harden. To reuse, warm it slightly in the microwave or on the stove, stirring until smooth.
Pin This Recipe!
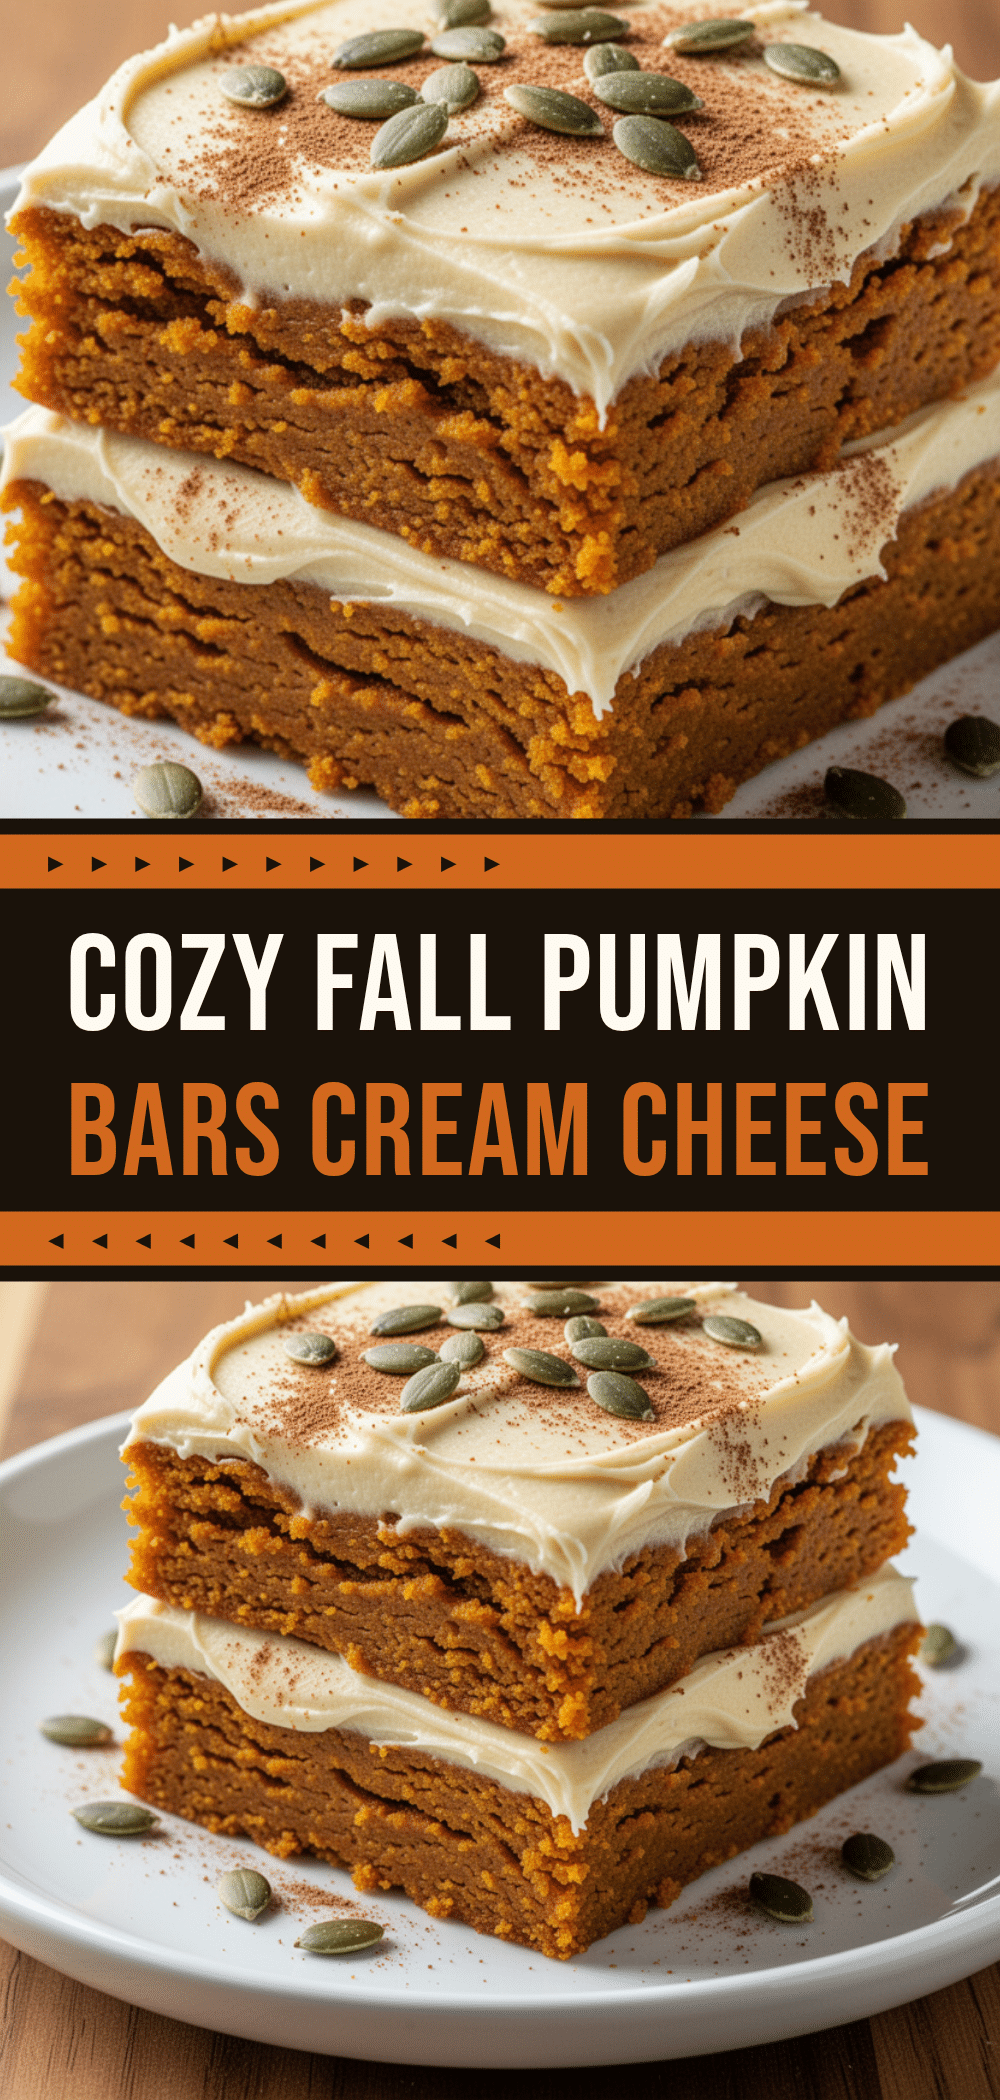
Fall Harvest Pumpkin Bars: 5-Ingredient Easy Dessert
- Total Time: 40 minutes
- Yield: 16 servings 1x
Description
These dense, moist pumpkin bars are the ultimate cozy fall dessert. Made with just five main ingredients in one bowl, they are easy to make, freezer-friendly, and perfect for gifting or snacking.
Ingredients
- 15 ounces (425g) canned pumpkin puree
- 1 cup (200g) granulated sugar
- 1/2 cup (100g) light brown sugar
- 1/2 cup (120ml) vegetable oil
- 2 large eggs
- 1 1/2 cups (190g) all-purpose flour
- 2 teaspoons pumpkin pie spice
- 1 teaspoon baking soda
- 1/2 teaspoon salt
- 4 oz (115g) cream cheese (for glaze)
- Powdered sugar (for glaze, amount not specified but implied for consistency)
Instructions
- Preheat oven to 350°F (175°C). Line an 8×8 inch baking pan with parchment paper, leaving an overhang on the sides, and lightly spray with cooking spray.
- In a large mixing bowl, whisk together the granulated sugar, brown sugar, vegetable oil, and eggs for about 2 minutes until pale and slightly fluffy.
- Add the canned pumpkin puree to the sugar mixture and whisk until fully combined and smooth.
- In a separate small bowl, whisk together the all-purpose flour, pumpkin pie spice, baking soda, and salt.
- Gradually add the dry ingredients to the wet ingredients. Use a spatula to gently fold them together until the flour just disappears. Do not overmix.
- Pour the batter into the prepared pan and spread it evenly.
- Bake for 25-30 minutes, or until a toothpick inserted into the center comes out clean or with a few moist crumbs. If the top browns too quickly, cover loosely with foil after 20 minutes.
- Let the bars cool completely in the pan on a wire rack before cutting. Use the parchment overhang to lift them out once cool.
- While the bars cool, make the glaze by melting the cream cheese and powdered sugar over low heat in a small saucepan or in the microwave in 15-second intervals, stirring until smooth.
- Drizzle the glaze over the cooled bars and swirl with a knife for a marbled effect.
Notes
Do not use pumpkin pie filling; use 100% pure pumpkin puree. Spoon and level the flour rather than scooping to avoid dry bars. Ensure baking soda is fresh for proper rising. Bars must cool completely before cutting to prevent crumbling. For gluten-free, use a 1:1 gluten-free flour blend. For dairy-free, skip the cream cheese glaze or use a dairy-free alternative.
- Prep Time: 10 minutes
- Cook Time: 30 minutes
- Category: Dessert
- Cuisine: American
Nutrition
- Serving Size: 1 bar
- Calories: 180
- Sugar: 18
- Sodium: 150
- Fat: 8
- Saturated Fat: 2
- Carbohydrates: 28
- Fiber: 1
- Protein: 2
Keywords: pumpkin bars, fall dessert, easy pumpkin recipe, 5 ingredient dessert, one bowl baking, cozy fall treats, pumpkin bars with cream cheese glaze


