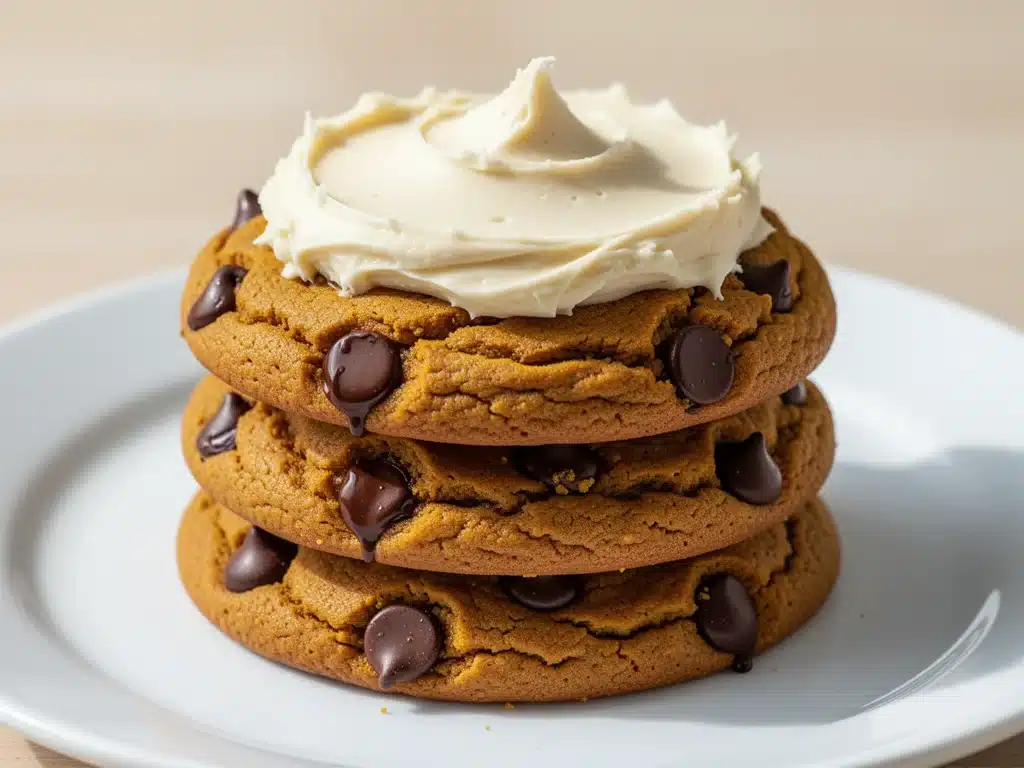
Last Saturday, I was standing in my kitchen at 9 PM, staring into the pantry like it held the secrets to the universe. My husband was asleep. The house was quiet. And I had a sudden, desperate craving for something sweet that smelled like autumn. Not just “pumpkin spice latte” autumn, but actual, real-deal pumpkin pie autumn. But I didn’t want to make a whole pie. I didn’t want to deal with a crust. I just wanted cookies. Soft, chewy, spiced cookies that tasted like comfort.
I opened the fridge and found half a can of pumpkin puree and a bag of semi-sweet chocolate chips. That was it. No cake mix. No special flours. Just basic pantry staples and a can of pumpkin. I threw them together, half-expecting a disaster. Instead, I got the best cookie I’ve ever made. And then I made them again on Monday. And Wednesday. And last night.
These pumpkin chocolate chip cookies are the definition of easy fall dessert. They’re soft, spiced, and incredibly moist without being soggy. The secret? It’s the pumpkin itself. It adds moisture and flavor without needing a ton of extra ingredients. You only need six main components, and if you have butter, brown sugar, and chocolate chips, you’re already halfway done.
I’ve tested this recipe at least eight times over the last two weeks. I’ve tweaked the spice ratios, played with the baking time, and even tried using white chocolate chips (which were good, but the chocolate chips are better). I’m confident now that this is the perfect balance of chewy and cakey, with just enough pumpkin flavor to remind you it’s October without overwhelming the chocolate. If you’re looking for a simple way to bring fall vibes into your kitchen without spending hours at the stove, this is it. Seriously. These are easier to make than overnight chia seed pudding, and they smell ten times better.
Why You’ll Love This Pumpkin Chocolate Chip Cookie Recipe
Look, I get it. There are a million pumpkin cookie recipes out there. But most of them are dry. Or they taste like spice cake. Or they require five types of flour and a stand mixer. This one? It’s different. Here’s why these pumpkin chocolate chip cookies have completely taken over my fall baking rotation.
- Six Ingredients, Zero Fuss — Seriously. Butter, sugars, egg, pumpkin puree, flour, and chocolate chips. That’s it. You don’t need vanilla extract (though you can add it if you want). You don’t need buttermilk. You don’t need a special pumpkin spice blend if you have basic cinnamon, nutmeg, and ginger. It’s stupid simple.
- Perfectly Moist Texture — The pumpkin puree does all the heavy lifting here. It keeps the cookies soft and chewy for days. I baked a batch on Thursday, and they were still soft on Sunday. No dry, crumbly disasters. Just tender, pillowy goodness.
- Flavor That Actually Tastes Like Pumpkin — I’ve made pumpkin cookies where the pumpkin flavor was nonexistent. Not here. The puree adds a subtle earthiness that pairs perfectly with the warm spices and rich chocolate. It tastes like dessert, not like a snack bar.
- Great for Gifting — These look fancy enough to wrap up and give to neighbors, but they’re cheap and easy enough to make on a whim. I wrapped three dozen in a tin last week and handed them out like I was a professional baker. (I’m not. I’m just a person with a mixer and a lot of chocolate.)
- Quick Bake Time — You’re looking at about 10-12 minutes in the oven. That’s it. You can have fresh cookies in under 30 minutes from start to finish. Perfect for when you need a quick treat or want to surprise someone with warm cookies.
This is my go-to when I want to feel cozy but don’t have the energy for a complicated project. It’s reliable, delicious, and makes my kitchen smell like a bakery. If you love simple desserts, you’ll also appreciate how easy these are compared to something like grandma’s bread pudding, which takes hours to prep. These are instant gratification.
Ingredients You’ll Need
Here’s the best part: you probably have most of this already. I’m not asking you to run to the store for obscure ingredients. This is true pantry baking. Here’s exactly what you need and why it matters.
The Wet Stuff
Unsalted butter (½ cup / 115g) — Softened to room temperature. This is crucial. If your butter is cold, it won’t cream properly with the sugar, and your cookies will be dense. I take mine out of the fridge about 30 minutes before I start. If I’m lazy, I microwave it for 10 seconds at a time until it’s soft but not melted.
Brown sugar (¾ cup / 150g) — Light or dark works. Dark brown has more molasses, which gives a deeper, toffee-like flavor. I prefer dark brown for these because it pairs so well with pumpkin. This is what makes the cookies chewy.
Granulated sugar (¼ cup / 50g) — Just a little bit. It adds crispness to the edges. If you want softer cookies, you can use all brown sugar. If you like crisp edges, stick with this ratio.
Large egg (1 egg) — Room temperature is best. It helps emulsify the dough. Don’t skip this—eggs bind everything together.
Canned pumpkin puree (½ cup / 120g) — Listen to me closely: do NOT use pumpkin pie filling. Use plain, 100% pure pumpkin puree. Pie filling has sugar and spices already added, and it will throw off the balance of this recipe. You want plain, unsweetened pumpkin. I use Libby’s because it’s consistent, but any brand works.
The Dry Stuff
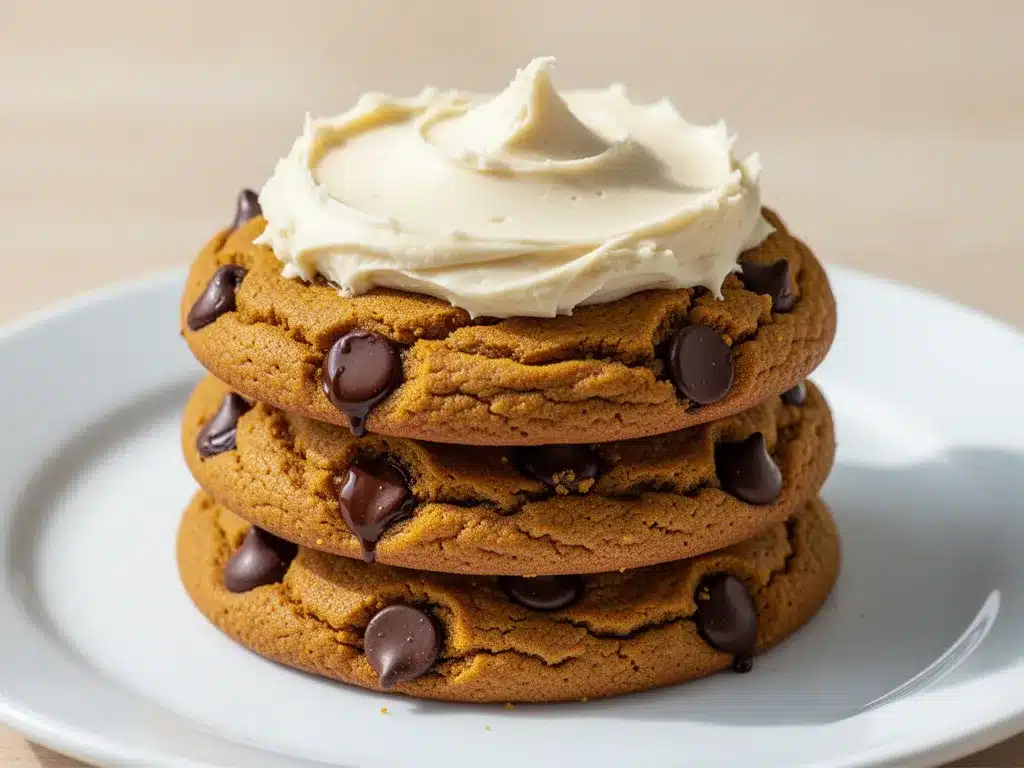
All-purpose flour (1 ½ cups / 190g) — Standard flour. No need for cake flour or bread flour. Just grab the white stuff from the pantry. Spoon it into the cup and level it off. Don’t scoop directly from the bag, or you’ll pack it down and get dry cookies.
Baking soda (½ teaspoon) — This helps the cookies spread and rise. Make sure it’s not old. If it’s been sitting in your cabinet for two years, toss it and get a new box.
Salt (½ teaspoon) — Even though these are sweet, salt is essential. It balances the sugar and enhances the pumpkin flavor. Don’t skip it.
Pumpkin pie spice (1 teaspoon) — Or make your own: ½ tsp cinnamon, ¼ tsp ginger, ¼ tsp nutmeg. If you don’t have pumpkin pie spice, use more cinnamon. It’s still delicious.
The Good Stuff
Semi-sweet chocolate chips (1 cup / 170g) — I use Ghirardelli because they melt beautifully. But Nestlé Toll House works too. You can also use chopped chocolate bars for a more rustic look. White chocolate chips or butterscotch chips are also amazing here if you want a twist.
Optional: Pecans or walnuts (½ cup, chopped) — If you like crunch, add nuts. I sometimes skip them, but my husband insists they’re necessary. Toast them first for extra flavor.
Equipment Needed
You don’t need fancy gadgets for this. Here’s what I actually use.
Mixing bowls — Two bowls. One for wet ingredients, one for dry. Medium size is fine.
Electric mixer — Handheld or stand mixer. You can do this by hand with a whisk and some elbow grease, but a mixer makes it easier to cream the butter and sugar properly. I use my KitchenAid, but a hand mixer works just as well.
Cooling rack — Essential. You need to transfer the cookies here so they don’t steam and get soggy on the hot pan.
Baking sheets — Two standard sheets. Line them with parchment paper. This is non-negotiable for easy cleanup and even baking. Silicone mats work too.
Spatula — A rubber spatula is best for scraping the bowl. You want to get all that dough.
Cookie scoop — Optional but helpful. A 2-tablespoon scoop ensures uniform cookies. If you don’t have one, just use two spoons.
Measuring cups and spoons — Standard stuff. Don’t eyeball the flour.
How to Make It: Step-by-Step
Alright, let’s make these! I’m walking you through exactly how I do it, including the little tricks I’ve picked up. This process is straightforward, but there are a few key moments to watch.
Step 1: Prep Your Oven and Pans (2 minutes)
Preheat your oven to 350°F (175°C). This needs to be hot enough to bake the cookies quickly without drying them out. Line your baking sheets with parchment paper. This prevents sticking and makes cleanup a breeze. I never bake these directly on the metal.
Step 2: Cream the Butter and Sugars (3 minutes)
In a large bowl, beat the softened butter, brown sugar, and granulated sugar together until light and fluffy. This is the most important step. It takes about 2-3 minutes with a mixer. You’re incorporating air into the butter, which helps the cookies rise and get that tender texture. If you don’t cream it enough, the cookies will be dense. If you overbeat them, they might spread too much. Aim for a pale, fluffy consistency.
Step 3: Add the Wet Ingredients (1 minute)
Add the egg and the pumpkin puree to the butter mixture. Beat until just combined. The mixture might look a little curdled or separated at first—that’s normal. The pumpkin adds moisture, so it’ll change the texture. Don’t worry about it.
Step 4: Mix the Dry Ingredients (1 minute)
In a separate medium bowl, whisk together the flour, baking soda, salt, and pumpkin pie spice. Whisking ensures the spices are evenly distributed. You don’t want a bite of pure cinnamon or a bite of bland flour. Get it mixed well.
Step 5: Combine Wet and Dry (2 minutes)
Gradually add the dry ingredients to the wet ingredients. Mix on low speed or stir by hand until just combined. STOP as soon as you no longer see streaks of flour. Overmixing at this stage develops gluten, which makes cookies tough. You want tender cookies, not bread. The dough will be soft and slightly sticky. That’s good.
Step 6: Fold in the Chocolate Chips (1 minute)
Stir in the chocolate chips by hand. I like to do this with a spatula so I can control the distribution. Make sure every cookie gets some chocolate. If you’re adding nuts, fold them in now.
Step 7: Scoop and Bake (10-12 minutes)
Scoop tablespoon-sized balls of dough onto the prepared baking sheets, spacing them about 2 inches apart. They will spread. Bake for 10-12 minutes. The edges should be set and lightly golden, but the centers should still look soft and slightly underdone. They will finish cooking on the hot pan as they cool.
Pro Tip: If your dough is too sticky to scoop, chill it in the fridge for 15 minutes. Cold dough holds its shape better. But honestly, I usually just scoop it and flatten it slightly with my fingers.
Step 8: Cool and Enjoy
Let the cookies sit on the baking sheet for 5 minutes. This allows them to set. Then transfer them to a wire rack to cool completely. Or, if you’re impatient like me, eat one while it’s still warm. Trust me, it’s worth the burn.
Expert Tips & Tricks
Here’s everything I’ve learned from making these dozens of times. These tips will save you from my mistakes.
Don’t Overbake — This is the #1 mistake. Pumpkin cookies look done when they’re not. Pull them out when the centers still look soft. They will firm up as they cool. Overbaked pumpkin cookies are dry and crumbly. Underbaked ones are soft and chewy. Aim for chewy.
Room Temperature Butter is Key — I can’t stress this enough. Cold butter = dense cookies. Melted butter = flat, greasy cookies. Softened butter = perfect texture. Test it by pressing your finger into it. It should leave an indent easily.
Measure Flour Correctly — If you scoop flour directly from the bag, you’re packing it down. This leads to dry, hard cookies. Spoon the flour into your measuring cup and level it off with a knife. This is the difference between a soft cookie and a hockey puck.
Chill the Dough (Optional but Recommended) — If you have time, chill the dough for 30 minutes to an hour. This prevents the cookies from spreading too much and concentrates the flavors. I usually don’t have time, but when I do, the cookies are thicker and chewier.
Use Good Chocolate — Cheap chocolate chips don’t melt as nicely. Use semi-sweet chocolate chunks or high-quality chips. The contrast between the sweet chocolate and the spiced pumpkin is what makes these special.
Storage for Freshness — Store cookies in an airtight container with a slice of bread. The bread keeps the cookies soft for days. I do this for all my soft cookies. It’s a grandma trick that actually works.
Variations & Substitutions
Once you’ve nailed the basic version, here’s how you can mix it up. I’ve tried all of these.
White Chocolate Chip Cookies — Swap semi-sweet for white chocolate chips. Add ½ teaspoon of orange zest for a bright, citrusy twist. This is my favorite variation for holidays.
Pumpkin Spice Latte Cookies — Add a teaspoon of instant espresso powder to the dry ingredients. It enhances the coffee flavor and makes it taste like a latte. Amazing with the chocolate chips.
Nutty Version — Add ½ cup of toasted pecans or walnuts. Toast them in a dry pan for 2 minutes before adding. It brings out the oils and makes them crunchier.
Gluten-Free Option — Use a 1-to-1 gluten-free flour blend. Most blends work great in cookies. Make sure it contains xanthan gum, or add ¼ teaspoon. The texture will be slightly more crumbly but still delicious.
Dairy-Free — Use vegan butter sticks (not tub margarine) and dairy-free chocolate chips. The texture will be similar, but the flavor might be slightly less rich. Still good, though.
Mini Chocolate Chips — Use mini chips for more chocolate in every bite. They also distribute more evenly. I use mini chips when I want extra sweetness.
Spice Level — Like more spice? Add an extra ½ teaspoon of cinnamon and ¼ teaspoon of ginger. Less spice? Cut the pumpkin pie spice in half. These are your cookies, so adjust to your taste.
Serving & Storage
These cookies are best served warm, straight out of the oven. But they keep well, which is great for meal prep or gifting.
How to Serve: I usually serve these with a cold glass of milk. Classic. Or with a cup of black coffee or pumpkin spice latte. If I’m having guests, I put them on a platter with a few different types of chocolate chips for variety. I also like to serve these alongside frozen labor day sangria slushies in the summer, but in fall, I stick to warm drinks.
Refrigerator: Store in an airtight container at room temperature for up to 5 days. Place a piece of bread in the container to keep them soft. Do not refrigerate them—they’ll get hard.
Freezing: You can freeze the dough balls! Scoop them onto a baking sheet, freeze until solid, then transfer to a freezer bag. Bake from frozen, adding 1-2 minutes to the bake time. You can also freeze baked cookies for up to 3 months. Thaw at room temperature.
Reheating: Warm them in the microwave for 10-15 seconds. They’ll be soft and fresh-tasting again. Or bake at 350°F for 3-4 minutes if you want them warm from the oven.
Pro Tip: If you’re making these for a party, bake them the night before. They often taste better the next day as the flavors meld. I’ve found this to be true with almost all soft cookies.
Nutrition Information
I’m not a nutritionist, but here’s the breakdown if you’re tracking. These are treats, so enjoy them in moderation!
Per Cookie (makes about 24 cookies):
- Calories: 140
- Protein: 2g
- Carbs: 20g
- Fiber: 1g
- Sugar: 12g
- Fat: 7g
- Saturated Fat: 4g
What’s Good: Lower in fat than traditional butter cookies because of the pumpkin. Good source of carbs for energy. Contains some fiber from the pumpkin.
What to Know: Higher in sugar due to the chocolate chips and brown sugar. Contains gluten and dairy. If you’re watching carbs, use almond flour and sugar-free chocolate chips.
My Take: These are comfort food. They’re not diet food. But they’re better than store-bought cookies, which are full of preservatives. I know exactly what’s in these. When I want to make them lighter, I reduce the chocolate chips to ½ cup and use half the sugar. But usually? I just eat two and enjoy them.
Final Thoughts
So that’s my go-to pumpkin chocolate chip cookie recipe! I’ve probably talked your ear off at this point, but when you make a recipe this often, you have a lot to say about it. These cookies have saved my fall baking game. They’re my answer to “what’s for dessert” when I’m tired, don’t want to make a pie, and still want something that tastes really good. My kids are happy, my husband’s happy, and I’m happy because I’m not stressed about cooking.
Make it yours! Try different chocolate chips, add nuts, or adjust the spices. The best recipes are the ones you adapt to your family’s tastes. If you make these, drop a comment and let me know what you think! I love hearing how recipes turn out in your kitchen. And if something doesn’t work, tell me that too—I’m here to help troubleshoot.
Happy baking! And I hope your kitchen smells half as good as mine does right now.
Frequently Asked Questions
Can I use fresh pumpkin instead of canned?
You can, but it’s tricky. Fresh pumpkin has more water content, which can make the dough too wet. If you use fresh, roast the pumpkin, mash it, and then strain it through a cheesecloth to remove excess liquid. You still need ½ cup of puree, but it will be harder to measure accurately. Canned is easier and more consistent. I stick with canned for reliability.
Why did my cookies spread too much?
This usually means the butter was too warm or the dough wasn’t chilled enough. Next time, make sure your butter is softened, not melted. Also, chill the dough for 30 minutes before baking. If your kitchen is very hot, chill the baking sheets before scooping. Over-creaming the butter can also cause spreading, so don’t beat it for too long.
Can I double this recipe?
Absolutely! Double all the ingredients and bake in batches. Make sure you have enough baking sheets. I usually bake two batches at a time. The cooking time stays the same. I do this when I’m feeding a crowd or meal-prepping. Just watch the cookies closely in the second batch—the oven might cool down a bit.
Are these cookies safe for people with nut allergies?
Yes, the base recipe is nut-free. However, if you add nuts as a variation, obviously they’re not safe. Always check your chocolate chip brand to ensure they’re made in a facility that doesn’t process nuts. I use Ghirardelli, which is generally safe, but always read the label.
Can I make these vegan?
Yes! Use vegan butter sticks and dairy-free chocolate chips. The texture will be slightly different—maybe a bit more cakey—but they’ll still be delicious. You can also use a flax egg (1 tbsp ground flaxseed + 3 tbsp water) instead of the regular egg, but the result might be denser. I haven’t tested the flax egg version extensively, so let me know if you try it!
How do I know when the cookies are done?
The edges should be set and lightly golden. The centers will look soft and slightly underdone. They will firm up as they cool on the baking sheet. If you wait until the centers look fully set in the oven, they’ll be overbaked. Pull them out when they look just barely done.
Can I use light brown sugar?
Yes, light brown sugar works fine. Dark brown sugar has more molasses, which gives a deeper flavor and darker color. If you only have light brown sugar, it will still taste great. The texture will be slightly less chewy, but still good. Don’t stress about the type of brown sugar.
Pin This Recipe!
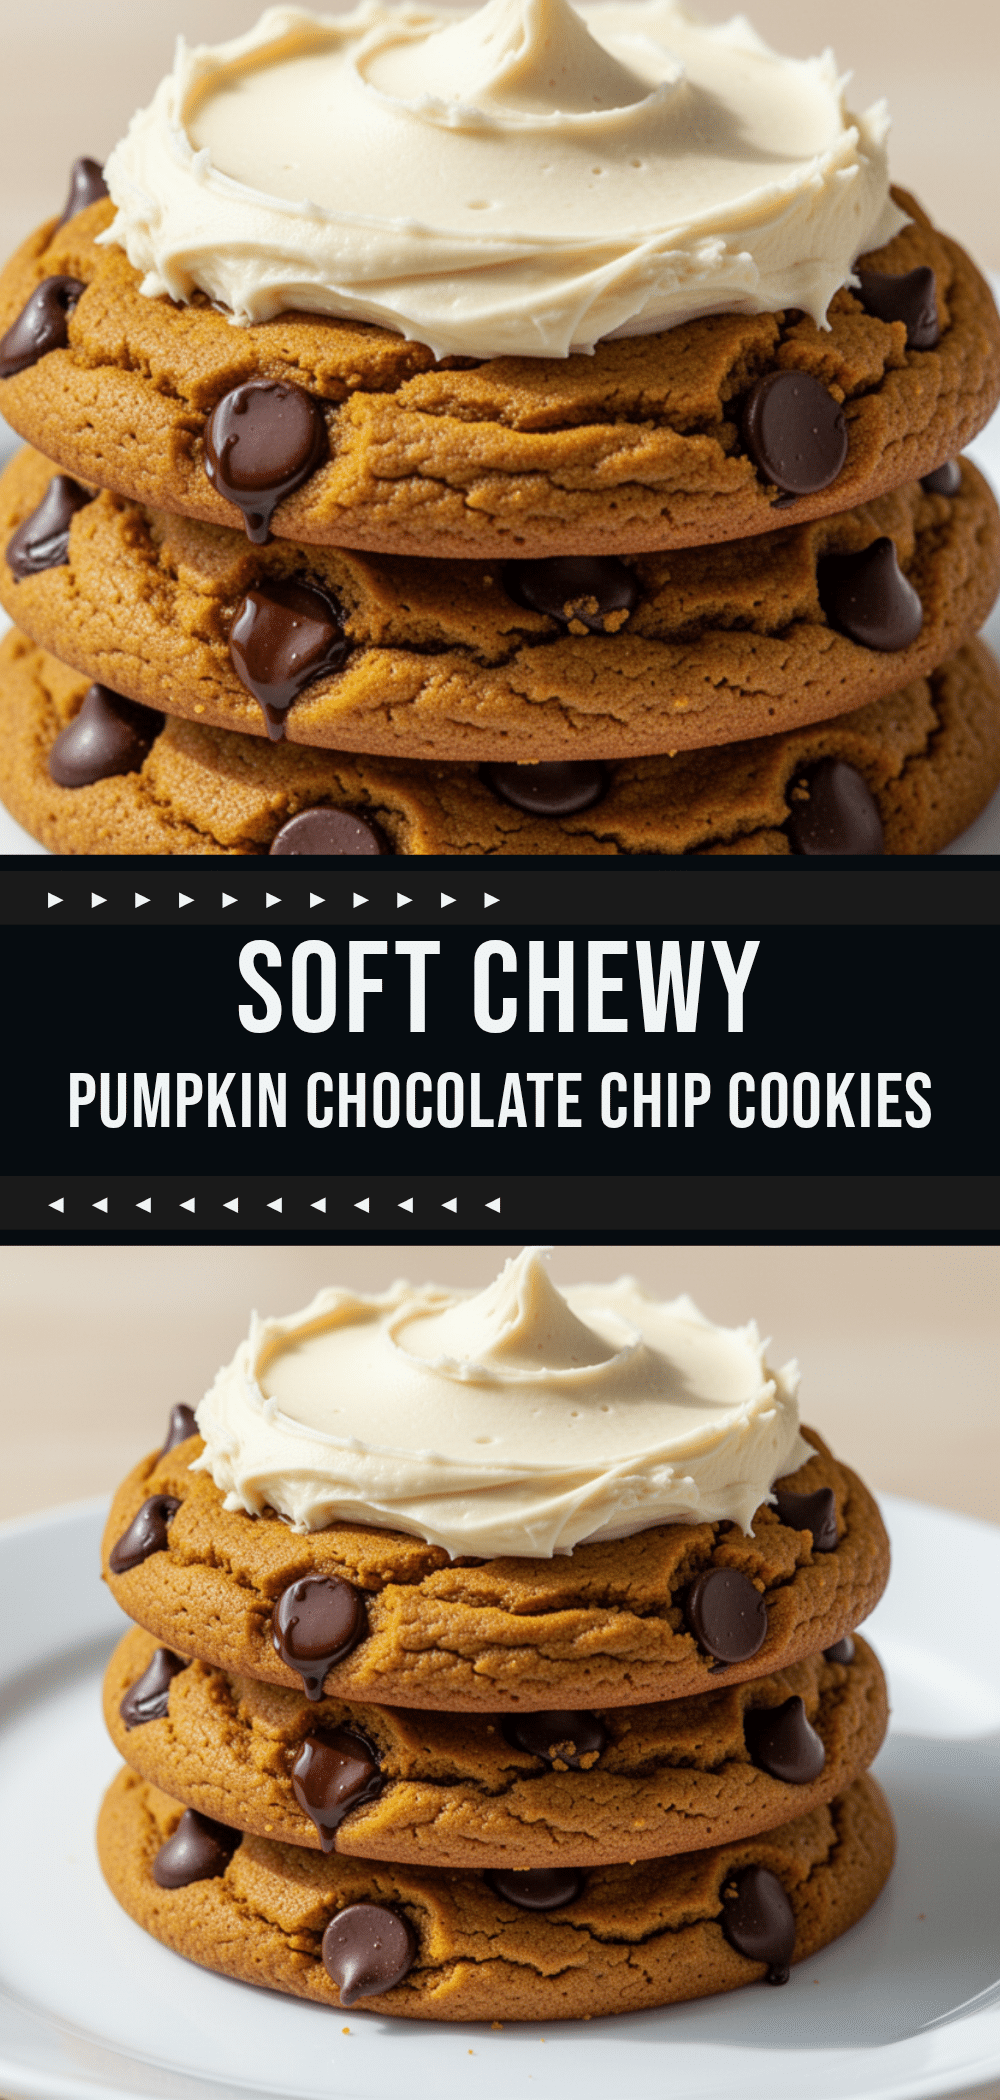
Pumpkin Chocolate Chip Cookies: 6-Ingredient Easy Fall Dessert
- Total Time: 25 minutes
- Yield: 24 cookies 1x
Description
Soft, chewy, and moist pumpkin chocolate chip cookies made with just six simple pantry ingredients. These easy fall treats are perfect for gifting or a quick dessert.
Ingredients
- 1/2 cup unsalted butter, softened to room temperature
- 3/4 cup brown sugar (light or dark)
- 1/4 cup granulated sugar
- 1 large egg, room temperature
- 1/2 cup canned pumpkin puree (not pie filling)
- 1 1/2 cups all-purpose flour
- 1/2 teaspoon baking soda
- 1/2 teaspoon salt
- 1 teaspoon pumpkin pie spice (or 1/2 tsp cinnamon, 1/4 tsp ginger, 1/4 tsp nutmeg)
- 1 cup semi-sweet chocolate chips
- 1/2 cup chopped pecans or walnuts (optional)
Instructions
- Preheat oven to 350°F (175°C) and line two baking sheets with parchment paper.
- In a large bowl, beat the softened butter, brown sugar, and granulated sugar together until light and fluffy (about 2-3 minutes).
- Add the egg and pumpkin puree to the butter mixture and beat until just combined.
- In a separate medium bowl, whisk together the flour, baking soda, salt, and pumpkin pie spice.
- Gradually add the dry ingredients to the wet ingredients, mixing on low speed or stirring by hand until just combined. Do not overmix.
- Fold in the chocolate chips (and nuts, if using) by hand.
- Scoop tablespoon-sized balls of dough onto the prepared baking sheets, spacing them about 2 inches apart.
- Bake for 10-12 minutes, or until edges are set and lightly golden but centers still look soft.
- Let cookies sit on the baking sheet for 5 minutes to set, then transfer to a wire rack to cool completely.
Notes
Ensure butter is softened, not melted, for the best texture. Measure flour by spooning it into the cup and leveling it off to avoid dry cookies. For chewier cookies, chill the dough for 30 minutes before baking. Store in an airtight container with a slice of bread to maintain softness.
- Prep Time: 15 minutes
- Cook Time: 10-12 minutes
- Category: Dessert
- Cuisine: American
Nutrition
- Serving Size: 1 cookie
- Calories: 140
- Sugar: 12
- Fat: 7
- Saturated Fat: 4
- Carbohydrates: 20
- Fiber: 1
- Protein: 2
Keywords: pumpkin cookies, chocolate chip cookies, fall dessert, easy baking, 6 ingredient recipe, soft cookies, autumn treats


