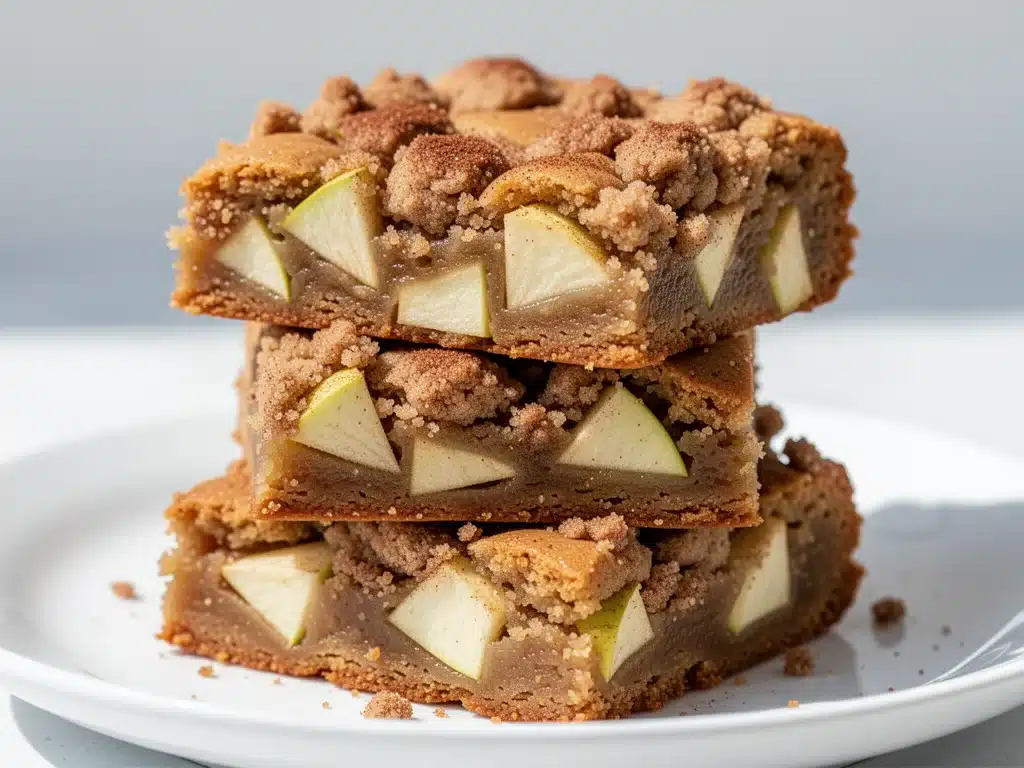
It was a Tuesday in October, the kind where the leaves are starting to turn but the air is still stubbornly warm. I was staring at a bag of Honeycrisp apples from the farmers market and a stick of butter that looked suspiciously like it wanted to be browned. I didn’t have a plan. I didn’t have a recipe in mind. I just had a craving for something sweet, something that felt like a hug but didn’t require the effort of baking a massive pie.
So I threw together what I thought would be a mediocre bar cookie. I melted the butter until it smelled like hazelnuts, folded in some diced apples, and dumped it all into a pan. I expected a soft, cakey mess. Instead, I got these Brown Butter Apple Blondies. Crisp edges, chewy centers, and that incredible nutty depth that only comes from browning butter. I took one bite and immediately called my husband into the kitchen. He took a bite, paused, and said, “Okay, that’s actually really good.” For him, that’s the highest praise in the world.
That was three months ago. Since then, I’ve made these Brown Butter Apple Blondies at least a dozen times. They’ve traveled to book clubs, office potlucks, and late-night snack runs. They’ve become my go-to answer for “what can I bring that feels fancy but is actually easy?” The best part? You don’t need to peel those apples or spend an hour making a crust. You just brown the butter, mix, bake, and enjoy.
I’ve tested this recipe with different apple varieties, different brown butter levels, and even different pan sizes. I’ve learned exactly how to keep them chewy (not cakey) and how to get that perfect crisp edge without burning the bottom. If you’re looking for a dessert that screams autumn without the stress, these are it. Trust me, once you taste that brown butter flavor, you’ll never go back to regular butter blondies again.
Why You’ll Love These Brown Butter Apple Blondies
There are about ten reasons I keep making these, but here are the big ones that keep me coming back to the oven every fall.
That Brown Butter Magic — Seriously, browning butter changes everything. It adds a toasty, nutty complexity that regular butter just can’t compete with. It makes the dessert taste like it came from a high-end bakery, even though it’s basically a one-bowl mix. I’ve tried making regular blondies with the same apples, and they just feel flat in comparison.
Zero Peeling Required — I know, I know. Some people obsess over peeling their fruit. Not me. The skin of the apple adds texture and color, and when you dice them small enough, you barely notice the skin. It saves me about ten minutes of prep time, which is huge when I’m tired after work.
Perfectly Chewy Texture — The biggest fear with blondies is ending up with something dry or cakey. I’ve nailed the ratio of butter to sugar to flour to ensure these stay soft and chewy in the center with crisp edges. I’ve had friends ask for my secrets, and honestly? It’s just about not overbaking them. Take them out when they look slightly underdone, and they’ll finish cooking in the pan.
Pantry-Friendly Ingredients — You probably have 90% of this already. Flour, sugar, butter, eggs, brown sugar, cinnamon, nutmeg, and apples. No weird specialty ingredients. No fancy nuts (though you can add them if you want). This is accessible, comforting food.
Makes Amazing Leftovers — These actually taste better the next day. The flavors meld together, and the apples get even softer and more caramelized. I deliberately make a double batch so I have lunch snacks for the week. They store well at room temperature for up to three days, or in the fridge for up to a week.
Budget-Smart — Apples are cheap in the fall. You can get a bag for $5-8 and make a whole pan of dessert. That’s less than what you’d pay for a single slice of pie at a restaurant. It’s indulgent without breaking the bank.
This is my go-to when I need a dessert to just work. No complicated techniques, no weird ingredients, just reliable, delicious food that makes everyone happy. And if you’re a fan of other easy baked goods, you might also enjoy checking out my grandma’s bread pudding for when you have leftover bread.
Ingredients You’ll Need
Here’s the best part: you probably have most of this already in your pantry. I’m particular about a few things here, and I’ll tell you exactly why.
For the Base
Unsalted Butter (1 cup / 226g) — You need unsalted so you can control the saltiness. I use high-quality butter like Plugrá or Kerrygold because the flavor really shines when you brown it. Don’t skimp on quality here; it’s the star of the show.
Brown Sugar (2 cups / 400g) — Pack it down firmly. Dark brown sugar adds more molasses flavor, which pairs beautifully with the apples. Light brown sugar works too, but dark is richer. I always keep a bag stocked just so I can make these on a whim.
Granulated Sugar (½ cup / 100g) — This helps with the crisp edges. If you skip it, the blondies will be softer and cake-like. I don’t recommend skipping it if you want that classic blondie texture.
Eggs (2 large) — Room temperature eggs incorporate better into the batter. I take them out of the fridge 15 minutes before I start. Cold eggs can seize the butter if you’re not careful.
Vanilla Extract (2 teaspoons) — Use real vanilla, not imitation. It makes a subtle but noticeable difference in the flavor profile.
For the Dry Mix
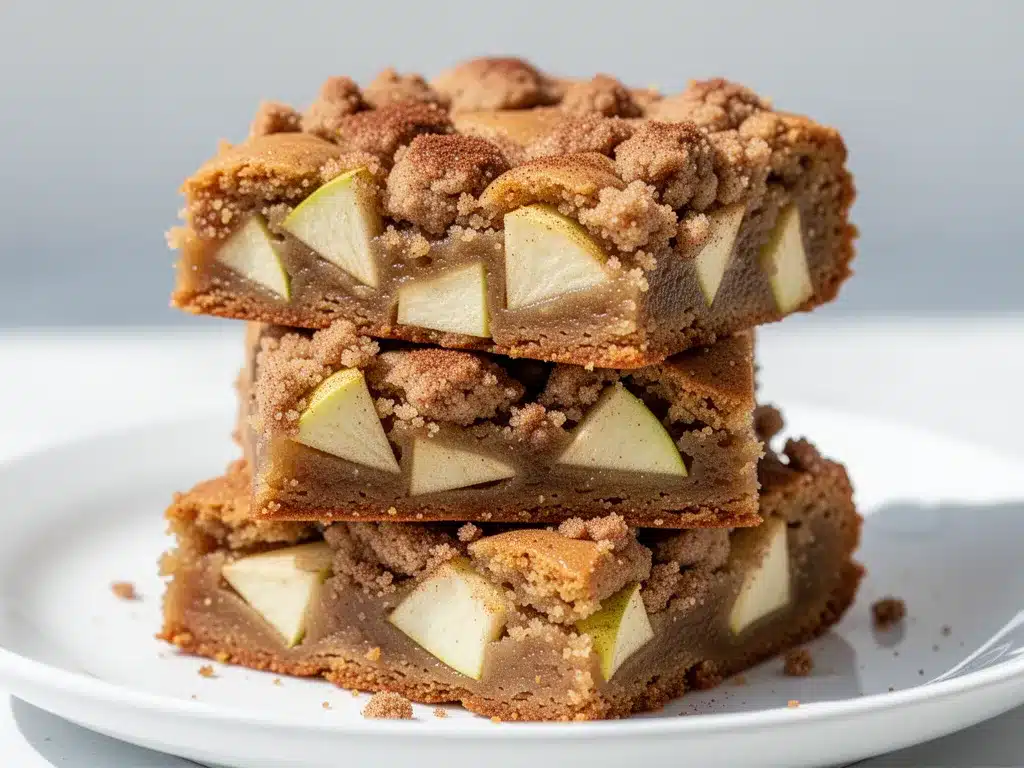
All-Purpose Flour (2 cups / 250g) — Spoon and level, don’t scoop. Scooping packs the flour and leads to dry blondies. I’ve ruined batches this way before, so I measure carefully now.
Baking Powder (1 teaspoon) — Just a little bit to help them rise slightly. Not too much, or they’ll be cakey.
Baking Soda (½ teaspoon) — Helps with browning and spread.
Salt (1 teaspoon) — Essential for balancing the sweetness. If you use salted butter, reduce this to ½ teaspoon.
Cinnamon (1 teaspoon) — Ground cinnamon is standard, but if you want extra warmth, add ½ teaspoon of nutmeg or allspice.
For the Star
Apples (3 medium, about 450g) — I use Honeycrisp or Fuji. They hold their shape well and offer a nice sweet-tart balance. Granny Smith is too tart for my taste in these, but if you like a sharp bite, mix half Granny Smith with half Honeycrisp. Do not use Red Delicious; they turn mushy and bland.
Optional: Walnuts or Pecans (½ cup, chopped) — If you like crunch, add nuts. Toast them first for extra flavor. I usually skip them because my kids are picky, but adults often ask for them.
Optional: Caramel Sauce (½ cup) — For the ultimate indulgence, drizzle some salted caramel on top before baking. It’s decadent and pairs perfectly with the apples.
Equipment Needed
You don’t need fancy equipment for this. Here’s what I actually use.
Medium Saucepan — I use a stainless steel saucepan so I can see the butter browning clearly. Dark pans can make it harder to judge the color. A light-colored pan is best for this step.
Whisk — For mixing the batter. Silicone is fine, but a balloon whisk incorporates air better.
9×13 Inch Baking Pan — Grease it well or line it with parchment paper for easy removal. I prefer parchment because it makes cleanup a breeze. You can use an 8×8 pan, but the blondies will be thicker and take longer to bake.
Sharp Knife and Cutting Board — For dicing the apples. I like them about ½-inch cubes. Smaller cubes cook faster and distribute better; larger chunks might not cook through.
Mixing Bowls — One large bowl for wet ingredients, one medium for dry. I use glass bowls because they’re easy to clean and don’t retain odors.
Spatula — A sturdy silicone spatula for folding in the apples and scraping the bowl.
Wire Rack — For cooling the blondies. Cooling them in the pan can make them soggy on the bottom.
How to Make It: Step-by-Step
Alright, let’s make this! I’m walking you through exactly how I do it, including the little tricks I’ve picked up.
Step 1: Prep Your Pan and Oven (5 minutes)
Preheat your oven to 350°F (175°C). Grease a 9×13 inch baking pan with butter or non-stick spray. For easy cleanup, line it with parchment paper, leaving an overhang on the long sides. This acts like a sling so you can lift the blondies out later if needed. Set aside.
Step 2: Brown the Butter (5-7 minutes)
This is the most important step. Melt the butter in your saucepan over medium heat. Stir constantly with a wooden spoon or silicone spatula. The butter will foam up, then settle. Watch it closely. It will go from golden to amber to dark amber quickly. You’ll see little brown specks (milk solids) at the bottom and smell a nutty, toasted aroma. As soon as it smells like hazelnuts and looks like caramel, remove it from the heat immediately. Pour it into a heat-safe bowl to stop the cooking. Let it cool for 5 minutes. If you add hot butter to sugar, it can melt the sugar unevenly, leading to a greasy batter.
Step 3: Mix the Wet Ingredients (2 minutes)
To the cooled brown butter, add the brown sugar and granulated sugar. Whisk vigorously for about 2 minutes. The mixture should look glossy and slightly thickened. This step helps dissolve the sugar and creates that chewy texture. Add the eggs one at a time, whisking well after each addition. Stir in the vanilla extract. The batter should be smooth and pourable.
Step 4: Combine Dry Ingredients (2 minutes)
In a separate bowl, whisk together the flour, baking powder, baking soda, salt, and cinnamon. Make sure there are no lumps of flour or baking soda. This ensures even distribution.
Step 5: Make the Batter (3 minutes)
Gradually add the dry ingredients to the wet ingredients, mixing on low speed or folding with a spatula. Stop mixing as soon as the flour disappears. Overmixing develops gluten, which makes blondies tough. You want them tender. Fold in the diced apples (and nuts, if using) gently. Be careful not to crush the apple pieces.
Step 6: Bake (35-40 minutes)
Spread the batter evenly into the prepared pan. Bake for 35-40 minutes. The edges should be golden brown and pull away slightly from the sides. The center should still look slightly soft and jiggly, not wet. A toothpick inserted into the center should come out with a few moist crumbs, but no wet batter. If you wait until the toothpick is completely clean, they’ll be dry.
Step 7: Cool and Serve (1 hour)
Let the blondies cool in the pan on a wire rack for at least 30 minutes. This allows them to set. If you cut them too soon, they’ll fall apart. Once cooled, lift them out using the parchment sling and cut into squares. Dust with powdered sugar or drizzle with caramel if desired.
Troubleshooting: If the edges burn but the center is raw, tent the pan with foil for the last 10 minutes. If the blondies are too cakey, you likely overmixed the batter or used too much flour. Measure carefully!
Expert Tips & Tricks
Here’s everything I’ve learned from making these dozens of times. These tips will save you from my mistakes.
Don’t Skip the Brown Butter — I know it takes an extra minute, but it’s worth it. The nutty flavor is what sets these apart from regular apple bars. If you’re in a huge rush, you can use regular melted butter, but you’ll miss out on that depth of flavor.
Cool the Butter — As mentioned, let the brown butter cool for 5 minutes before adding sugar. Hot butter melts sugar, which can lead to a greasy, dense texture. Patience pays off.
Don’t Overbake — Blondies continue to cook in the hot pan after you take them out of the oven. They should look slightly underdone in the center when you pull them out. They’ll firm up as they cool.
Apple Choice Matters — Use firm apples that hold their shape. Honeycrisp, Fuji, Braeburn, and Pink Lady are great. Avoid McIntosh or Red Delicious, which turn to mush.
Storage is Key — Store in an airtight container at room temperature for up to 3 days. In humid climates, keep them in the fridge to prevent sogginess. Reheat in the microwave for 15 seconds for a warm, fresh-from-the-oven feel.
Variations & Substitutions
Once you’ve nailed the basic version, here’s how you can mix it up. I’ve tried all of these.
Chai Spice Version — Swap the cinnamon for 2 teaspoons of chai spice mix. Adds a warm, aromatic kick that’s perfect for fall.
Maple Glaze — Mix ½ cup powdered sugar with 2 tablespoons maple syrup and a splash of milk. Drizzle over cooled blondies for a sweet, sticky topping.
Cranberry Orange — Swap half the apples for dried cranberries and add the zest of one orange to the batter. Bright and tangy.
Gluten-Free — Use a 1:1 gluten-free flour blend. The texture might be slightly crumblier, but it still works well. I’ve used Bob’s Red Mill and King Arthur with success.
Dairy-Free — Use vegan butter sticks (not tubs) and check your chocolate chips if adding any. Most brown sugar and apples are dairy-free, so it’s an easy swap.
Vegetarian/Vegan — For a vegan version, use flax eggs (2 tablespoons ground flaxseed + 5 tablespoons water) and vegan butter. The texture will be slightly different but still delicious.
Serving & Storage
How to Serve: I usually serve these warm, cut into squares. They’re perfect with a cup of coffee or a glass of cold milk. For a fancy touch, serve with a scoop of vanilla ice cream or a dollop of whipped cream. The contrast of warm blondie and cold ice cream is incredible.
Side Dishes: These are a dessert, so they stand alone. But if you’re having a dinner party, they pair well with a light fruit salad or a cheese board. Avoid heavy, rich desserts alongside them.
Storage Instructions:
Refrigerator: Store in an airtight container for up to 1 week. The apples will keep them moist.
Freezer: Yes, these freeze well! Wrap individual squares in plastic wrap, then place in a freezer bag. Freeze for up to 3 months. Thaw at room temperature or microwave for 20 seconds.
Meal Prep: Make these on Sunday for the week ahead. They’re portable and easy to grab for lunch or snacks.
Pro tip: If you’re taking them to a potluck, cut them into smaller squares. They disappear fast, and people love having a manageable portion.
Nutrition Information
I’m not a nutritionist, but here’s the breakdown if you’re tracking. Keep in mind that these are dense, sweet bars, so portions matter.
Per Serving (based on 16 squares):
- Calories: 280
- Protein: 3g
- Carbs: 42g
- Fiber: 1g
- Sugar: 30g
- Fat: 12g
- Saturated Fat: 7g
- Cholesterol: 35mg
- Sodium: 180mg
What’s Good: They contain some fiber from the apples. The brown butter adds some flavor without extra sugar.
What to Know: High in sugar and carbs due to the brown sugar and flour. They’re a treat, not a health food. Enjoy in moderation.
My Take: Look, this is a dessert with butter and sugar. It’s not a diet recipe. But it’s way better than store-bought bars, costs less, and I know exactly what’s in it. When I want to make it lighter, I cut the sugar by ¼ cup and add extra apples. But usually? I just enjoy a square and savor it.
Final Thoughts
So that’s my go-to Brown Butter Apple Blondies! I’ve probably talked your ear off at this point, but when you make a recipe this often, you have a lot to say about it.
This has saved my dessert game more times than I can count. It’s my answer to “what can I bring?” when I’m tired, don’t want to bake a cake, and still want something that feels special. My kids are happy, my husband’s happy, and I’m happy because I’m not stressed about cooking.
Make it yours! Try different apples, add nuts, or drizzle caramel. The best recipes are the ones you adapt to your family’s tastes. And if you’re looking for more easy baked goods, you might also like my grandma’s bread pudding or some grilled watermelon feta skewers for a lighter option.
If you make this, drop a comment and let me know what you think! I love hearing how recipes turn out in your kitchen. And if something doesn’t work, tell me that too—I’m here to help troubleshoot.
Happy baking! And I hope your kitchen smells half as good as mine does right now.
Frequently Asked Questions
Can I use frozen apples?
You can, but thaw and drain them first. Frozen apples release a lot of water, which can make the batter soggy. Pat them dry with paper towels before adding to the mix. Fresh apples are best for texture, but frozen works in a pinch.
Why did my blondies turn out cakey?
This usually happens if you overmix the batter or use too much flour. Spoon and level your flour, don’t scoop. Also, make sure you’re not overbaking. Take them out when the center looks slightly underdone.
Can I use applesauce instead of butter?
No, not for this recipe. The brown butter is essential for the flavor and texture. Applesauce will make them too dense and moist. If you want a lighter version, try my overnight chia seed pudding instead.
How do I store leftovers?
Store in an airtight container at room temperature for up to 3 days. In the fridge for up to 1 week. They also freeze well for up to 3 months.
Can I double the recipe?
Yes, but you’ll need a larger pan (like a 9×13 or two 8×8 pans). Adjust baking time slightly; larger pans bake faster, thicker pans take longer. Keep an eye on them.
What’s the best apple for this?
Honeycrisp, Fuji, and Braeburn are my top picks. They hold their shape and offer a nice sweet-tart balance. Avoid Red Delicious or McIntosh.
Pin This Recipe!
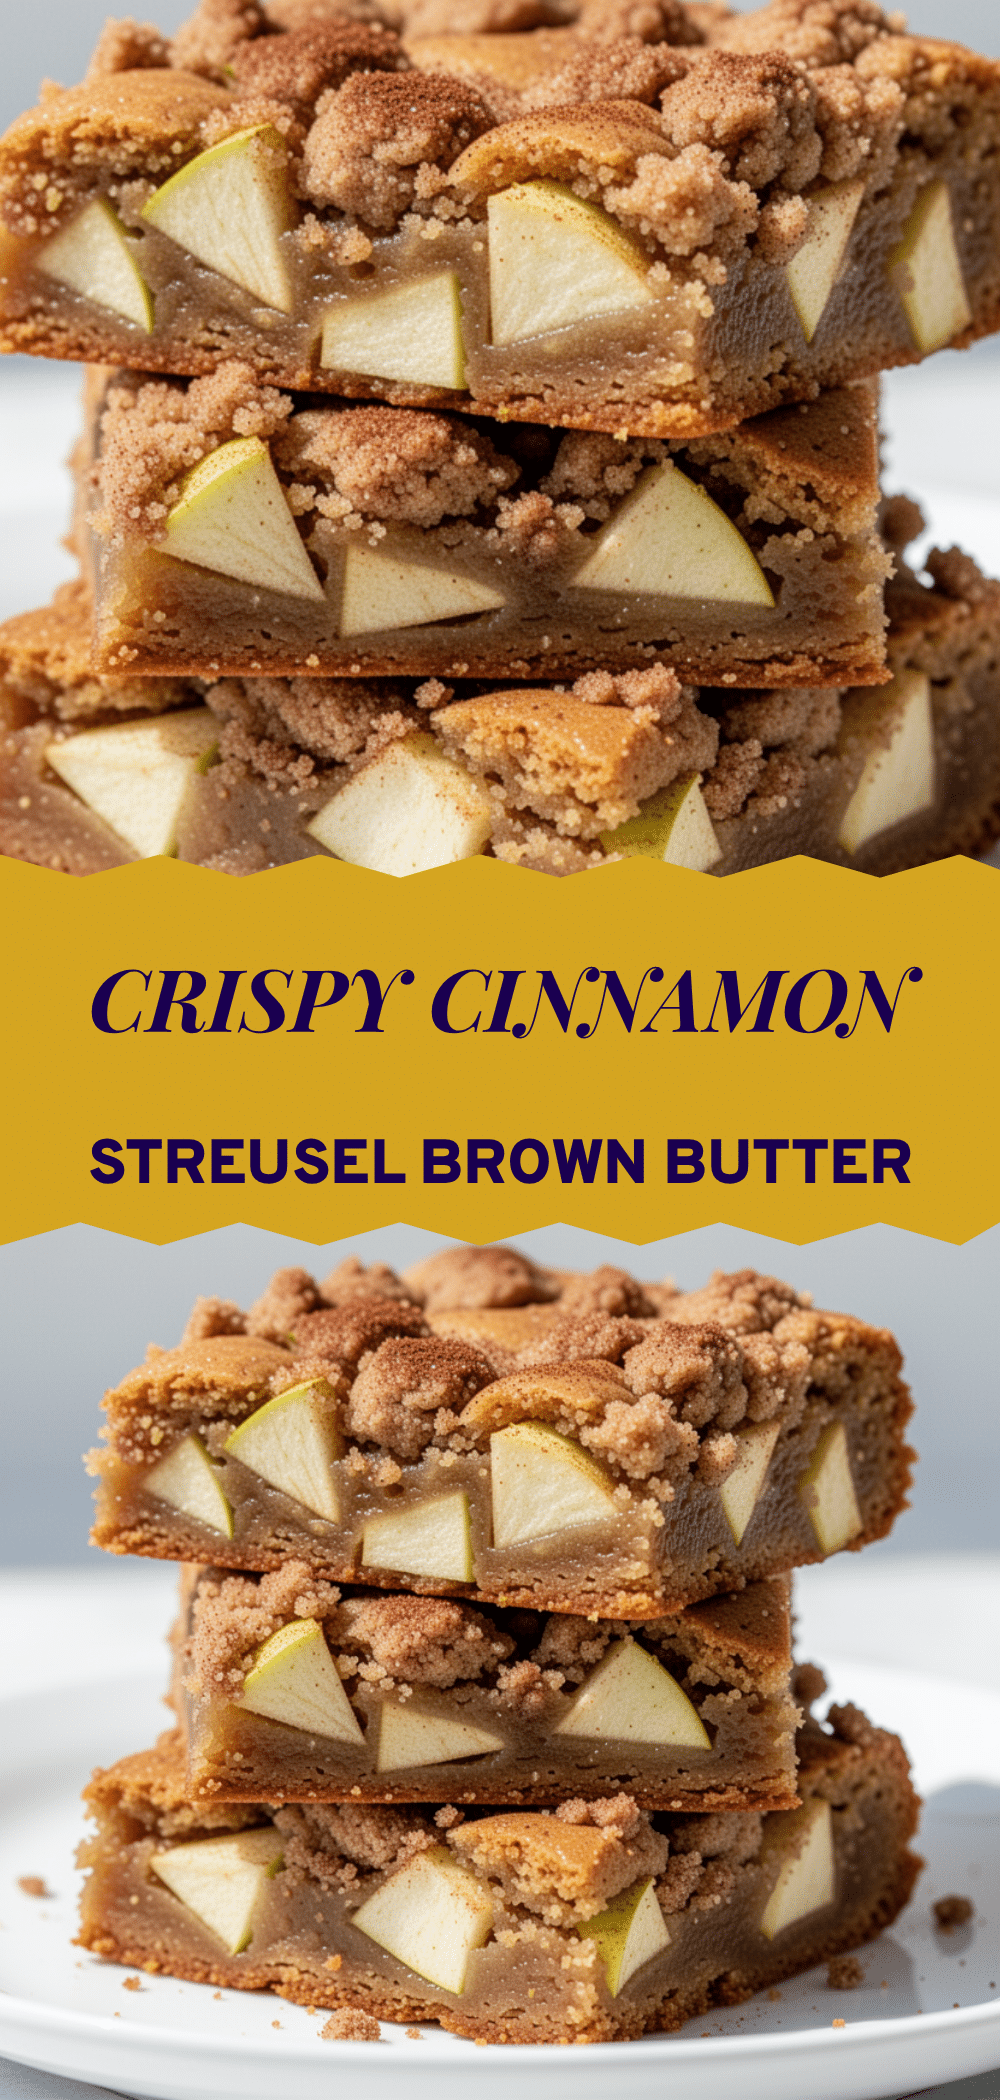
Brown Butter Apple Blondies: Easy Fall Dessert
- Total Time: 55 minutes
- Yield: 16 servings 1x
Description
Crisp-edged, chewy-centered blondies infused with nutty brown butter and diced apples. This easy one-bowl dessert is perfect for autumn and requires no apple peeling.
Ingredients
- 1 cup (226g) unsalted butter
- 2 cups (400g) dark brown sugar, packed
- ½ cup (100g) granulated sugar
- 2 large eggs, room temperature
- 2 teaspoons vanilla extract
- 2 cups (250g) all-purpose flour, spooned and leveled
- 1 teaspoon baking powder
- ½ teaspoon baking soda
- 1 teaspoon salt
- 1 teaspoon ground cinnamon
- 3 medium apples (Honeycrisp or Fuji), diced into ½-inch cubes
- Optional: ½ cup chopped walnuts or pecans
- Optional: ½ cup salted caramel sauce
Instructions
- Preheat oven to 350°F (175°C). Grease a 9×13 inch baking pan and line with parchment paper, leaving an overhang on the long sides.
- Melt butter in a medium saucepan over medium heat. Stir constantly until the butter foams, settles, and turns dark amber with a nutty aroma (about 5-7 minutes). Remove from heat and pour into a heat-safe bowl to cool for 5 minutes.
- To the cooled brown butter, add brown sugar and granulated sugar. Whisk vigorously for 2 minutes until glossy and slightly thickened.
- Add eggs one at a time, whisking well after each addition. Stir in vanilla extract.
- In a separate bowl, whisk together flour, baking powder, baking soda, salt, and cinnamon.
- Gradually add dry ingredients to wet ingredients, mixing on low speed or folding with a spatula until just combined. Do not overmix.
- Gently fold in diced apples and nuts (if using).
- Spread batter evenly into the prepared pan.
- Bake for 35-40 minutes, until edges are golden brown and a toothpick inserted into the center comes out with moist crumbs.
- Cool in the pan on a wire rack for at least 30 minutes before lifting out and cutting into squares.
Notes
Do not skip browning the butter as it provides the signature nutty flavor. Ensure the butter cools for 5 minutes before adding sugar to prevent a greasy texture. Do not overbake; the center should look slightly underdone as it will continue to cook in the pan. Store in an airtight container at room temperature for up to 3 days or in the fridge for up to 1 week.
- Prep Time: 15 minutes
- Cook Time: 40 minutes
- Category: Dessert
- Cuisine: American
Nutrition
- Serving Size: 1 square
- Calories: 280
- Sugar: 30
- Sodium: 180
- Fat: 12
- Saturated Fat: 7
- Carbohydrates: 42
- Fiber: 1
- Protein: 3
Keywords: brown butter, apple blondies, fall dessert, easy baking, one bowl dessert, autumn treats, chewy bars


