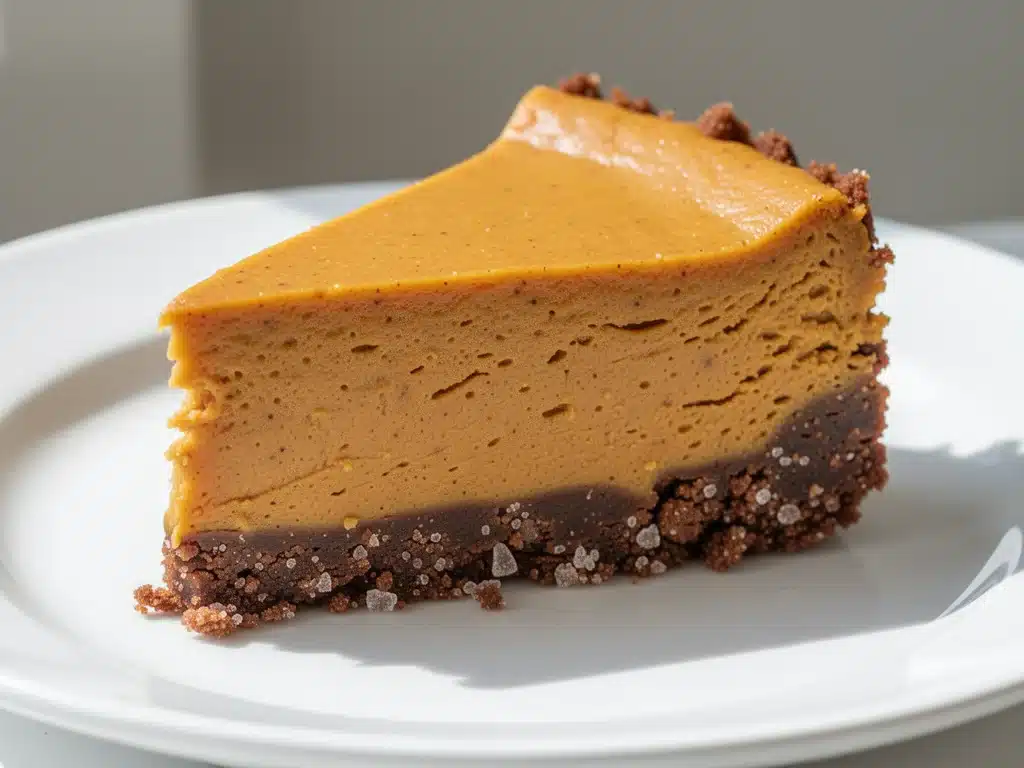
Last October, I made a tragic error in judgment. I had promised my in-laws a homemade dessert for our Thanksgiving gathering, and in my hubris, I decided to bake a pumpkin cheesecake from scratch. You know how it goes. I spent three hours mixing, baking, and waiting for it to cool. I was proud. I was tired. I was ready to present my masterpiece.
Then, the fridge broke.
Not literally, but it was stuck on “defrost” mode for a few hours while we waited for the repair guy. That warm-temperature window was enough to ruin the structural integrity of a baked cheesecake. It sagged. It wept. It looked like a sad, orange puddle on my counter. I ended up serving store-bought pumpkin pie with whipped cream from a can, and my mother-in-law was polite, but I was mortified.
That was my “never again” moment. I swore I’d stick to pies or brownies for holiday desserts. But then, a friend sent me a recipe for a no-bake pumpkin cheesecake. She said it was easier than making toast. I was skeptical. No-bake desserts usually feel like shortcuts, and shortcuts rarely taste like comfort. But desperate times call for desperate measures, and I needed a win.
I made it the next weekend. Just for me. I used a block of cream cheese, some real pumpkin puree (not that canned pumpkin pie filling nonsense), and a graham cracker crust that actually stayed crunchy. I took one bite, and I nearly cried. It was dense, creamy, spiced perfectly, and required zero oven time. It was the best thing I’d ever eaten.
Since then, I’ve made this no-bake pumpkin cheesecake at least six times. It’s become my secret weapon for fall gatherings, potlucks, and even just Tuesday nights when I want something fancy but don’t want to heat up my kitchen. It’s the kind of dessert that makes people ask for the recipe immediately, and then they’re shocked to find out it took less than 30 minutes of active work.
If you’re tired of burnt edges, cracked tops, or complicated baking steps, this is your answer. This no-bake pumpkin cheesecake is the easiest fall dessert you’ll ever make, and it tastes like autumn in a bowl.
Why You’ll Love This No-Bake Pumpkin Cheesecake
There are about ten reasons I keep making this, but here are the big ones that make it a permanent fixture in my fall rotation.
- Zero Baking Stress — Seriously. No water baths, no cracking tops, no guessing if it’s done. You mix, you press, you chill. If you can stir a bowl, you can make this. I’ve made this while watching TV, and it’s perfect every time.
- Real Pumpkin Flavor — Most pumpkin desserts taste like cinnamon sugar water. This one actually tastes like pumpkin. I use real pureed pumpkin, not pie filling, so the flavor is earthy, sweet, and authentic. It’s not overly sweet, which I love.
- Make-Ahead Friendly — This is my #1 reason for choosing it. You can make it two days in advance. In fact, it tastes better the next day because the flavors meld together. I make it on Sunday for a Wednesday dinner party, and it’s always ready to go.
- Crowd-Pleaser — I’ve served this to people who hate pumpkin spice lattes and people who eat it year-round. Everyone loves it. The cream cheese balances the spice, so it’s not too “pumpkin-y” for skeptics.
- Budget-Smart — You probably have most of these ingredients already. Graham crackers, cream cheese, sugar, spices. It’s cheaper than going out to dessert, and way better than any bakery version.
This is my go-to when I need a dessert that looks impressive but requires zero effort. No complicated techniques, no weird ingredients, just reliable, delicious food that makes everyone happy.
Ingredients You’ll Need for the Best No-Bake Pumpkin Cheesecake
Here’s the best part: you probably have most of this already. I’m particular about three ingredients here, and I’ll tell you exactly why.
For the Crust
Graham crackers (1 ½ cups / 150g, crushed) — I use regular honey graham crackers. They have just enough sweetness to balance the tart cream cheese. You can use digestive biscuits if you’re outside the US, but graham crackers are the classic choice. Don’t use the chocolate ones unless you want a dessert pizza vibe.
Unsalted butter (6 tablespoons / 85g, melted) — This binds the crust. I prefer unsalted so I can control the saltiness. Melt it in the microwave or a small saucepan. It needs to be liquid but not piping hot.
Granulated sugar (2 tablespoons / 25g) — Just a little bit to help the crust brown slightly and add crunch. Don’t skip it, but don’t add more or the crust will be too sweet.
Cinnamon (½ teaspoon) — A pinch in the crust adds warmth right from the first bite.
For the Filling
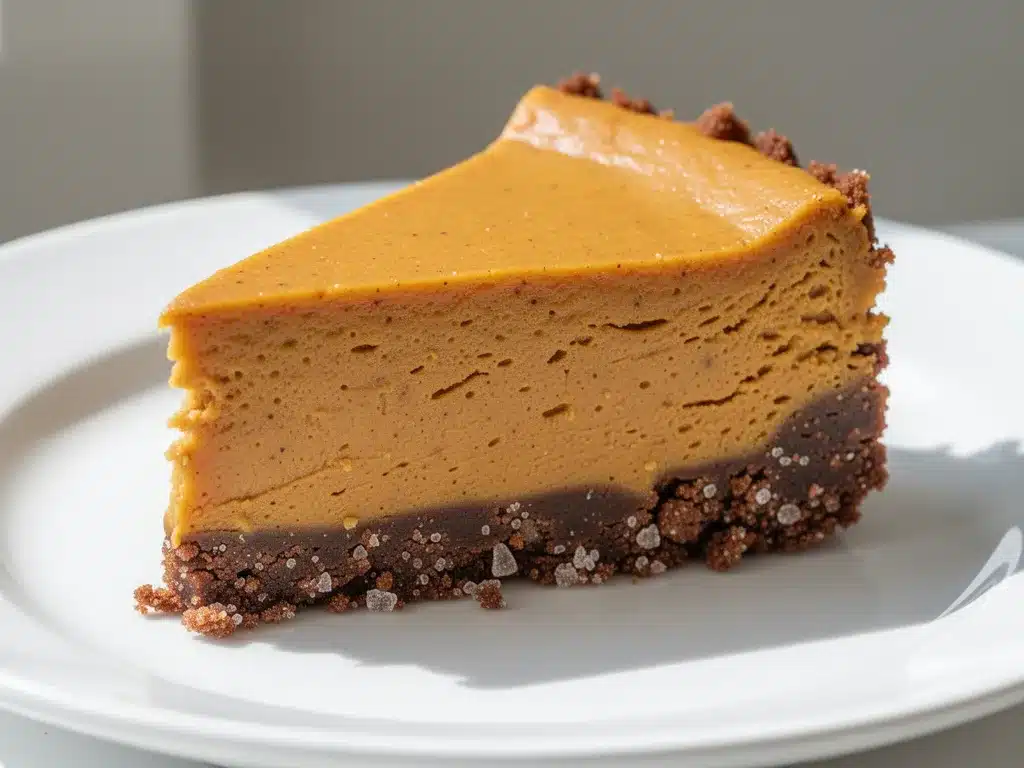
Full-fat cream cheese (24 ounces / 680g, 3 blocks) — This is the star. Do not use light cream cheese. It will be watery and won’t set properly. Let it sit on the counter for 30 minutes before you start. Cold cream cheese creates lumps, and nobody wants lumps in their cheesecake.
Heavy cream (1 cup / 240ml, cold) — This gives the cheesecake its airy, fluffy texture. If you whip it properly, it makes the filling light instead of dense. Use cold heavy cream, or it won’t whip.
Granulated sugar (1 cup / 200g) — This recipe is sweet, but not cloying. If you prefer less sweet, you can reduce to ¾ cup, but I find 1 cup is the perfect balance with the tart cream cheese.
Pure pumpkin puree (15 ounces / 425g, one can) — IMPORTANT: Make sure this is 100% pure pumpkin, NOT pumpkin pie filling. Pie filling has sugar and spices already added, which will throw off the balance. Look for “100% Pure Pumpkin” on the can.
Pumpkin pie spice (2 teaspoons) — This is a blend of cinnamon, ginger, nutmeg, and cloves. If you don’t have a blend, mix 1 tsp cinnamon, ½ tsp ginger, ¼ tsp nutmeg, and ¼ tsp cloves. Fresh spices make a huge difference.
Vanilla extract (2 teaspoons) — Real vanilla, please. I use pure vanilla extract, not imitation. It adds depth that balances the pumpkin.
Salt (½ teaspoon) — Salt is crucial. It makes the pumpkin flavor pop. Don’t skip it.
Equipment Needed
You don’t need fancy equipment for this. Here’s what I actually use.
Food processor or Ziploc bag + rolling pin — For crushing the graham crackers. A food processor takes 10 seconds. If you don’t have one, put crackers in a heavy Ziploc bag and smash them with a rolling pin or meat mallet. It’s therapeutic.
9-inch springform pan — This is the traditional pan for cheesecake. The sides come off, making it easy to slice and serve. If you don’t have a springform pan, you can use a 9-inch round cake pan, but lining it with parchment paper is essential for removal.
Electric mixer — Handheld or stand mixer. You need this to whip the heavy cream and beat the cream cheese smoothly. Doing this by arm is possible but painful. I’ve tried. Don’t try it.
Large mixing bowls — You’ll need one for the cream cheese mixture and one for whipping the cream. Two bowls keep things organized.
Rubber spatula — For folding the whipped cream into the pumpkin mixture. You want to keep the air in, so gentle folding is key.
Measuring cups and spoons — Standard stuff. Dollar store versions work fine.
How to Make It: Step-by-Step
Alright, let’s make this! I’m walking you through exactly how I do it, including the little tricks I’ve picked up.
Step 1: Prep Your Pan and Crust (10 minutes)
Line the bottom of your 9-inch springform pan with a circle of parchment paper. This is non-negotiable if you want clean slices later. Grease the sides lightly with butter or cooking spray.
In a food processor, pulse the graham crackers until they are fine crumbs. Add the melted butter, sugar, and cinnamon. Pulse again until the mixture looks like wet sand. Press this mixture firmly into the bottom of the prepared pan. Use the bottom of a measuring cup to pack it down tight. If the crust is loose, it will crumble when you slice it. Set the pan aside in the fridge while you make the filling.
Step 2: Beat the Cream Cheese (3-5 minutes)
In a large bowl, beat the softened cream cheese on medium-high speed until it is completely smooth and creamy. This is the most important step. Scrape down the sides and bottom of the bowl. If there are any lumps, they will show up in the final product. Add the sugar, pumpkin pie spice, vanilla, and salt. Beat until combined. The mixture will be thick and fluffy.
Step 3: Whip the Heavy Cream (3 minutes)
In a separate cold bowl, whip the cold heavy cream on high speed until stiff peaks form. This means when you lift the beaters, the cream stands up straight. Do not over-whip it into butter, but don’t under-whip it either. Stiff peaks are the goal.
Step 4: Fold It All Together (2 minutes)
Gently fold one-third of the whipped cream into the pumpkin cream cheese mixture to lighten it. Then, gently fold in the remaining whipped cream. Use a rubber spatula and cut down the middle, scoop across the bottom, and turn over. Do this gently to keep the air in the mixture. The filling should be pale orange, smooth, and airy.
Step 5: Chill and Set (4+ hours)
Spread the filling evenly over the crust. Smooth the top with your spatula. Cover the pan loosely with plastic wrap or foil. Refrigerate for at least 4 hours, but preferably overnight. This is the hardest part—waiting. But the longer it chills, the firmer it sets and the better the flavors meld.
Step 6: Garnish and Serve
When you’re ready to serve, run a warm knife around the edge of the springform pan and release the sides. Slice with a clean, sharp knife. Top with whipped cream, a sprinkle of cinnamon, or candied pecans. Enjoy!
Expert Tips & Tricks for Perfect No-Bake Cheesecake
Here’s everything I’ve learned from making this dozens of times. These tips will save you from my mistakes.
Softened Cream Cheese is Key
I cannot stress this enough. If your cream cheese is cold, you will get lumps. I take it out of the fridge 30-60 minutes before making the cheesecake. If I forget, I microwave it in 10-second bursts, checking between each, until it’s soft but not melted. Melted cream cheese will separate from the filling.
Don’t Skip the Parchment Paper
I learned this the hard way. Without parchment on the bottom, the crust sticks to the pan. When you lift the cheesecake out, the bottom crumbles off. It’s heartbreaking. Always line the bottom.
Whip the Cream Properly
If your whipped cream is too soft, the cheesecake will be runny. If it’s too stiff, it will be heavy. Aim for stiff peaks. Also, make sure your bowl is cold. A chilled bowl helps the cream whip faster and hold its shape.
Use Real Pumpkin, Not Pie Filling
I made this mistake once. I used pumpkin pie filling because I was lazy. The result was a cloyingly sweet, spice-overloaded mess. I had to throw it out. Always use 100% pure pumpkin puree. It’s neutral and lets the spices shine.
Chill Your Knife
For clean slices, dip your knife in hot water and wipe it dry between each cut. The heat helps the knife glide through the cold cheesecake without squishing it.
Variations & Substitutions
Once you’ve nailed the basic version, here’s how you can mix it up. I’ve tried all of these.
Cookie Crust Variation
Swap graham crackers for crushed Oreos (remove the filling for a chocolate crust) or vanilla wafers. Vanilla wafers make a milder, sweeter crust that’s great for kids.
Maple Pecan Version
Add ½ cup chopped pecans to the crust. In the filling, swap 2 tablespoons of the sugar for maple syrup. It adds a warm, autumnal depth that pairs perfectly with the pumpkin. This is my husband’s favorite version.
Lighter Version
Use light cream cheese and whip ¾ cup of heavy cream instead of 1 cup. It’s still good, but less rich. I make this when I’m trying to be “healthy,” but honestly, the full-fat version is worth the calories.
Dairy-Free Option
Use vegan cream cheese blocks (not tubs) and coconut cream instead of heavy cream. The texture will be different, but it’s still delicious. I’ve made this for my lactose-intolerant friend, and she loved it.
Gluten-Free
Use gluten-free graham crackers or almond flour for the crust. Everything else is naturally gluten-free. I’ve used gluten-free graham crackers, and they work great.
Other Fall Dessert Pairings
If you’re hosting a full fall dinner, this no-bake pumpkin cheesecake pairs beautifully with savory dishes. For example, if you’re serving slow cooker beef and barley stew for a hearty meal, this light dessert is a perfect contrast. Or if you’re making grandma’s bread pudding for a different occasion, this cheesecake offers a lighter, colder alternative.
Serving & Storage
How to Serve
I usually serve this straight from the springform pan. It looks rustic and impressive. But here are other ways I’ve enjoyed it:
- Classic — A dollop of whipped cream and a sprinkle of cinnamon.
- Earthy — Candied pecans or walnuts on top.
- Chocolate — Chocolate shavings or drizzled chocolate sauce.
- Fresh — A few fresh berries or sliced apples for color and crunch.
Wine Pairing: Not a wine expert, but my wine-snob friend says a late-harvest Riesling or a sweet Moscato works great with this. It cuts through the richness.
Storage Instructions
Refrigerator: Store in the springform pan, covered with plastic wrap or in an airtight container, for up to 5 days. It actually tastes better on day 2.
Freezing: Yes, you can freeze it! Wrap the whole cheesecake (in the pan) tightly in plastic wrap, then foil. Freeze for up to 2 months. Thaw in the fridge overnight before serving. Note: The texture might be slightly softer after freezing, but it’s still delicious.
Leftovers: If you have any left (unlikely), keep it in the fridge. It’s best eaten within 3 days for optimal texture.
Nutrition Information
I’m not a nutritionist, but here’s the breakdown if you’re tracking.
Per Serving (based on 12 slices):
| Nutrient | Amount |
|---|---|
| Calories | 380 |
| Protein | 6g |
| Carbs | 35g |
| Fiber | 1g |
| Sugar | 24g |
| Fat | 24g |
| Saturated Fat | 14g |
| Cholesterol | 70mg |
| Sodium | 280mg |
What’s Good: It’s a decent source of calcium from the cream cheese. Pumpkin adds some vitamin A.
What to Know: It’s higher in calories and sugar due to the cream cheese and sugar. But it’s a small slice dessert. When I want to make it lighter, I use the light cream cheese version and reduce the sugar. But usually? I just eat a reasonable portion and enjoy it.
Final Thoughts
So that’s my go-to no-bake pumpkin cheesecake! I’ve probably talked your ear off at this point, but when you make a recipe this often, you have a lot to say about it.
This has saved fall dinners more times than I can count. It’s my answer to “what’s for dessert” when I’m tired, don’t want to bake, and still want something that tastes really good. My kids are happy, my husband’s happy, and I’m happy because I’m not stressed about cooking.
Make it yours! Try different toppings, swap in your favorite nuts, adjust the spices. The best recipes are the ones you adapt to your family’s tastes. If you make this, drop a comment and let me know what you think! I love hearing how recipes turn out in your kitchen. And if something doesn’t work, tell me that too—I’m here to help troubleshoot.
Happy cooking! And I hope your kitchen smells half as good as mine does right now.
Frequently Asked Questions
Can I use canned pumpkin pie filling instead of pure pumpkin?
No, I strongly advise against it. Pumpkin pie filling already contains sugar, spices, and thickeners. If you use it, your cheesecake will be overly sweet, overly spiced, and likely won’t set properly. Always use 100% pure pumpkin puree. It’s the same stuff used for pumpkin pie, just without the added ingredients.
Why is my cheesecake runny?
Usually, this means either the cream cheese wasn’t soft enough (creating lumps that don’t bind), the whipped cream was under-whipped, or it didn’t chill long enough. Make sure you chill it for at least 4 hours, preferably overnight. If it’s still runny after chilling, the cream cheese might have been too warm when mixed. Next time, ensure everything is at room temp (cream cheese) or cold (cream) as specified.
Can I make this in a different size pan?
You can, but the thickness will change. If you use a 9-inch round cake pan without a springform, you’ll need to line it well with parchment. If you use a smaller pan, the cheesecake will be taller and may need more chilling time. If you use a larger pan, it will be thinner and might not set as firmly. Stick to 9-inch for best results.
How do I get clean slices?
Use a sharp knife. Dip it in hot water, wipe it dry, and cut. Wipe between cuts. This prevents the cold cheesecake from sticking to the blade and getting messy. Also, make sure the cheesecake is fully chilled. A warm cheesecake will smear.
Can I make this without a springform pan?
Yes. Use a 9-inch round cake pan. Line the bottom and sides with parchment paper, leaving an overhang on two sides. This “slingshot” effect lets you lift the whole cheesecake out once it’s set. Just be careful when slicing, as the sides won’t release.
Does this no-bake pumpkin cheesecake freeze well?
Yes, surprisingly well. Wrap the whole cheesecake tightly in plastic wrap and then foil. Freeze for up to 2 months. Thaw in the fridge overnight. The texture might be slightly softer, but the flavor remains excellent. Do not freeze with toppings like whipped cream or nuts; add those after thawing.
Pin This Recipe!
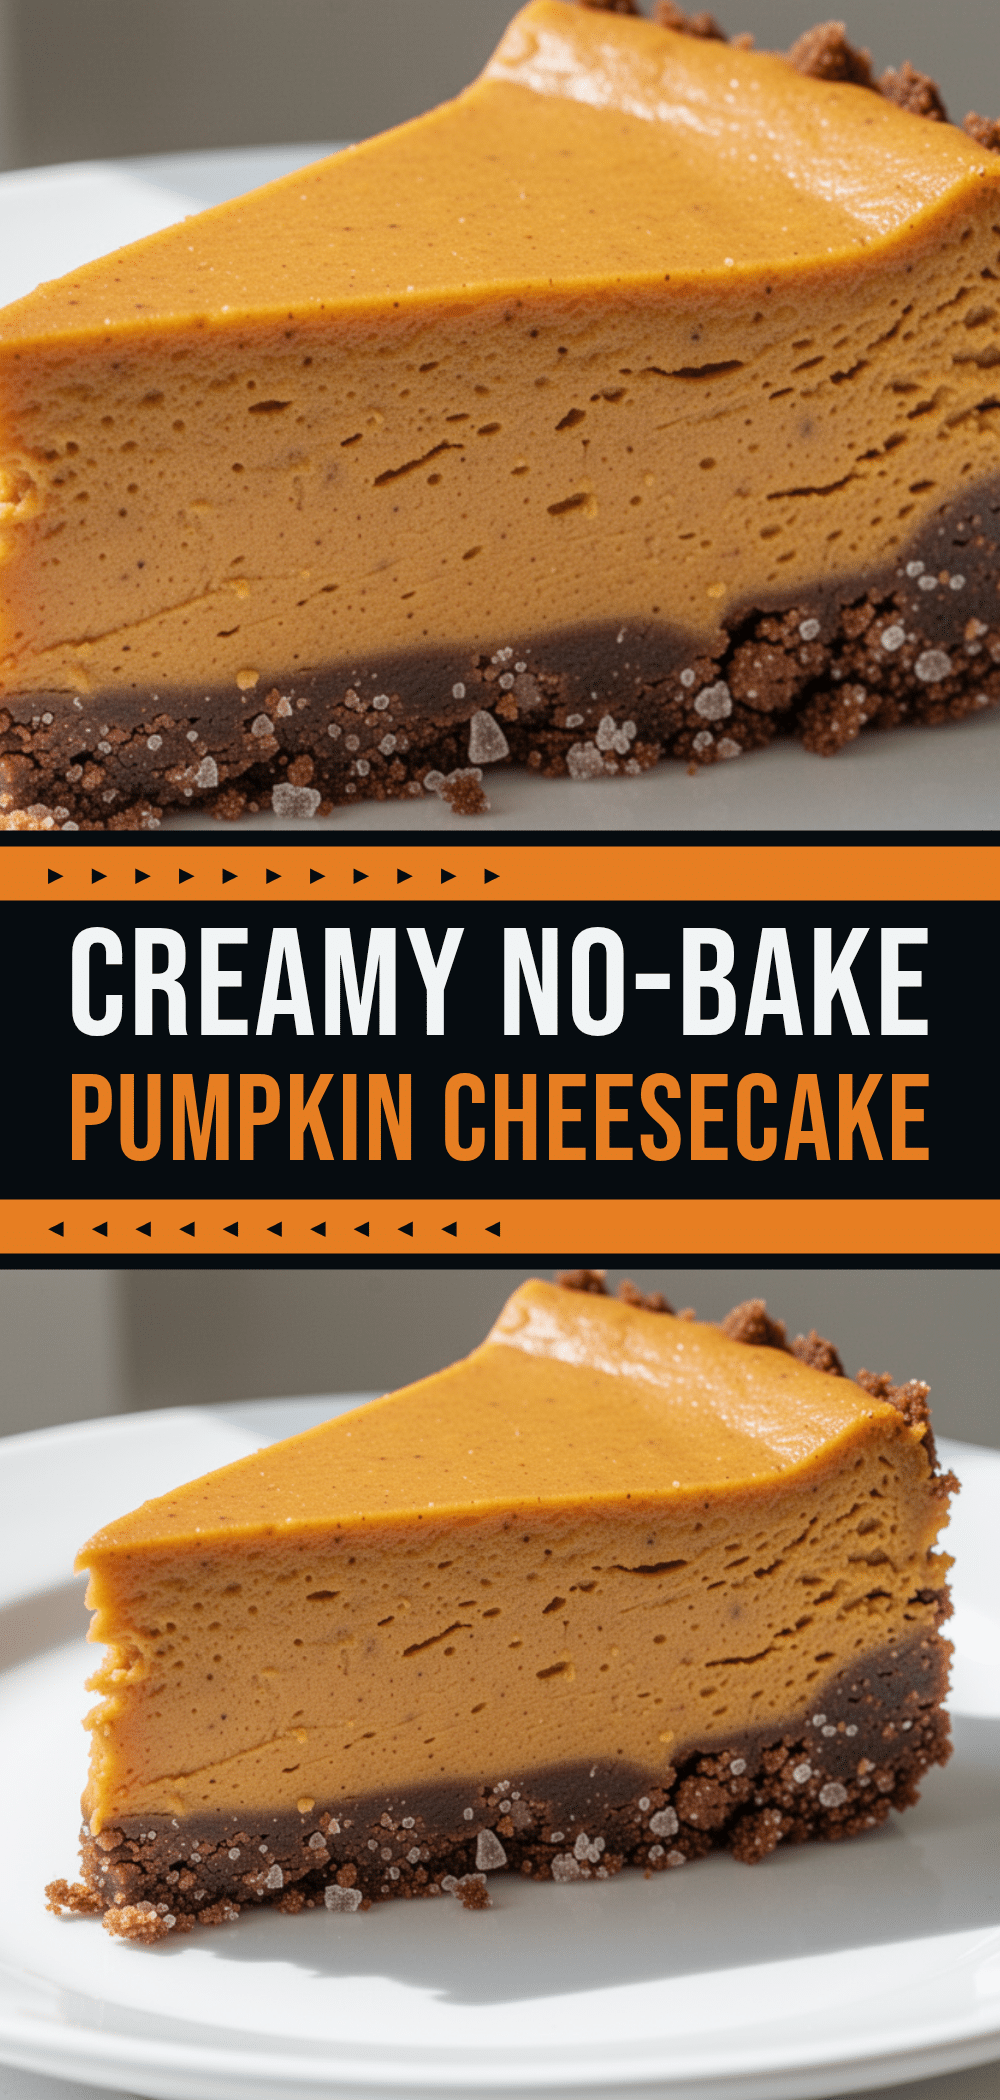
No-Bake Pumpkin Cheesecake: Easy Fall Dessert
- Total Time: 4 hours 15 minutes
- Yield: 12 servings 1x
Description
A creamy, dense, and spiced no-bake pumpkin cheesecake that requires zero oven time. Made with real pumpkin puree and a crunchy graham cracker crust, this dessert is perfect for fall gatherings and can be made ahead of time.
Ingredients
- 1 ½ cups (150g) graham crackers, crushed
- 6 tablespoons (85g) unsalted butter, melted
- 2 tablespoons (25g) granulated sugar
- ½ teaspoon cinnamon
- 24 ounces (680g) full-fat cream cheese, softened
- 1 cup (240ml) heavy cream, cold
- 1 cup (200g) granulated sugar
- 15 ounces (425g) pure pumpkin puree
- 2 teaspoons pumpkin pie spice
- 2 teaspoons vanilla extract
- ½ teaspoon salt
Instructions
- Line the bottom of a 9-inch springform pan with parchment paper and grease the sides lightly.
- Pulse graham crackers in a food processor until fine. Add melted butter, sugar, and cinnamon; pulse until mixture resembles wet sand.
- Press the crust mixture firmly into the bottom of the prepared pan. Refrigerate while making the filling.
- In a large bowl, beat softened cream cheese on medium-high speed until smooth. Scrape down sides and bottom.
- Add 2 tablespoons sugar, pumpkin pie spice, vanilla, and salt to the cream cheese. Beat until combined and fluffy.
- In a separate cold bowl, whip cold heavy cream on high speed until stiff peaks form.
- Gently fold one-third of the whipped cream into the pumpkin cream cheese mixture to lighten it.
- Fold in the remaining whipped cream gently until the filling is pale orange, smooth, and airy.
- Spread the filling evenly over the crust. Smooth the top.
- Cover loosely with plastic wrap or foil and refrigerate for at least 4 hours, preferably overnight.
- To serve, run a warm knife around the edge, release the springform sides, and slice with a clean, sharp knife.
Notes
Ensure cream cheese is softened to room temperature to avoid lumps. Use 100% pure pumpkin puree, not pumpkin pie filling. For clean slices, dip a sharp knife in hot water and wipe dry between cuts. The cheesecake tastes better after chilling overnight.
- Prep Time: 15 minutes
- Cook Time: 0 minutes
- Category: Dessert
- Cuisine: American
Nutrition
- Serving Size: 1 slice
- Calories: 380
- Sugar: 24
- Sodium: 280
- Fat: 24
- Saturated Fat: 14
- Carbohydrates: 35
- Fiber: 1
- Protein: 6
Keywords: no-bake, pumpkin cheesecake, fall dessert, easy dessert, make-ahead dessert, gluten-free option, dairy-free option


