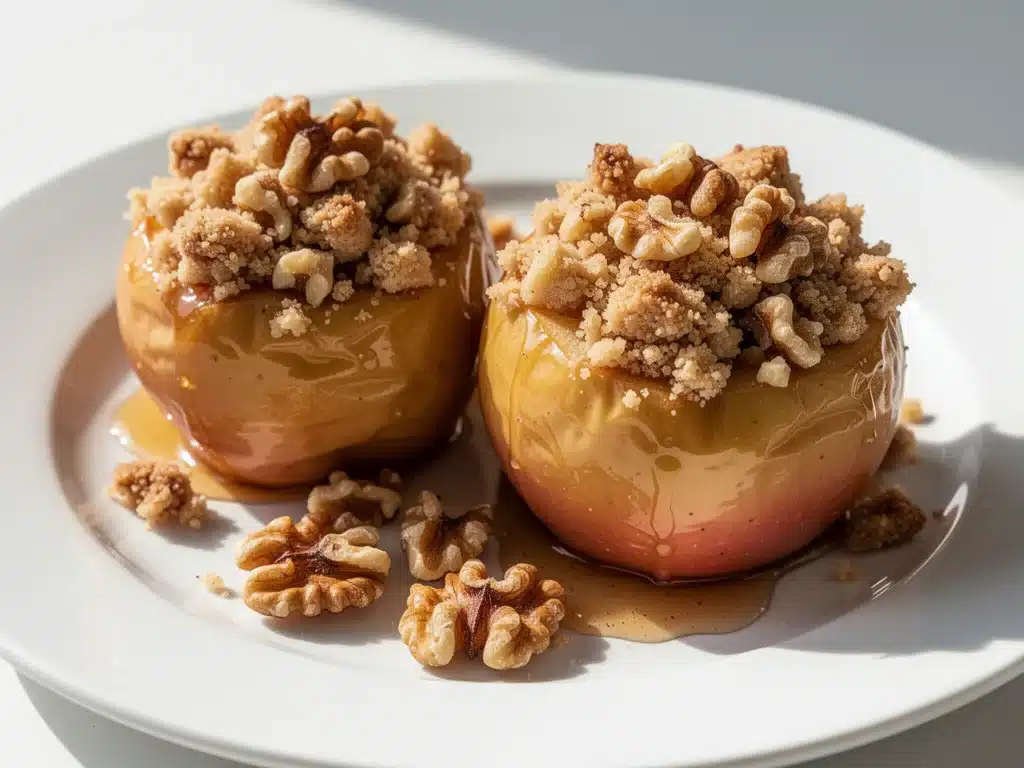
I have a confession to make: I used to think baked apples were the culinary equivalent of a warm hug from a grandmother you don’t particularly like. You know the type—the well-meaning but slightly overbearing aunt who serves you something that’s technically “homemade” but tastes like it spent three hours in the oven waiting for permission to be good. For years, I avoided them. They felt like a chore. Peeling? Stuffing? Watching them slowly collapse? It felt like work.
Then came last October. I was visiting my sister in Vermont, where the air actually smells like woodsmoke and decayed leaves (in the best way possible). It was raining, cold enough to need a jacket indoors, and I was stuck inside because the rain had washed out our hike. We were looking for something to make the kitchen feel alive. My sister pulled out four shiny Honeycrisp apples, a bottle of pure maple syrup, and a jar of cinnamon. She didn’t have a fancy recipe. She just said, “Let’s see what happens.”
We threw them in the oven and went back to reading. Twenty minutes later, the entire house smelled like a bakery had exploded in the best way possible. When we pulled them out, the apples were tender but holding their shape, oozing with golden syrup and spiced brown sugar. I took one bite, and honestly? I was wrong. So, so wrong. These weren’t the mushy, bland sides of my childhood. They were vibrant, sweet, tart, and deeply comforting.
That weekend, I ate three of them. Just three. In two days. That’s when I realized that Maple Cinnamon Baked Apples aren’t just a dessert; they’re a mood. They’re the taste of cozy fall evenings, rainy Sundays, and the kind of comfort that doesn’t require a lot of effort but gives you a lot of love. I’ve made this recipe at least a dozen times since then—sometimes as a standalone treat with a dollop of whipped cream, sometimes alongside a hearty slow cooker beef and barley stew to round out a cold dinner. It’s become my go-to way to use up apples that are starting to get a little soft, and I’m sharing the exact method I’ve perfected.
Why You’ll Love This Cozy Fall Dessert
There are about ten reasons I keep coming back to this recipe, but let’s be real: you’re probably here because you want something easy, delicious, and that makes your house smell amazing without you having to stand over a stove. Here’s why this Maple Cinnamon Baked Apples recipe has earned a permanent spot in my rotation:
Stupid Simple — Seriously, if you can scoop out the center of an apple, you can make this. There’s no fancy piping, no delicate tempering of chocolate, no waiting for yeast to rise. I’ve made this while on a conference call (with the camera off). It’s that low-maintenance.
Lightning Fast — You’re looking at about 45 minutes from start to finish, and only 10 of those are active. The rest is just the oven doing the heavy lifting. I make this on weeknights when I want a treat but don’t want to be in the kitchen all evening.
Pantry-Friendly — You probably have everything you need right now. Apples, butter, brown sugar, cinnamon, and maple syrup. If you have those, you’re good. I keep maple syrup stocked specifically for this because it’s the secret weapon that elevates it from “cinnamon sugar” to “gourmet.”
Crowd-Pleaser — I’ve served these to my vegan friends (just swap the butter), my sugar-conscious parents (reduce the sugar slightly), and my kids who usually only eat chicken nuggets. Everyone loves them. They feel fancy enough for dinner guests but casual enough for a Tuesday night snack.
Makes Amazing Leftovers — The next day, the flavors meld even more. I actually prefer the leftovers, served cold or room temperature with a splash of cold milk. It’s like an apple pie filling without the crust hassle.
Budget-Smart — Apples are cheap in the fall. You can get a bag of Honeycrisp or Gala for $5-6 and make four substantial desserts. That’s less than a dollar per serving. Compare that to a slice of apple pie at a cafe, and you’re saving serious cash.
This is my go-to when I need dessert to just work. No complicated techniques, no weird ingredients, just reliable, delicious food that makes everyone happy.
Ingredients You’ll Need
Here’s the best part: this recipe is short, sweet, and uses ingredients that don’t require a trip to a specialty store. I’m particular about two things here—the apple choice and the maple syrup—and I’ll tell you exactly why.
Apples (4 large, firm varieties) — This is the most important choice. I recommend Honeycrisp, Gala, or Pink Lady. You want apples that hold their shape when baked. If you use Red Delicious, they’ll turn into applesauce in the oven. If you use Granny Smith, they’ll be too tart for this sweet filling. Honeycrisp is my personal favorite because it’s sweet, tart, and stays firm.
Unsalted Butter (4 tablespoons / 60g) — I use unsalted so I can control the salt level. Softened works best for mixing with the sugar. I like to use a good quality butter like Kerrygold or Land O’Lakes. It makes a noticeable difference in flavor.
Brown Sugar (½ cup / 100g) — Light or dark brown sugar both work. Dark brown has a deeper molasses flavor, which pairs beautifully with the maple. I usually have light brown on hand, so that’s what I use. Packed tightly when you measure it.
Cinnamon (1 teaspoon) — Ground cinnamon is standard here. I use McCormick, but any good quality ground cinnamon works. Don’t use stale cinnamon; if it’s been in your cabinet for two years, toss it. It won’t have enough flavor.
Maple Syrup (2 tablespoons) — This is the star. Use 100% pure maple syrup. Not “pancake syrup” or “maple-flavored syrup” which is mostly corn syrup. Real maple syrup adds a complex, woodsy sweetness that brown sugar alone can’t achieve. I keep a bottle of Kirkland Signature pure maple syrup because it’s affordable and high quality.
Vanilla Extract (1 teaspoon) — Just a splash to round out the flavors. Pure vanilla extract, not imitation. If you don’t have vanilla, it’s okay, but it adds a nice depth.
Pinch of Salt — A tiny pinch to balance the sweetness. It’s crucial. Sweet things need salt to pop.
Optional Add-ins:
- Chopped Walnuts or Pecans (¼ cup) — Adds crunch and richness. I toast them in the pan first for extra flavor, but raw works too.
- Chopped Raisins or Cranberries (2 tablespoons) — Adds chewiness and tartness. Good if you want a more “stuffing-like” texture.
- Oatmeal (2 tablespoons) — If you want a bit more texture and a heartier feel, mix some rolled oats into the filling.
Personal Tips:
- Apple Prep: I use an apple corer if I have one, but a sharp paring knife works fine. Just cut a cone shape out of the top.
- Maple Syrup Sub: If you absolutely don’t have maple syrup, use extra brown sugar and a teaspoon of molasses. It’s not the same, but it’s close.
- Storage: Maple syrup keeps forever in the pantry. Apples keep in the fridge for 4-6 weeks if stored properly.
Equipment Needed
You don’t need fancy equipment for this. Here’s what I actually use.
Baking Dish — I use a 9×9 inch square baking dish, or a small 8-cup casserole dish. It needs to be deep enough to hold the apples and catch any syrup that bubbles over. Glass or ceramic works best because it heats evenly. I have an old Pyrex dish that’s stained but perfect for this.
Spoon — A small spoon (like a teaspoon or melon baller) to scoop out the cores. A regular tablespoon works if you’re careful.
Mixing Bowl — Small bowl to mix the butter, sugar, cinnamon, and maple syrup. Any bowl will do.
Pastry Brush — Optional, but nice for brushing the tops of the apples with a little extra maple syrup before baking. Gives them a nice glaze.
Knife — Sharp paring knife for coring the apples. Dull knives slip and are dangerous. Learn this the hard way.
Measuring Spoons and Cup — Standard stuff. Dollar store versions work fine.
Optional but nice:
- Apple Corer — Those metal tools that twist out the core. Makes it super fast and clean. I bought mine for $5 and use it constantly.
- Small Whisk — For mixing the filling if it’s too thick. But a fork works fine.
How to Make It: Step-by-Step
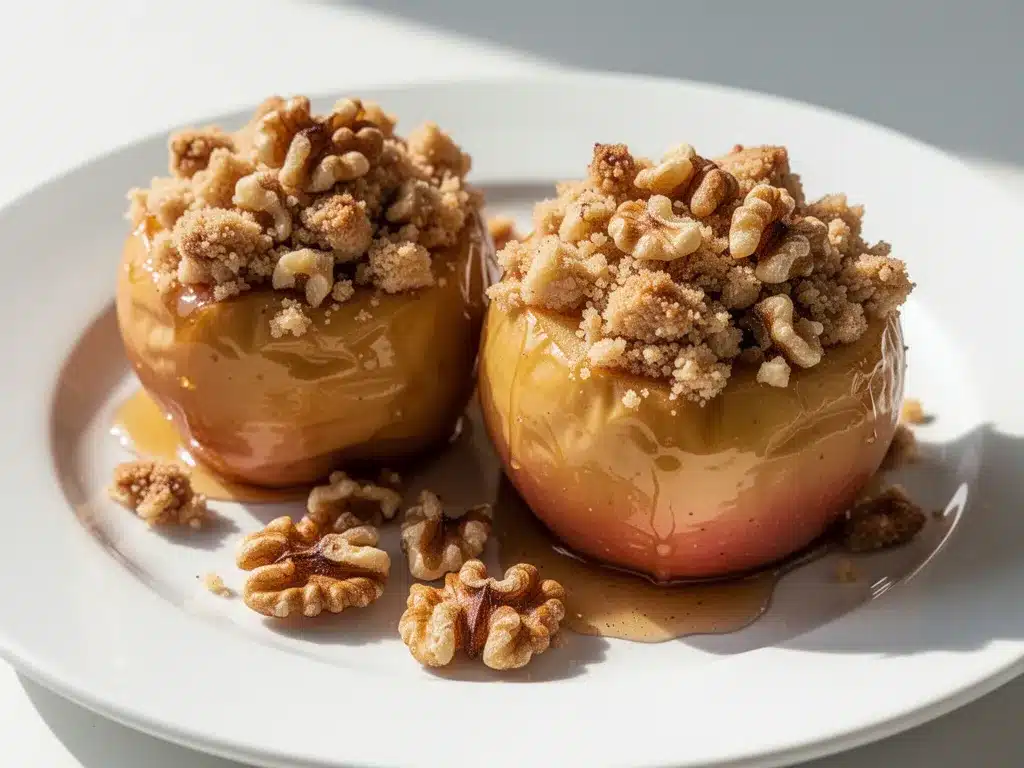
Alright, let’s make this! I’m walking you through exactly how I do it, including the little tricks I’ve picked up.
Step 1: Prep Your Oven and Apples (5 minutes)
Preheat your oven to 375°F (190°C). This is the sweet spot—hot enough to cook the apples through but not so hot that the sugar burns. While the oven heats, wash your apples thoroughly. Pat them dry. Use a sharp paring knife to cut a cone-shaped lid out of the top of each apple, about 1 inch wide. Be careful not to cut all the way through to the bottom. You want to create a little cup.
Step 2: Core the Apples (5 minutes)
Using a small spoon or an apple corer, scoop out the seeds and core from the center of each apple. You want to create a hollow space about ¾ inch wide and 1 inch deep. Don’t worry if it’s not perfect; it’s rustic. Just make sure you don’t poke a hole in the bottom. If you do, you’ll lose all the syrup. I’ve done this once. It was a mess. Learn from my mistake.
Step 3: Mix the Filling (2 minutes)
In a small bowl, combine the softened butter, brown sugar, cinnamon, maple syrup, vanilla, and salt. Mix it until it looks like wet sand. If you’re adding nuts or dried fruit, fold them in now. The mixture should be sticky and fragrant. If it’s too dry, add a teaspoon more maple syrup. If it’s too wet, add a bit more brown sugar.
Step 4: Stuff the Apples (3 minutes)
Place the cored apples in your baking dish. They should fit snugly. Spoon the filling mixture into the center of each apple, packing it in gently. You want to fill the hole completely. Don’t be shy with the filling—it’s the best part. Drizzle any leftover mixture from the bowl over the tops of the apples.
Step 5: Bake Until Tender (30-40 minutes)
Place the dish in the preheated oven. Bake for 30-40 minutes. You’ll know they’re done when a knife inserted into the side of the apple goes in easily, like butter. The tops should be golden brown, and the syrup should be bubbling around the edges. If the tops are browning too fast, cover them loosely with foil for the last 10 minutes. I usually check at 30 minutes and then again at 35.
Step 6: Cool and Serve (5 minutes)
Remove the dish from the oven and let the apples cool for 5 minutes. This allows the syrup to thicken slightly. If you serve them immediately, the syrup will be very runny. Letting them rest makes them easier to eat and the flavors settle. Serve warm, topped with a dollop of whipped cream or a scoop of vanilla ice cream if you’re feeling indulgent.
Total Time: About 45 minutes (15 minutes active, 30 minutes hands-off)
Expert Tips & Tricks
Here’s everything I’ve learned from making this dozens of times. These tips will save you from my mistakes.
Choose the Right Apple
I can’t stress this enough. Honeycrisp, Gala, or Pink Lady. Avoid Red Delicious (too mealy) and Granny Smith (too tart for this sweet recipe). If you use a mix, that’s fine, but stick to firm varieties. I once used Fuji apples and they turned to mush. Not pretty. Not tasty.
Don’t Skip the Salt
Your filling should have a pinch of salt. It balances the sweetness of the maple and brown sugar. Without it, the dessert tastes one-dimensional and cloying. I use about ¼ teaspoon for four apples.
Softened Butter is Key
If your butter is cold, it won’t mix well with the sugar. Leave it out for 15 minutes before you start. If you forget, microwave it for 5 seconds. It should be soft but not melted.
Watch the Oven
Ovens vary. My oven runs hot, so I check at 30 minutes. If your oven runs cool, it might take 45 minutes. The knife test is your best friend. If the knife goes in with no resistance, they’re done.
Common Mistakes (and how to avoid them):
- Mistake: Apples are hard in the center Fix: Bake longer. Or, cover with foil to trap steam and soften them faster.
- Mistake: Syrup is too thin Fix: Reduce the maple syrup by 1 tablespoon. Or, let them cool longer.
- Mistake: Toppings are burnt Fix: Cover with foil for the last 10 minutes of baking.
Pro Tricks I’ve Learned:
- For Extra Flavor Toast the nuts in the filling mixture in a dry pan for 2 minutes before stuffing. It brings out the oils.
- For Better Texture Toss the apples in a little lemon juice before coring to prevent browning. It keeps them looking fresh.
- Make-Ahead Strategy You can core and stuff the apples up to 4 hours ahead. Store them covered in the fridge. Bake when you’re ready. Just add 5-10 minutes to the baking time since they’re cold.
Variations & Substitutions
Once you’ve nailed the basic version, here’s how you can mix it up. I’ve tried all of these.
Spiced Apple Cider Version
Add 1 tablespoon of apple cider vinegar to the filling. It adds a tangy brightness that cuts the sweetness. It’s subtle but amazing.
Nutty Crunch
Add ¼ cup of chopped pecans or walnuts to the filling. I like to toast them first. It adds a nice contrast to the soft apples.
Chai Spice
Swap the cinnamon for 1 teaspoon of chai spice mix. It adds cardamom, ginger, and cloves. It’s warm and complex.
Lighter Version
Reduce the brown sugar to ¼ cup and use 2 tablespoons of maple syrup. It’s less sweet but still flavorful. I make this when I’m trying to be “healthy,” though let’s be honest, it’s still dessert.
Chocolate Lover’s
Add 2 tablespoons of dark chocolate chips to the filling. They melt into pockets of chocolate. My kids love this version.
Dietary Modifications:
- Gluten-Free — This recipe is naturally gluten-free. Just make sure your maple syrup and spices are certified gluten-free if you’re sensitive.
- Dairy-Free — Replace the butter with coconut oil or a dairy-free butter alternative. It works well.
- Vegan — Use dairy-free butter and check your maple syrup (most are vegan). Everything else is plant-based.
Serving & Storage
How to Serve:
I usually serve these straight from the baking dish at the dinner table—it looks rustic and stays warm. But here are other ways I’ve enjoyed them:
- With Whipped Cream — A dollop of freshly whipped cream is classic. I use a can of Reddi-wip when I’m lazy, but homemade is better.
- With Ice Cream — Vanilla bean ice cream is perfect. The cold contrasts with the hot apples.
- With Yogurt — Greek yogurt adds protein and tang. Good for breakfast or a lighter snack.
Side Dishes:
These pair well with savory dishes. I serve them alongside maple bourbon ribs for a fall-themed dinner party. Or with a simple green salad to balance the sweetness.
Storage Instructions:
Refrigerator: Store in an airtight container for up to 3 days. The apples will continue to soften. The syrup will thicken.
Reheating: Best method: Microwave for 1-2 minutes until warm. Or, reheat in a 350°F oven for 10 minutes. Add a splash of water if the syrup is too thick.
Freezing: Honestly, these don’t freeze well. The texture of the apples gets mushy when thawed. Make them fresh or store in the fridge for up to 3 days.
Nutrition Information
I’m not a nutritionist, but here’s the breakdown if you’re tracking.
Per Serving (based on 4 servings):
- Calories: 220
- Protein: 1g
- Carbs: 38g
- Fiber: 4g
- Sugar: 32g
- Fat: 8g
- Saturated Fat: 5g
- Cholesterol: 20mg
- Sodium: 10mg
- Calcium: 15mg
What’s Good:
- Decent fiber from the apples
- Vitamins A and C
- Antioxidants from the cinnamon and apples
- More filling than it looks
What to Know:
- Higher in sugar from the brown sugar and maple syrup
- Contains dairy (unless modified)
- Moderate calories, but it’s a small portion
My Take:
Look, this is dessert with sugar and butter. It’s not a diet recipe. But it’s way better than takeout, costs less, and I know exactly what’s in it. When I want to make it lighter, I reduce the sugar and use dairy-free butter. But usually? I just eat one apple and enjoy it.
Final Thoughts
So that’s my Maple Cinnamon Baked Apples! I’ve probably talked your ear off at this point, but when you make a recipe this often, you have a lot to say about it.
This has saved dessert nights more times than I can count. It’s my answer to “what’s for dessert” when I’m tired, don’t want to bake a cake, and still want something that tastes really good. My kids are happy, my husband’s happy, and I’m happy because I’m not stressed about cooking.
Make it yours! Try different add-ins, swap in your favorite nuts, adjust the cinnamon (though more is always better in my opinion). The best recipes are the ones you adapt to your family’s tastes.
If you make this, drop a comment and let me know what you think! I love hearing how recipes turn out in your kitchen. And if something doesn’t work, tell me that too—I’m here to help troubleshoot.
Happy cooking! And I hope your kitchen smells half as good as mine does right now.
Frequently Asked Questions
Q: Can I use different types of apples?
A: You can, but stick to firm varieties. Honeycrisp, Gala, Pink Lady, and Fuji are all good choices. Avoid Red Delicious (too mealy) and Granny Smith (too tart for this sweet recipe). If you use a mix, that’s fine, but make sure they’re all firm.
Q: My syrup came out watery—what happened?
A: Usually means you didn’t bake them long enough, or you used too much maple syrup. Let them bake for the full 40 minutes. If it’s already watery, you can broil them for 1-2 minutes to reduce the syrup, but watch closely so it doesn’t burn.
Q: Can I make this ahead for a dinner party?
A: Yes! Core and stuff the apples up to 4 hours ahead. Store them covered in the fridge. Bake when you’re ready. Just add 5-10 minutes to the baking time since they’re cold. This is great for stress-free entertaining.
Q: Why did my apples turn to mush?
A: You probably used the wrong type of apple. Red Delicious and McIntosh apples break down easily. Use firm apples like Honeycrisp or Gala. Also, don’t overbake them. They should be tender but still hold their shape.
Q: Can I use brown sugar instead of white sugar?
A: Absolutely! Brown sugar is actually better here because it has molasses, which pairs well with maple and cinnamon. White sugar works, but brown sugar adds more depth and flavor.
Q: How do I reheat leftovers without them getting dry?
A: Add a splash of water or apple cider to the dish before reheating. Microwave for 1-2 minutes, or reheat in a 350°F oven for 10 minutes. The extra liquid keeps them moist.
Q: Can I double this recipe?
A: Yes! Double everything and use a larger baking dish (like a 9×13 inch pan). The cooking time will stay the same, but you might need to check them a few minutes earlier since they’re closer together.
Pin This Recipe!
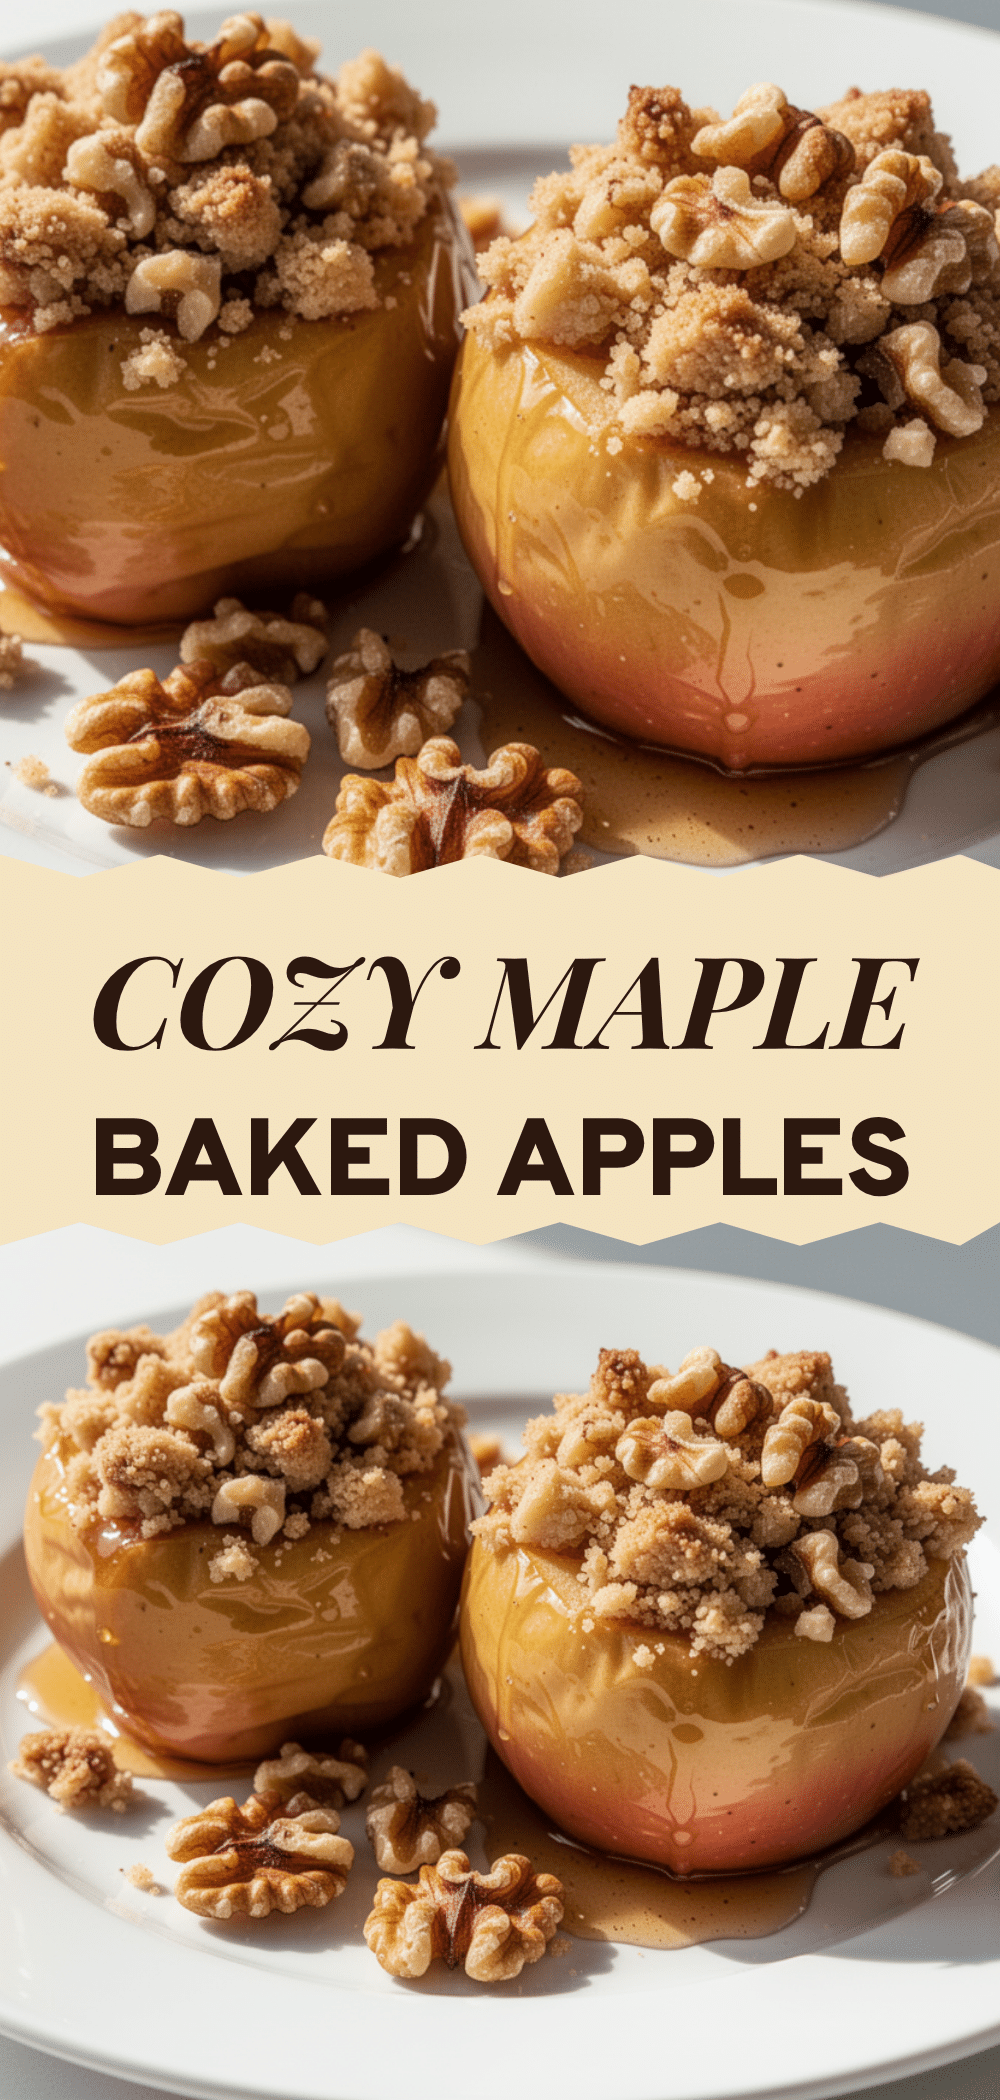
Maple Cinnamon Baked Apples: 5-Step Cozy Fall Dessert
- Total Time: 45 minutes
- Yield: 4 servings 1x
Description
A simple, cozy fall dessert featuring firm apples baked with a sweet filling of brown sugar, cinnamon, butter, and pure maple syrup. This recipe is easy to make, pantry-friendly, and delivers a comforting, gourmet taste.
Ingredients
- 4 large firm apples (Honeycrisp, Gala, or Pink Lady recommended)
- 4 tablespoons unsalted butter, softened
- ½ cup brown sugar (light or dark), packed
- 1 teaspoon ground cinnamon
- 2 tablespoons pure maple syrup
- 1 teaspoon vanilla extract
- Pinch of salt
- Optional: ¼ cup chopped walnuts or pecans
- Optional: 2 tablespoons chopped raisins or cranberries
- Optional: 2 tablespoons rolled oats
Instructions
- Preheat oven to 375°F (190°C). Wash and dry the apples.
- Using a sharp paring knife, cut a cone-shaped lid out of the top of each apple to create a cup.
- Scoop out the seeds and core from the center of each apple to create a hollow space about ¾ inch wide and 1 inch deep, being careful not to poke a hole in the bottom.
- In a small bowl, mix the softened butter, brown sugar, cinnamon, maple syrup, vanilla, and salt until combined like wet sand. Fold in optional nuts or dried fruit if using.
- Place the cored apples snugly in a 9×9 inch baking dish or small casserole dish.
- Spoon the filling mixture into the center of each apple, packing it in gently. Drizzle any leftover mixture over the tops.
- Bake for 30-40 minutes, or until a knife inserted into the side of the apple goes in easily and the tops are golden brown.
- If the tops brown too quickly, cover loosely with foil for the last 10 minutes.
- Remove from oven and let cool for 5 minutes to allow syrup to thicken before serving.
Notes
Choose firm apples like Honeycrisp, Gala, or Pink Lady to prevent them from turning to mush. Avoid Red Delicious or Granny Smith for this specific sweet recipe. Ensure butter is softened for easy mixing. For make-ahead, core and stuff apples up to 4 hours in advance and refrigerate; add 5-10 minutes to baking time if baking from cold. Leftovers can be stored in the refrigerator for up to 3 days.
- Prep Time: 15 minutes
- Cook Time: 30 minutes
- Category: Dessert
- Cuisine: American
Nutrition
- Serving Size: 1 baked apple
- Calories: 220
- Sugar: 32
- Sodium: 10
- Fat: 8
- Saturated Fat: 5
- Carbohydrates: 38
- Fiber: 4
- Protein: 1
Keywords: baked apples, maple cinnamon apples, fall dessert, easy dessert, cozy fall recipes, gluten-free dessert, vegan dessert option


