Last October, I stood in the freezer aisle of my local grocery store, staring at a box of “keto-friendly” pumpkin bars. They cost eight dollars. Eight dollars! For four sad, rubbery squares that tasted like cardboard and regret. I was tired. I had just finished a twelve-hour shift, and all I wanted was something sweet that didn’t blow up my blood sugar or empty my bank account.
I bought them anyway. And I hated every bite. But here’s the thing about being on a low-carb lifestyle: you get lonely. You miss the comfort of dessert. You miss the ritual of sitting down with a slice of something rich and spiced, especially when the air starts to get crisp and the leaves start to turn.
So, I came home and decided to make my own. I didn’t have a fancy mixer. I didn’t have a springform pan that was big enough for the whole family. I had a handful of mason jars, some cream cheese, pumpkin puree, and a stubborn refusal to eat dry, flavorless “diet” food.
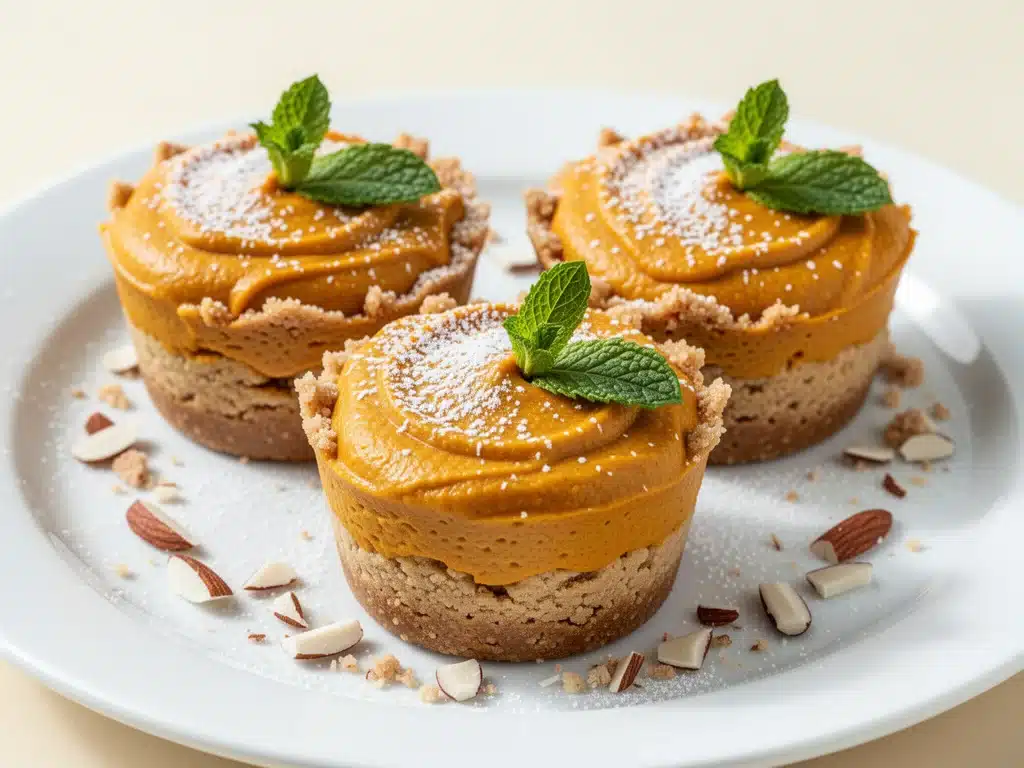
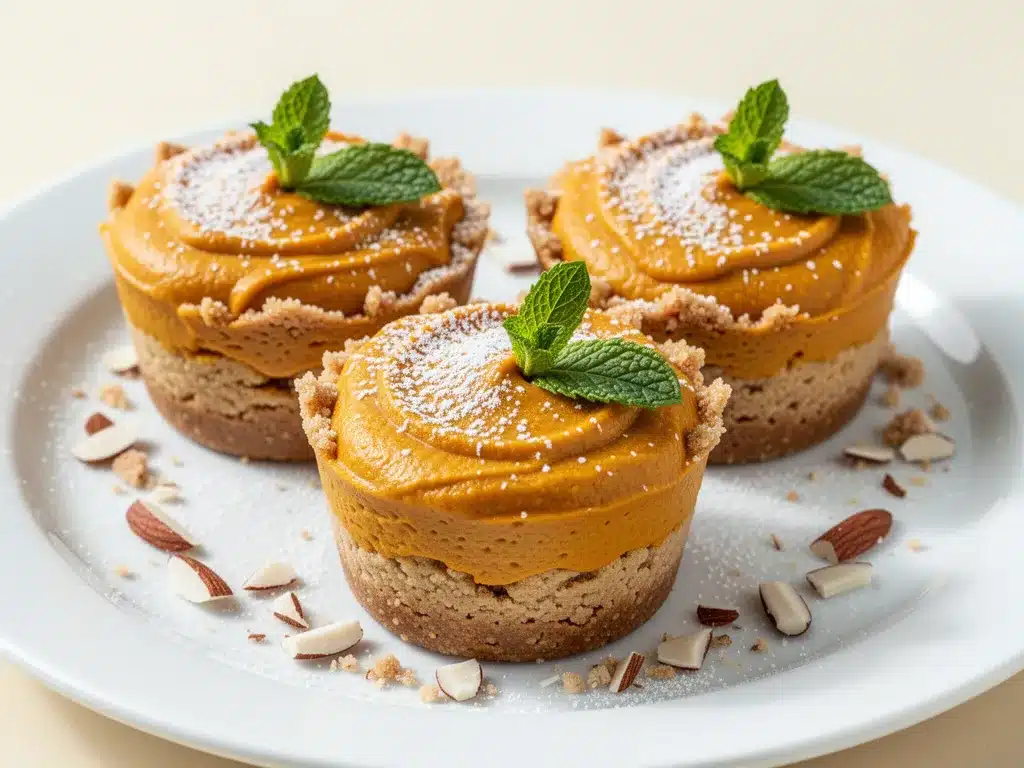
That afternoon, I made what I now call my Keto Pumpkin Cheesecake Cups. No baking. No mess. Just five minutes of prep, a few hours in the fridge, and a texture that is impossibly creamy. I brought one to work the next day, and my coworker—who isn’t even keto—ate it and asked for the recipe. That’s when I knew I had something special.
These cups have become my go-to dessert for the entire fall season. They’re perfect for meal prep (seriously, I make four at a time on Sunday), they travel well, and they satisfy that late-night sweet tooth without the guilt. If you’ve been struggling to find keto desserts that actually taste good, trust me: this is the one. It’s rich, it’s spiced, and it’s ridiculously easy.
Why You’ll Love These No-Bake Cheesecake Cups
Look, I get it. Baking is hard. Cleaning up a cheesecake pan is harder. And if you’re doing keto, you don’t need the extra hassle of a disaster. These cups solve all of that. Here is why they are now a permanent fixture in my fridge:
- Zero Baking Required — Seriously. If you can mix ingredients in a bowl, you can make this. No oven, no water baths, no cracking tops. Just mix, scoop, chill.
- Meal Prep Hero — I make a batch on Sunday, and I have dessert ready for six days. It’s taken the stress out of my weeknights. I don’t have to wonder what I’ll eat after dinner because it’s already portioned out.
- Texture Perfection — People always ask how to get cheesecake creamy without baking. The secret is the ratio of cream cheese to pumpkin and the resting time. These cups set firm but stay silky. They don’t crumble. They don’t melt in your hand.
- Low Carb, High Satisfaction — At just 3-4 net carbs per cup, you can have two or three without breaking your macros. I usually have one after dinner and another as an afternoon snack. It keeps me from raiding the pantry.
- Customizable — Want more pumpkin spice? Add a dash more cinnamon. Want a crunch? Top with crushed pecans. You own this recipe. It’s your canvas.
This recipe changed my relationship with dessert. It’s not a “treat” I feel guilty about; it’s a normal part of my day. And honestly? It tastes better than the real thing because it’s lighter, fresher, and packed with real spices.
Ingredients You’ll Need
Here’s the best part: you probably have most of this already. I’m particular about three ingredients here, and I’ll tell you exactly why. Don’t skip the quality checks on these, or you’ll end up with a grainy mess.
For the Cheesecake Filling
Full-fat cream cheese (8 oz / 225g) — This is non-negotiable. Do not use the light stuff. Do not use the whipped tub stuff. You need a block of full-fat cream cheese, softened to room temperature. If it’s cold, you’ll get lumps. If it’s light, the texture will be watery. I buy the big blocks and keep them in the fridge specifically for these cups.
Pure pumpkin puree (½ cup / 120g) — Not pumpkin pie filling. Pumpkin pie filling has sugar and spices already added. You want 100% pure pumpkin. Look for the can that says just “Pumpkin.” If you have a fresh pumpkin, roast it and mash it yourself—the flavor is way better, but the can works in a pinch.
Confectioners’ erythritol or monk fruit blend (½ cup / 60g) — Use a powdered sweetener. Granular erythritol will leave gritty spots in your smooth cheesecake. I love Swerve Confectioners or Lakanto Monk Fruit. If you only have granular, pulse it in a blender for 30 seconds until it’s powdery. It takes two minutes but saves the texture.
Vanilla extract (1 teaspoon) — Use real vanilla. I know it’s pricey, but fake vanilla tastes chemical in no-bake desserts. It’s one of those things where you can’t fake it.
Heavy cream (2 tablespoons / 30ml) — This helps lighten the cream cheese and gives it that airy, mousse-like consistency. Don’t skip it, but don’t add more or it won’t set.
For the Spices
Pumpkin pie spice (1 ½ teaspoons) — The star of the show. If you don’t have a blend, mix ½ tsp cinnamon, ¼ tsp ginger, ¼ tsp nutmeg, and a pinch of cloves. The spice profile is what makes it taste like fall.
Salt (¼ teaspoon) — Just a pinch. It balances the sweetness and brings out the pumpkin flavor. Don’t skip salt in desserts; it makes them taste “real.”
For the Crust
Almond flour (½ cup / 50g) — Fine, blanched almond flour works best. It’s nutty and stays crunchy. If you hate almonds, you can use crushed pecans or walnuts, but almond flour is my go-to for that neutral, buttery base.
Melted butter (2 tablespoons / 30g) — Unsalted butter, melted. It binds the crust together. If you’re dairy-free, use coconut oil, but it will change the flavor slightly.
Pinch of salt — For the crust too. Just a tiny bit.
Optional Toppings — Whipped cream (unsweetened), crushed pecans, or a drizzle of sugar-free caramel sauce. I keep it simple most of the time, but on weekends, I go fancy.
Equipment Needed
You don’t need fancy equipment for this. Here’s what I actually use:
Medium mixing bowl — Any size that fits your ingredients. I use a glass bowl because I can see the texture as I mix.
Electric hand mixer — Or a whisk. A hand mixer makes it super fast (2 minutes), but a whisk works if you’re patient. You need to get those lumps out of the cream cheese.
Measuring cups and spoons — Standard stuff. Dollar store versions work fine.
Small skillet — Just for melting the butter for the crust. Or you can microwave it in a small cup.
6-8 small glasses or mason jars — This is the fun part. I use small mason jars because they look cute and are easy to store. But any dessert cup, ramekin, or even a clean yogurt container works. Just make sure they’re clean and dry.
Measuring spoon for layering — A tablespoon is perfect for getting even layers.
Refrigerator — Obviously. You need at least 4 hours, preferably overnight, for these to set.
How to Make It: Step-by-Step
Alright, let’s make this! I’m walking you through exactly how I do it, including the little tricks I’ve picked up. This process takes about 10 minutes of active work, then you just wait.
Step 1: Soften Your Cream Cheese (Prep Time)
Take your block of cream cheese out of the fridge at least 30 minutes before you start. If you forget, you can microwave it on low power (30% power) for 15-second bursts until it’s soft to the touch. It should yield to slight pressure, like a firm pillow. If it’s still cold, you will never get a smooth mixture. I learned this the hard way with a lumpy batch that looked terrible. Don’t be me. Let it sit.
Step 2: Make the Crust
In a small skillet (or a microwave-safe bowl), melt your 2 tablespoons of butter over low heat. It should take about 1 minute. Once melted, remove from heat and stir in the almond flour and the pinch of salt. It should look like wet sand. If it’s too dry, add another teaspoon of butter. If it’s too wet, add a sprinkle more almond flour.
Divide this mixture evenly among your 6-8 glasses or jars. Press it down firmly with the back of a spoon or the bottom of a small glass. You want a compact, even layer. Don’t just sprinkle it on top; pack it in. This ensures the crust stays crunchy and doesn’t fall apart when you scoop. Set these aside while you make the filling.
Step 3: Whip the Cheesecake Filling
In your medium mixing bowl, add the softened cream cheese. Beat it on medium-high speed for about 2 minutes until it is completely smooth and creamy. Scrape down the sides of the bowl with a spatula to make sure there are no lumps. This step is crucial for that silky texture.
Add the pumpkin puree, powdered sweetener, vanilla extract, pumpkin pie spice, and salt. Beat on medium-low speed just until combined. Do not overmix once the pumpkin is in, or you might incorporate too much air, which can make the texture weird. You want it smooth, dense, and creamy. Taste it! If you want it sweeter, add a little more sweetener. If you want more spice, add a pinch more cinnamon. Adjust to your liking.
Step 4: Fold in the Heavy Cream
Slowly drizzle in the heavy cream while mixing on low. Beat for another 30-60 seconds until the mixture lightens in color and becomes fluffy. It should look like a thick mousse. If it’s too thin, you added too much cream. If it’s too stiff, you didn’t beat the cream cheese enough. Aim for a consistency that holds its shape but is still scoopable.
Step 5: Assemble the Cups
Spoon or pipe the cheesecake filling into the prepared jars, right on top of the crust. Fill them almost to the top, leaving a little room for toppings. Use the back of a spoon to smooth the top if you want it neat. If you’re feeling rustic, just leave it as is. I like to swirl the top with a knife for a pretty effect.
Step 6: Chill and Set
Place the jars in the refrigerator. You need at least 4 hours for them to set, but I recommend doing this overnight. The longer they chill, the firmer they get and the better the flavors meld. If you’re in a rush, you can put them in the freezer for 30 minutes, but they won’t taste as good because the spices need time to bloom.
Total Time: About 15 minutes prep + 4+ hours chilling.
Expert Tips & Tricks
Here’s everything I’ve learned from making these dozens of times. These tips will save you from my mistakes.
Room Temperature is Key
I cannot stress this enough. Cold cream cheese = lumpy cheesecake. If you’re short on time, cut the block into small cubes and microwave them in 10-second bursts. It speeds up the softening process significantly.
Powdered Sweetener Only
Granular erythritol does not dissolve well in no-bake desserts. It stays gritty. If you only have granular, blend it in a coffee grinder or high-speed blender until it’s a fine powder. It takes 30 seconds and makes a huge difference in mouthfeel.
Don’t Over-Pump the Pumpkin
Pumpkin puree has water content. If you whip it too much with the cream cheese, you might introduce too much air or moisture. Mix it gently until just combined. You want the pumpkin flavor, not a pumpkin mousse that collapses.
The Crust Press
When pressing the almond flour crust, go heavy. Use the bottom of a measuring cup or a small glass to pack it down tight. A loose crust will crumble when you eat it. A tight crust stays in one piece.
Flavor Infusion
For an extra deep flavor, let the cream cheese and spices sit in the bowl for 10 minutes before mixing. Let the spices hydrate in the fat. It’s a small step that makes the pumpkin taste more authentic.
Variations & Substitutions
Once you’ve nailed the basic version, here’s how you can mix it up. I’ve tried all of these.
Chocolate Pumpkin
Add 2 tablespoons of unsweetened cocoa powder to the filling. It creates a mocha-pumpkin vibe that is absolutely divine. My kids love this version.
Maple Pecan
Swap the vanilla for 1 teaspoon of maple extract. Top with chopped toasted pecans instead of just plain nuts. It tastes like a fancy dessert from a bistro.
Ginger Snap Crust
Instead of almond flour, use crushed sugar-free ginger snap cookies for the crust. It adds a spicy kick and a different texture. Just check the label to make sure they’re low carb.
Cheesecake Swirl
Make a vanilla cheesecake filling and swirl in a little sugar-free pumpkin pie filling on top before chilling. It looks beautiful with those orange swirls.
Dairy-Free Option
Use coconut cream cheese (like Kite Hill) and coconut oil instead of butter. The flavor will be more coconut-forward, but it works. Use coconut whipped cream for toppings.
Gluten-Free
This recipe is naturally gluten-free if you use certified GF almond flour and check your sweetener label. Almond flour is naturally GF, so you’re good to go.
Serving & Storage
These cups are best served chilled. I usually serve them straight from the jar at the dinner table—it looks rustic and stays cold. But here are other ways I’ve enjoyed them:
How to Serve
Top with a dollop of unsweetened whipped cream. Add a sprinkle of extra pumpkin spice or crushed pecans for crunch. If you’re feeling fancy, drizzle with sugar-free caramel sauce or a thin layer of melted dark chocolate. They look gorgeous in clear jars, so don’t be shy about showing them off.
Side Dishes
These are desserts, so they don’t really have sides. But if you’re having a fall dinner party, pair them with grilled watermelon feta skewers as a starter, or serve alongside a warm cup of spiced chai tea. I also like to serve them after a hearty meal like slow cooker beef and barley stew (made with keto-friendly veggies) to keep the meal balanced.
Storage Instructions
Refrigerator:
Store the cups in an airtight container or covered with plastic wrap for up to 5 days. They actually taste better on day 2 and 3 as the flavors meld. I usually eat them within 4 days because they disappear so fast.
Freezing:
You can freeze these! Place them in the freezer for up to 1 month. Thaw them in the fridge overnight before eating. The texture might be slightly softer, but it’s still delicious. I freeze extra batches for busy weeks.
Meal Prep:
I make 8 cups every Sunday. They keep well in the fridge, and I grab one each afternoon. It’s my secret to staying on track with keto during the work week.
Nutrition Information
I’m not a nutritionist, but here’s the breakdown if you’re tracking. These estimates are per cup (using 8 cups total).
Per Serving (1 cup):
– Calories: 220
– Total Fat: 20g
– Protein: 6g
– Total Carbs: 5g
– Fiber: 2g
– Net Carbs: 3g
– Sugar: 2g (from natural sources)
– Sweetener: 0g (depending on brand)
What’s Good:
– Low net carbs, perfect for keto
– Good source of healthy fats from cream cheese and almonds
– Decent protein to keep you full
– No added sugar
What to Know:
– Calorie-dense due to fats, so portion control matters if you’re counting calories strictly.
– Contains nuts (almonds). Substitute with sunflower seeds if allergic.
My Take:
“This is comfort food without the carb crash. It’s rich, so a little goes a long way. I usually have one cup and feel satisfied. It’s not a diet food; it’s a delicious treat that fits into my lifestyle.”
Final Thoughts
So that’s my Keto Pumpkin Cheesecake Cups! I’ve probably talked your ear off at this point, but when you make a recipe this often, you have a lot to say about it.
This has saved my sweet tooth during the holidays. It’s my answer to “what’s for dessert” when I’m tired, don’t want to bake, and still want something that tastes really good. My family is happy, my macros are happy, and I’m happy because I’m not stressed about cooking.
Make it yours! Try different toppings, swap in your favorite spices, or adjust the sweetness. The best recipes are the ones you adapt to your tastes. If you make this, drop a comment and let me know what you think! I love hearing how recipes turn out in your kitchen. And if something doesn’t work, tell me that too—I’m here to help troubleshoot.
Happy cooking! And I hope your kitchen smells half as good as mine does right now with all that pumpkin spice.
Frequently Asked Questions
Can I use canned pumpkin pie filling instead of pure pumpkin?
No, I don’t recommend it. Pumpkin pie filling has sugar, corn syrup, and other additives that will throw off your keto macros and change the texture. You want 100% pure pumpkin puree. If you accidentally used pie filling, you’d need to drastically reduce the sweetener in the recipe, but it’s still not ideal. Stick to pure pumpkin.
Why is my cheesecake filling runny?
Usually, this means the cream cheese wasn’t soft enough before mixing, or you added too much heavy cream. Make sure your cream cheese is fully smooth before adding other ingredients. Also, remember that no-bake cheesecakes rely on the fat to set, so if the mixture is too thin, it won’t firm up in the fridge. Next time, use less cream or add a little more cream cheese.
Can I make this ahead for a party?
Absolutely! These are perfect for meal prep. You can make them up to 3 days in advance. In fact, they taste better after a day or two because the flavors have time to blend. Just keep them covered in the fridge. I often make a batch for Thanksgiving or Halloween parties because they’re individual portions and easy to serve.
Do I need a mixer?
You can use a whisk, but it will take more effort. An electric hand mixer or stand mixer makes it much easier to get the cream cheese smooth and airy. If you’re using a whisk, spend extra time beating the cream cheese until it’s completely lump-free. It’s worth the arm workout.
Can I use a different sweetener?
Yes! I’ve used erythritol, monk fruit, stevia blends, and allulose. Allulose browns slightly if baked, but since this is no-bake, it works fine. Just remember to use a powdered version for the best texture. Liquid stevia can be tricky because it’s concentrated; start with a tiny amount and adjust to taste.
How long do these last in the fridge?
They last up to 5 days in an airtight container. After that, the crust might start to get soggy, and the texture might change. I usually eat them within 4 days, so I can’t speak to longer storage times. If you want to keep them longer, freeze them.
Can I make these in a larger cheesecake pan?
Yes! You can transfer the mixture to an 8-inch springform pan. Press the crust into the bottom and sides. Chill for at least 6 hours, preferably overnight. Slice into wedges. The cooking time and ratios remain the same. Just make sure your pan is clean and the crust is packed down well.
Pin This Recipe!
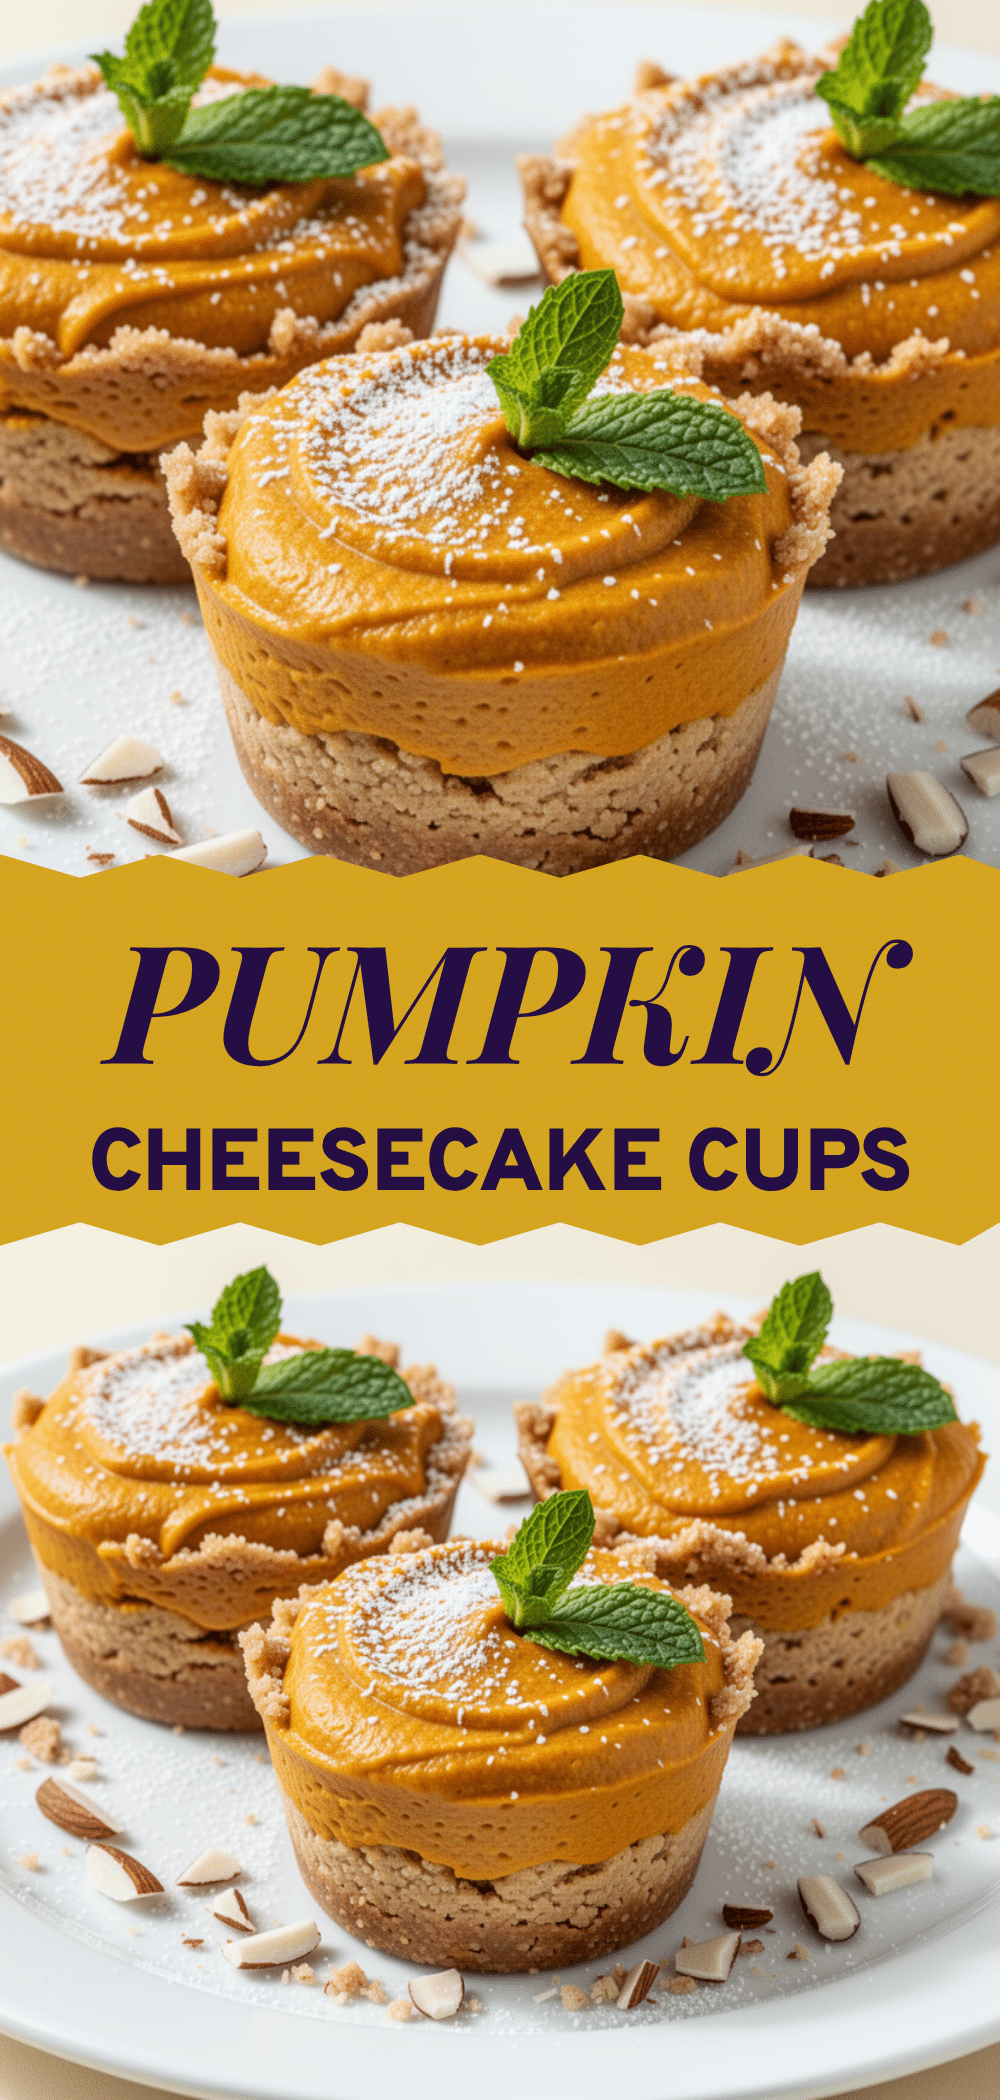
Keto Pumpkin Cheesecake Cups: Best No Bake Low Carb Dessert
- Total Time: 4 hours 15 minutes
- Yield: 6 servings 1x
Description
These no-bake keto pumpkin cheesecake cups are a creamy, low-carb dessert that requires just 15 minutes of prep time. Perfect for meal prep, they offer rich pumpkin spice flavor without the guilt or hassle of traditional baking.
Ingredients
- 8 oz (225g) full-fat cream cheese, softened to room temperature
- 1/2 cup (120g) pure pumpkin puree
- 1/2 cup (60g) confectioners’ erythritol or monk fruit blend
- 1 teaspoon vanilla extract
- 2 tablespoons (30ml) heavy cream
- 1 1/2 teaspoons pumpkin pie spice
- 1/4 teaspoon salt
- 1/2 cup (50g) almond flour
- 2 tablespoons (30g) melted unsalted butter
- Pinch of salt for crust
Instructions
- Soften the cream cheese at room temperature for at least 30 minutes or microwave in short bursts until soft.
- Melt the butter in a small skillet or microwave. Stir in the almond flour and pinch of salt until the mixture resembles wet sand.
- Divide the crust mixture among 6-8 small glasses or mason jars. Press down firmly to create a compact, even layer. Set aside.
- In a medium mixing bowl, beat the softened cream cheese on medium-high speed for 2 minutes until completely smooth.
- Add the pumpkin puree, powdered sweetener, vanilla extract, pumpkin pie spice, and salt. Beat on medium-low speed just until combined.
- Slowly drizzle in the heavy cream while mixing on low. Beat for another 30-60 seconds until the mixture is light, fluffy, and mousse-like.
- Spoon or pipe the cheesecake filling into the prepared jars on top of the crust. Smooth the tops if desired.
- Refrigerate for at least 4 hours, preferably overnight, to allow the cups to set and flavors to meld.
Notes
Ensure cream cheese is fully softened to avoid lumps. Use powdered sweetener only to prevent grittiness. The crust must be pressed firmly to stay intact. These cups taste better after sitting in the fridge for a day or two as flavors meld.
- Prep Time: 15 minutes
- Cook Time: 0 minutes
- Category: Dessert
- Cuisine: American
Nutrition
- Serving Size: 1 cup
- Calories: 220
- Sugar: 2
- Sodium: 150
- Fat: 20
- Saturated Fat: 10
- Carbohydrates: 5
- Fiber: 2
- Protein: 6
Keywords: keto, low carb, pumpkin cheesecake, no bake, gluten free, fall dessert, meal prep, sugar free


