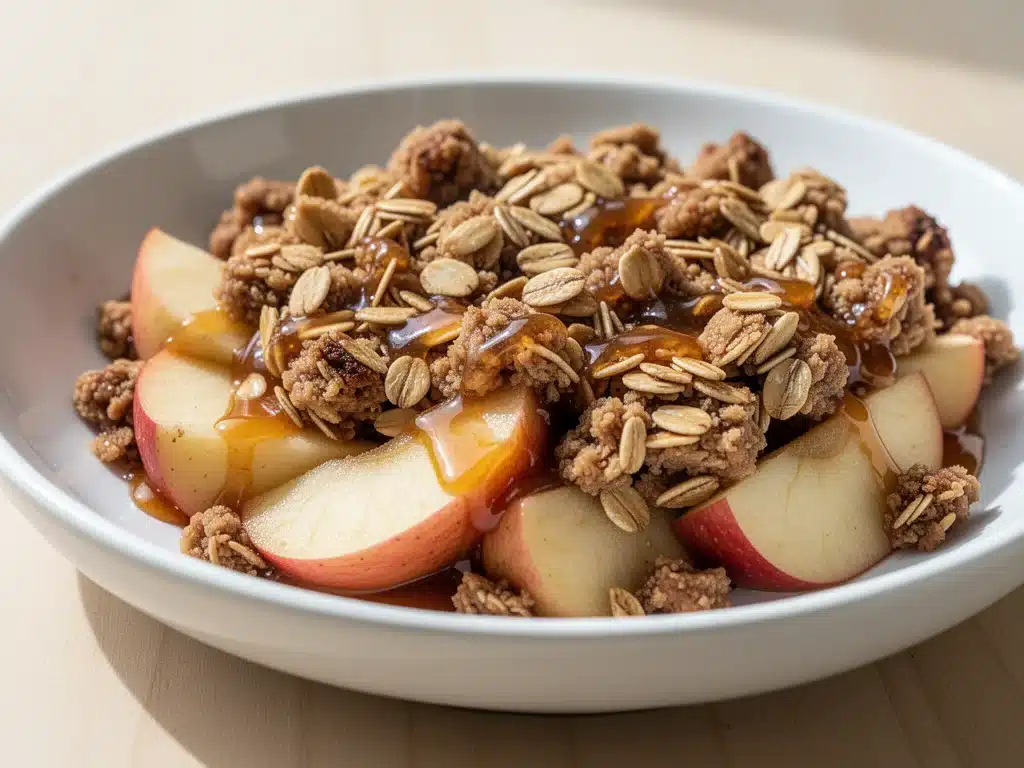
Last Saturday, I was standing in my kitchen with a bag of Honeycrisp apples that had seen better days. They were bruised, slightly soft, and screaming for attention. I had meant to make an apple pie, but the crust had other ideas (spoiler: it didn’t work). So, I panicked. I grabbed a stick of butter, some oats, and that leftover caramel sauce from Halloween. I threw it all into a dish and shoved it in the oven.
Thirty minutes later, my apartment smelled like a fall festival. When I pulled out the Caramel Apple Crisp, the top was golden and crunchy, the apples were bubbling with sweet-tart juice, and the caramel had seeped into every nook and cranny. I took one bite and immediately called my mom. She said, “That’s what I make when I’m tired.” I said, “I’m not tired, I’m just lazy.” She laughed. But seriously, this recipe has saved me more times than I can count.
There’s something magical about crisp desserts in the fall. It’s the smell of cinnamon hitting warm butter. It’s the contrast between the tender fruit and the crunchy topping. And let’s be real—it’s way easier than pie. You don’t need to roll dough. You don’t need to worry about a soggy bottom. You just chop, mix, and bake. This Caramel Apple Crisp is my go-to when I want something that feels fancy but takes zero effort. It’s cozy, it’s comforting, and it’s perfect for those crisp evenings when you just want to curl up with a blanket.
Why You’ll Love This Caramel Apple Crisp
I’ve made this dessert at least a dozen times in the last two months. It’s become my answer to “what’s for dessert?” when I don’t want to spend hours in the kitchen. Here’s why this Caramel Apple Crisp is taking over my fall routine:
- Zero Dough Stress — No rolling pins, no blind baking, no crying over cracked crusts. If you can mix a bowl of oats and flour, you can make this. I’ve made it while half-asleep on Sundays.
- 30 Minutes or Less — From prep to plate, it’s under 30 minutes. The baking takes time, but that’s mostly hands-off. I can chop the apples, mix the topping, and be done in 10 minutes flat.
- Uses Any Apple — Got bruised apples? Perfect. This recipe loves them. I use whatever is on sale or in my crisper drawer. Honeycrisp, Gala, Fuji, Granny Smith—they all work.
- Caramel is the Hero — Most crisps are just cinnamon sugar. Adding caramel makes it rich, sticky, and indulgent. It’s like a warm apple pie filling but better.
- Makes Amazing Leftovers — Actually, it tastes better the next day. The flavors meld together overnight. I deliberately make extra for my morning coffee companion.
- Budget-Friendly — Apples are cheap in the fall. You probably have the oats and flour already. This feeds 6-8 people for under $10.
This is my comfort food for the season. It’s warm, it’s sweet, and it makes my kitchen smell like a bakery. If you’re looking for a dessert that feels homemade but doesn’t require a culinary degree, this is it.
Ingredients You’ll Need
Here’s the best part: you probably have most of this already. This Caramel Apple Crisp relies on pantry staples and fresh fruit. I’m particular about three things here, so listen up.
For the Apple Filling
Apples (6 large, peeled and sliced / about 1.5 kg) — I recommend a mix of tart and sweet. Honeycrisp and Granny Smith are my favorites. They hold their shape and don’t turn into mush. Peel them if you want a smoother texture, but leave the skins on for more fiber and color. I usually peel them because my kids are picky.
Lemon juice (1 tablespoon / 15ml) — Prevents the apples from browning and adds brightness. Don’t skip it. It balances the sweetness.
Granulated sugar (½ cup / 100g) — Helps the apples caramelize. If you’re using very sweet apples, reduce to ¼ cup.
Cinnamon (1 teaspoon / 2g) — The classic fall spice. Use ground cinnamon, not sticks.
Nutmeg (¼ teaspoon / 0.5g) — Just a pinch. It adds warmth without overpowering.
Cornstarch (1 tablespoon / 8g) — Thickens the apple juices so you don’t get a soupy bottom. Essential.
Caramel sauce (1 cup / 240ml) — I use store-bought for speed, but homemade is amazing if you have time. Look for a thick, pourable sauce. Salted caramel is even better.
For the Crisp Topping
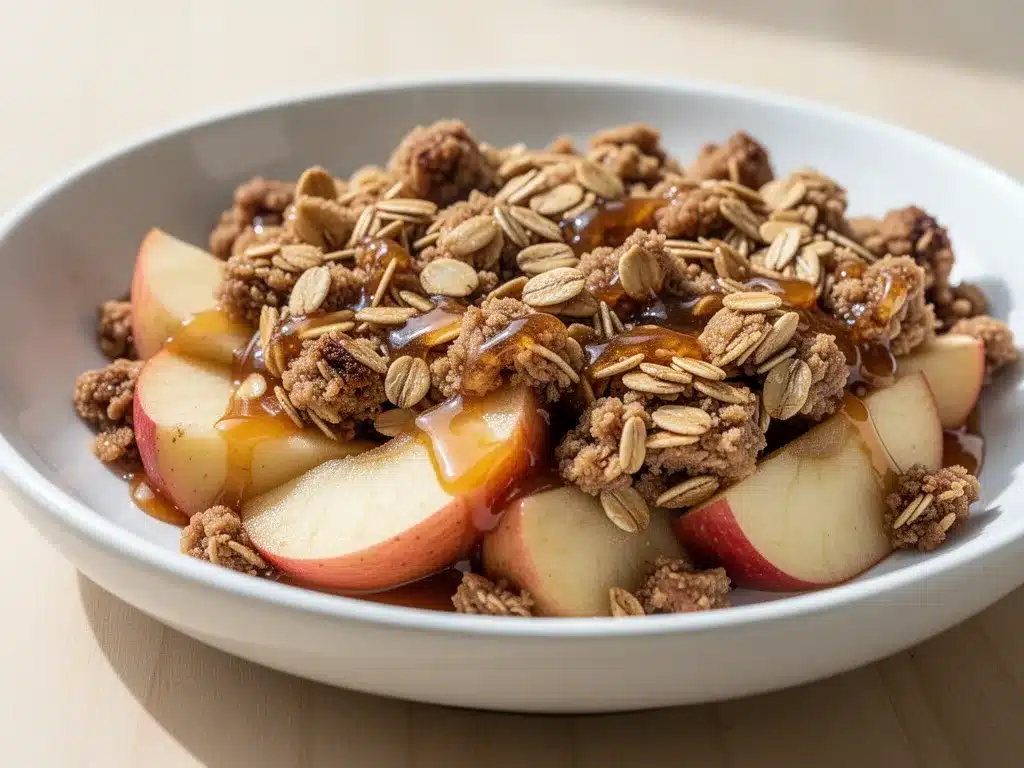
Old-fashioned oats (1 cup / 80g) — Not instant oats. You need the chew. Rolled oats give that classic crisp texture.
All-purpose flour (1 cup / 120g) — Creates the base of the crumble. Gluten-free flour blend works too.
Brown sugar (½ cup / 100g, packed) — Adds moisture and a molasses flavor. Light or dark both work.
Cold unsalted butter (½ cup / 113g, cubed) — This is crucial. Cold butter creates those buttery clumps. If your butter is soft, the topping will be more like a cake.
Chopped pecans (½ cup / 60g) — Optional, but highly recommended. Adds crunch and richness. Walnuts work too.
Flaky sea salt (pinch) — Sprinkle on top before baking. It elevates the sweetness.
Equipment Needed
You don’t need fancy gadgets for this. Here’s what I actually use.
9×9 inch baking dish — Standard size. A 9×13 will work but the layers will be thinner. I use a ceramic dish because it heats evenly.
Large mixing bowls — One for the apples, one for the topping. I have a set of stainless steel bowls that I use for everything.
Box grater or food processor — For shredding the butter into the dry topping. It’s faster than cutting it in with a knife, but a fork works fine.
Peeler — For the apples. A Y-peeler is easier than a straight peeler.
Knife — Sharp knife for slicing apples uniformly. Uniform slices cook evenly.
Spatula — For mixing the apples and spreading the topping.
How to Make It: Step-by-Step
Alright, let’s make this! I’m walking you through exactly how I do it, including the little tricks I’ve picked up.
Step 1: Prep Your Apples (10 minutes)
Peel, core, and slice your apples. Aim for ¼-inch thick slices. Uniformity is key here—if some slices are thick and some are thin, the thin ones will turn to mush before the thick ones are tender. Toss the slices with lemon juice, sugar, cinnamon, nutmeg, and cornstarch in a large bowl. Mix until every slice is coated. Set aside.
Step 2: Make the Topping (5 minutes)
In another bowl, whisk together the oats, flour, brown sugar, and chopped pecans. Add the cold, cubed butter. Use your fingers, a pastry cutter, or a food processor to work the butter into the dry ingredients. You want pea-sized clumps. Don’t overmix—it should look crumbly, not like dough. This is what makes it crisp.
Step 3: Assemble (2 minutes)
Preheat your oven to 350°F (175°C). Pour the apple mixture into your baking dish. Spread it out evenly. Pour the caramel sauce over the apples. Use a spatula to swirl it in slightly, but don’t mix it completely. You want pockets of caramel.
Step 4: Add the Topping (1 minute)
Scatter the oat mixture evenly over the apples. Press it down gently so it sticks. Sprinkle with flaky sea salt. This step is easy, but don’t skimp on the salt. It makes the caramel pop.
Step 5: Bake (25-30 minutes)
Place the dish in the oven. Bake for 25-30 minutes until the topping is golden brown and the apples are bubbling. If the topping browns too quickly, cover it loosely with foil. Let it cool for 10 minutes before serving. This lets the juices thicken slightly.
Step 6: Serve
Serve warm with a scoop of vanilla ice cream or whipped cream. The contrast of hot crisp and cold ice cream is non-negotiable. I also like a drizzle of extra caramel on top.
Total Time: About 30 minutes (10 active, 20 baking)
Expert Tips & Tricks
Here’s everything I’ve learned from making this dozens of times. These tips will save you from my mistakes.
Use Cold Butter — This is the #1 tip. If your butter is warm, it will melt into the flour instead of creating flakes. Cube it and keep it in the fridge until the last minute. I even freeze it for 5 minutes before mixing.
Don’t Skip the Cornstarch — Apples release a lot of water. Without cornstarch, you’ll have a puddle at the bottom. It’s not a crisp; it’s a soup. Trust me.
Chop the Pecans — If you leave them whole, you’ll bite into a huge chunk of nut. Chop them so they distribute evenly. It adds crunch in every bite.
Let It Cool — I know it’s tempting to dig in immediately. But the filling needs a few minutes to set. If you serve it hot, it’ll be runny. Cool for 10 minutes.
Switch Up the Apples — I’ve used Braeburn, Jonagold, and even pears. All work. But avoid Red Delicious—they turn mealy and bland.
Variations & Substitutions
Once you’ve nailed the basic version, here’s how you can mix it up. I’ve tried all of these.
Gluten-Free — Use gluten-free oats and gluten-free flour blend. It works perfectly. I use Bob’s Red Mill.
Dairy-Free — Use coconut oil or vegan butter instead of dairy butter. Use dairy-free caramel. It’s still delicious.
Lower Sugar — Reduce the sugar in the apples to ¼ cup. Use unsweetened caramel. The apples are sweet enough.
Maple Pecan — Swap the caramel for maple syrup. Add ½ cup chopped pecans. It’s less sweet, more rustic.
Chai Spiced — Swap cinnamon for chai spice blend. Adds a nice kick.
Serving & Storage
How to Serve: I usually serve this straight from the baking dish. It looks rustic and stays warm. But here are other ways I’ve enjoyed it:
- With vanilla bean ice cream (the classic)
- With whipped cream and a drizzle of caramel
- With a scoop of Greek yogurt for a lighter option
- With a slice of sharp cheddar cheese (yes, really. It’s amazing.)
Storage Instructions:
Refrigerator: Store in an airtight container for up to 4 days. The topping will soften, but the flavor stays good. Reheat in the oven at 350°F for 10 minutes to crisp it back up. Microwave works but makes it soggy.
Freezing: This doesn’t freeze well. The apples get watery when thawed. Make it fresh or store in the fridge.
Nutrition Information
I’m not a nutritionist, but here’s the breakdown if you’re tracking. Per serving (based on 8 servings):
- Calories: 320
- Protein: 4g
- Carbs: 52g
- Fiber: 3g
- Sugar: 38g
- Fat: 12g
- Saturated Fat: 7g
- Cholesterol: 30mg
- Sodium: 150mg
Look, this is dessert. It’s sweet, it’s buttery, and it’s meant to be enjoyed. But it’s way better than store-bought cake, and I know exactly what’s in it. When I want to make it lighter, I use less caramel and add extra nuts for protein. But usually? I just eat a reasonable portion and enjoy it.
Final Thoughts
So that’s my go-to Caramel Apple Crisp! I’ve probably talked your ear off at this point, but when you make a recipe this often, you have a lot to say about it. This has saved dessert nights more times than I can count. It’s my answer to “what’s for dessert?” when I’m tired, don’t want takeout, and still want something that tastes really good. My kids are happy, my husband’s happy, and I’m happy because I’m not stressed about cooking.
Make it yours! Try different apples, swap the nuts, or add a splash of bourbon to the apples. The best recipes are the ones you adapt to your family’s tastes. If you make this, drop a comment and let me know what you think! I love hearing how recipes turn out in your kitchen. And if something doesn’t work, tell me that too—I’m here to help troubleshoot.
Happy baking! And I hope your kitchen smells half as good as mine does right now.
Frequently Asked Questions
Can I use apple pie filling instead of fresh apples?
You can, but the texture will be different. Store-bought filling is already cooked and sweetened, so you’ll need to reduce the sugar in the recipe. I prefer fresh apples because they have a better texture and less artificial flavor. But if you’re in a rush, it works.
Why did my topping turn out soggy?
Usually, this means the butter was too warm, or you didn’t bake it long enough. Make sure your butter is cold and cubed. Also, bake until the topping is golden brown. If it’s pale, it needs more time.
Can I make this ahead for a dinner party?
Yes! Assemble it up to 24 hours ahead and store in the fridge. Bake it when you’re ready. You might need to add 5-10 minutes to the baking time since it’s starting cold. This is great for stress-free hosting.
Can I use instant oats?
I don’t recommend it. Instant oats are thinner and will turn mushy. You want the chew of old-fashioned rolled oats. If you only have instant, chop them up a bit first, but it won’t be the same.
What’s the best caramel sauce to use?
Any thick, pourable caramel works. I like Trader Joe’s Salted Caramel Sauce or Smucker’s. If you have time, homemade caramel is amazing, but store-bought is convenient and delicious.
Can I add other fruits?
Absolutely. I’ve mixed apples with pears, raspberries, or blackberries. Just make sure the fruit is similar in size so it cooks evenly. Berries will release more liquid, so add an extra teaspoon of cornstarch.
How do I reheat leftovers without it getting dry?
Add a splash of milk or cream to a skillet, add your leftover crisp, and heat gently over low heat, stirring frequently. The extra liquid brings back the creamy texture. Microwave sort of works but tends to dry it out. If you do microwave, definitely add a splash of milk first and heat in short bursts, stirring between.
Pin This Recipe!
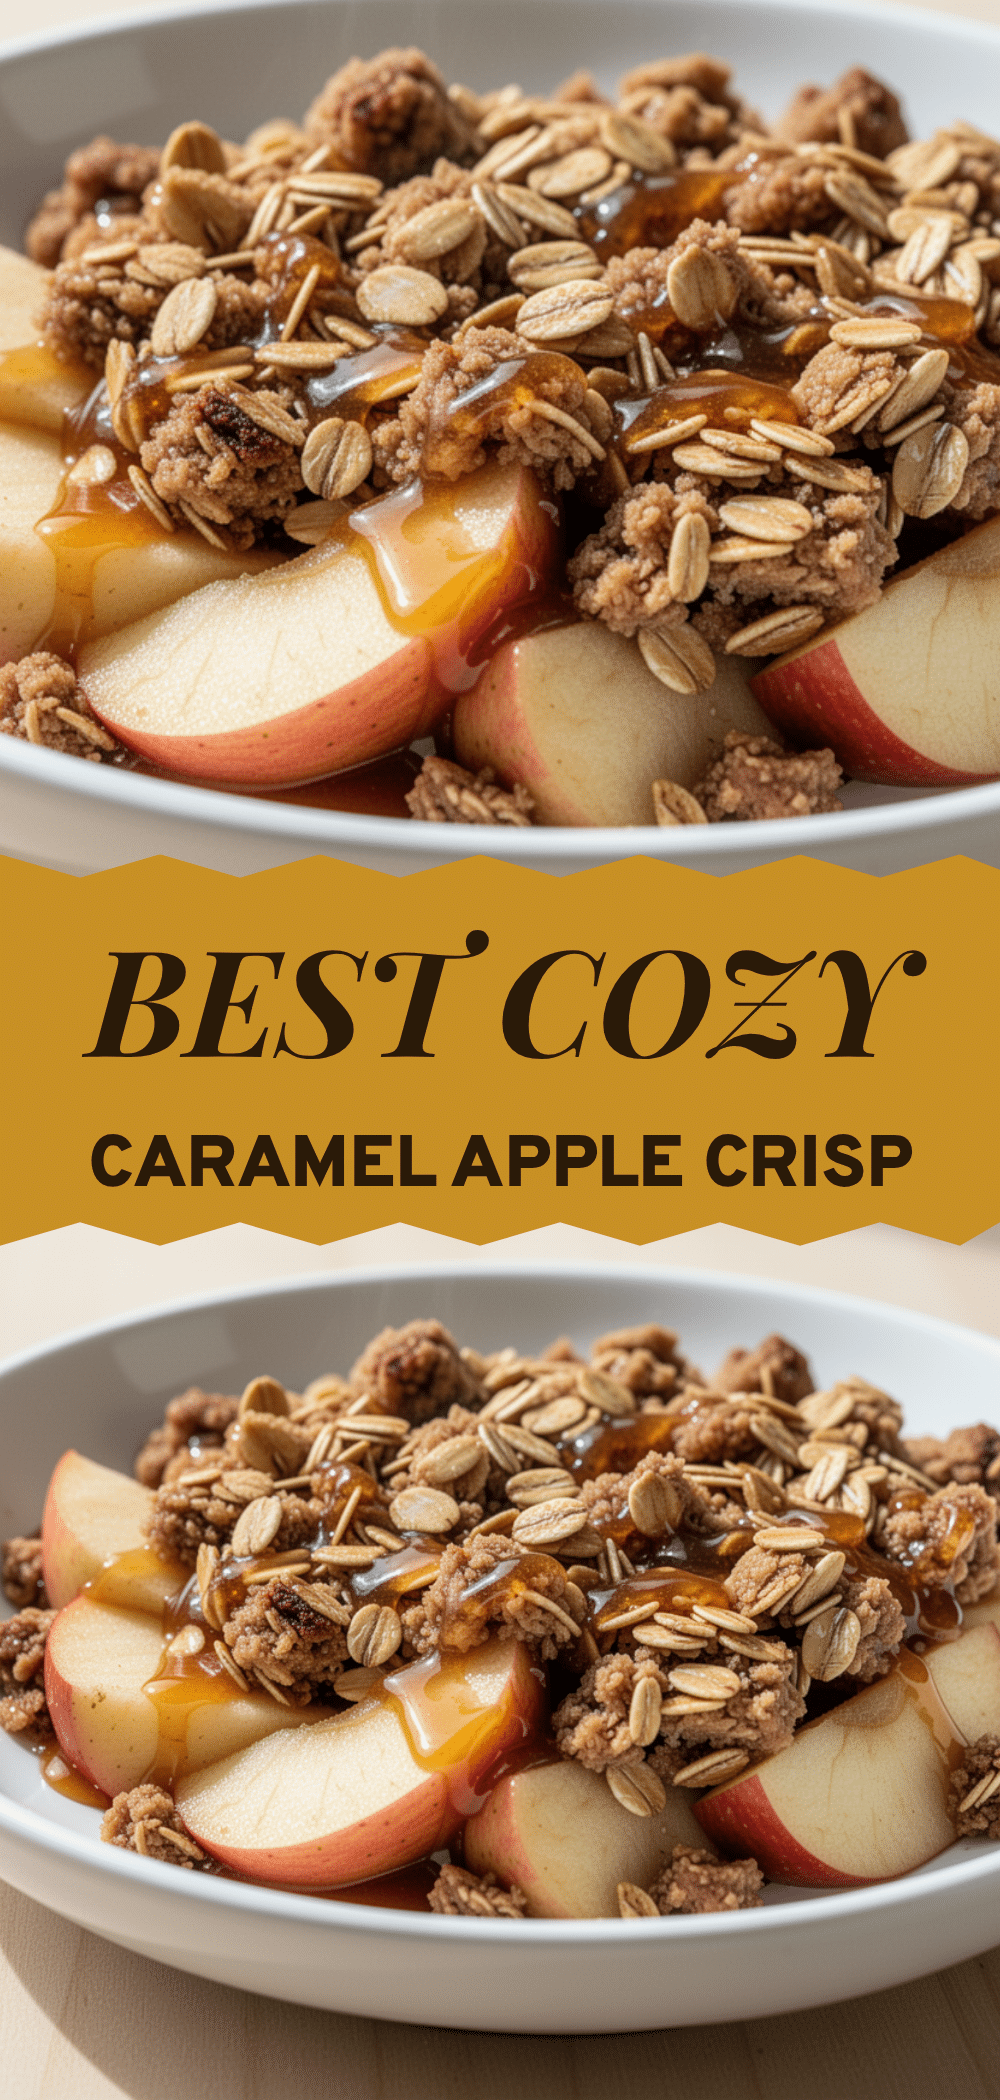
Caramel Apple Crisp: Easy 30-Minute Fall Dessert
- Total Time: 30 minutes
- Yield: 8 servings 1x
Description
A cozy, comforting fall dessert featuring tender apples and a crunchy oat topping with rich caramel sauce. This easy recipe requires no dough rolling and comes together in under 30 minutes.
Ingredients
- 6 large apples (peeled and sliced, approx. 1.5 kg)
- 1 tablespoon lemon juice
- ½ cup granulated sugar
- 1 teaspoon ground cinnamon
- ¼ teaspoon nutmeg
- 1 tablespoon cornstarch
- 1 cup caramel sauce
- 1 cup old-fashioned oats
- 1 cup all-purpose flour
- ½ cup packed brown sugar
- ½ cup cold unsalted butter (cubed)
- ½ cup chopped pecans
- Pinch of flaky sea salt
Instructions
- Preheat oven to 350°F (175°C).
- Peel, core, and slice apples into ¼-inch thick slices. Toss with lemon juice, sugar, cinnamon, nutmeg, and cornstarch until coated.
- In a separate bowl, whisk together oats, flour, brown sugar, and chopped pecans.
- Add cold cubed butter to the dry mixture and work it in until pea-sized clumps form.
- Pour the apple mixture into a 9×9 inch baking dish and spread evenly.
- Pour caramel sauce over the apples and swirl slightly to create pockets.
- Scatter the oat topping evenly over the apples and press down gently.
- Sprinkle with flaky sea salt.
- Bake for 25-30 minutes until topping is golden brown and apples are bubbling.
- Let cool for 10 minutes before serving.
Notes
Use cold butter for a crisp texture. Let the crisp cool for 10 minutes to allow juices to thicken. Store in an airtight container in the refrigerator for up to 4 days. Reheat in the oven to restore crispiness.
- Prep Time: 10 minutes
- Cook Time: 25-30 minutes
- Category: Dessert
- Cuisine: American
Nutrition
- Serving Size: 1 serving
- Calories: 320
- Sugar: 38
- Sodium: 150
- Fat: 12
- Saturated Fat: 7
- Carbohydrates: 52
- Fiber: 3
- Protein: 4
Keywords: caramel apple crisp, fall dessert, easy dessert, apple crisp, oat topping, gluten-free option, dairy-free option, quick dessert


