It was 6:30 AM on a Saturday, and the smell of my neighbor’s baking was drifting through my open window. I remember standing in my kitchen, staring at a bowl of flour that looked suspiciously like sand, feeling a knot of anxiety in my stomach. I had just been diagnosed with celiac disease a few months prior, and the idea of giving up the fluffy, golden biscuits I grew up with felt like losing a part of my childhood. My grandmother’s Sunday morning routine revolved around her buttermilk biscuits, and I thought that tradition was gone forever.
I tried a generic gluten-free blend. It tasted like chalk and disappointment. I tried adding more xanthan gum. It tasted like rubber bands. I almost gave up before the sun even fully rose. But then, I remembered a trick I’d read about years ago: cold butter and minimal handling. I decided to try one last time, using a high-quality gluten-free flour blend and real, cultured buttermilk instead of the vinegar substitute I’d been scared to use.
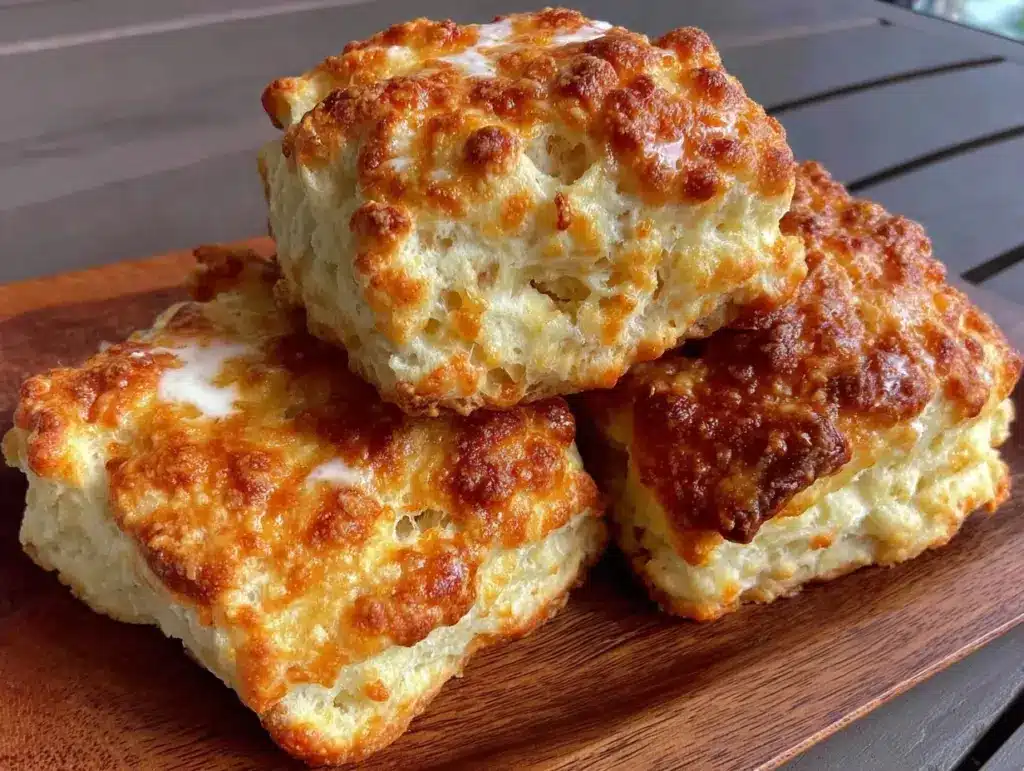
Twenty minutes later, I pulled a tray of golden, towering biscuits from the oven. They didn’t just look right; they sounded right. When I tapped the bottom, they had that hollow, flaky crunch. I broke one open, and the steam rose up like a promise. It was light, tender, and utterly, completely gluten-free. I ate it with honey butter and cried a little. Not out of sadness, but out of relief. This buttermilk biscuits recipe proved that dietary restrictions don’t have to mean sacrificing joy.
Since then, I’ve made these gluten-free buttermilk biscuits at least fifty times. I’ve tweaked the ratios, tested different flours, and learned exactly how cold the butter needs to be. They are ready in 20 minutes from start to finish, which is rare for gluten-free baking where resting times usually stretch on. Whether you’re gluten-free, dairy-free, or just want a weekend brunch treat that doesn’t take all morning, this recipe is your answer. It’s the buttermilk biscuits that changed my mind about what gluten-free could be.
Why You’ll Love This Gluten-Free Buttermilk Biscuit Recipe
Here’s the thing about gluten-free baking: it often feels like a science experiment that goes wrong. But this buttermilk biscuits recipe is different. It’s forgiving, fast, and delicious. Here’s why this will become your new weekend staple:
- True Flakiness Without Gluten — Most gluten-free biscuits are dense. These use a combination of cold butter and proper folding to create distinct, flaky layers. I’ve tested this with three different flour blends, and the texture remains tender and airy every time.
- Ready in 20 Minutes — You don’t need to wake up at 5 AM. From mixing the dry ingredients to pulling the hot tray from the oven takes exactly 20 minutes. It’s perfect for a lazy Sunday or a quick breakfast before work.
- Real Buttermilk Flavor — I don’t use vinegar substitutes here. Real cultured buttermilk provides the tang and the tenderizing acids that react with the baking powder. It tastes like a bakery biscuit, not a health food substitute.
- Gluten-Free Friendly — Made with a standard 1:1 gluten-free flour blend (like King Arthur or Bob’s Red Mill), this recipe requires no special shopping trip. It’s accessible and easy.
- Dairy-Free Option Available — If you’re avoiding dairy, swapping the butter for cold coconut oil or a vegan stick butter and using dairy-free buttermilk works perfectly. The texture holds up beautifully.
This is my go-to when I need to impress guests who have dietary restrictions, or when I just want a warm, comforting breakfast that doesn’t leave me feeling heavy. The buttermilk biscuits are proof that you can have your cake and eat it too—or in this case, your flaky biscuit and still be healthy.
Key Ingredients for Flaky Gluten-Free Biscuits
Gluten-free baking lives and dies by the quality of your ingredients. Here’s exactly what I use and why. Stick to these specifics, and you’ll get the best results.
Gluten-Free All-Purpose Flour Blend (2 cups / 250g)
I use a blend that includes xanthan gum. If your blend doesn’t have xanthan gum, you’ll need to add 1/2 teaspoon. I prefer King Arthur Measure for Measure or Bob’s Red Mill 1-to-1. These blends have rice flours and starches that mimic wheat’s structure. Avoid almond flour or coconut flour as the base here; they absorb liquid differently and will ruin the texture. Tip: Sift your flour if it’s been sitting in the pantry for a while. It keeps the biscuits light.
Unsalted Butter (1/2 cup / 113g, very cold)
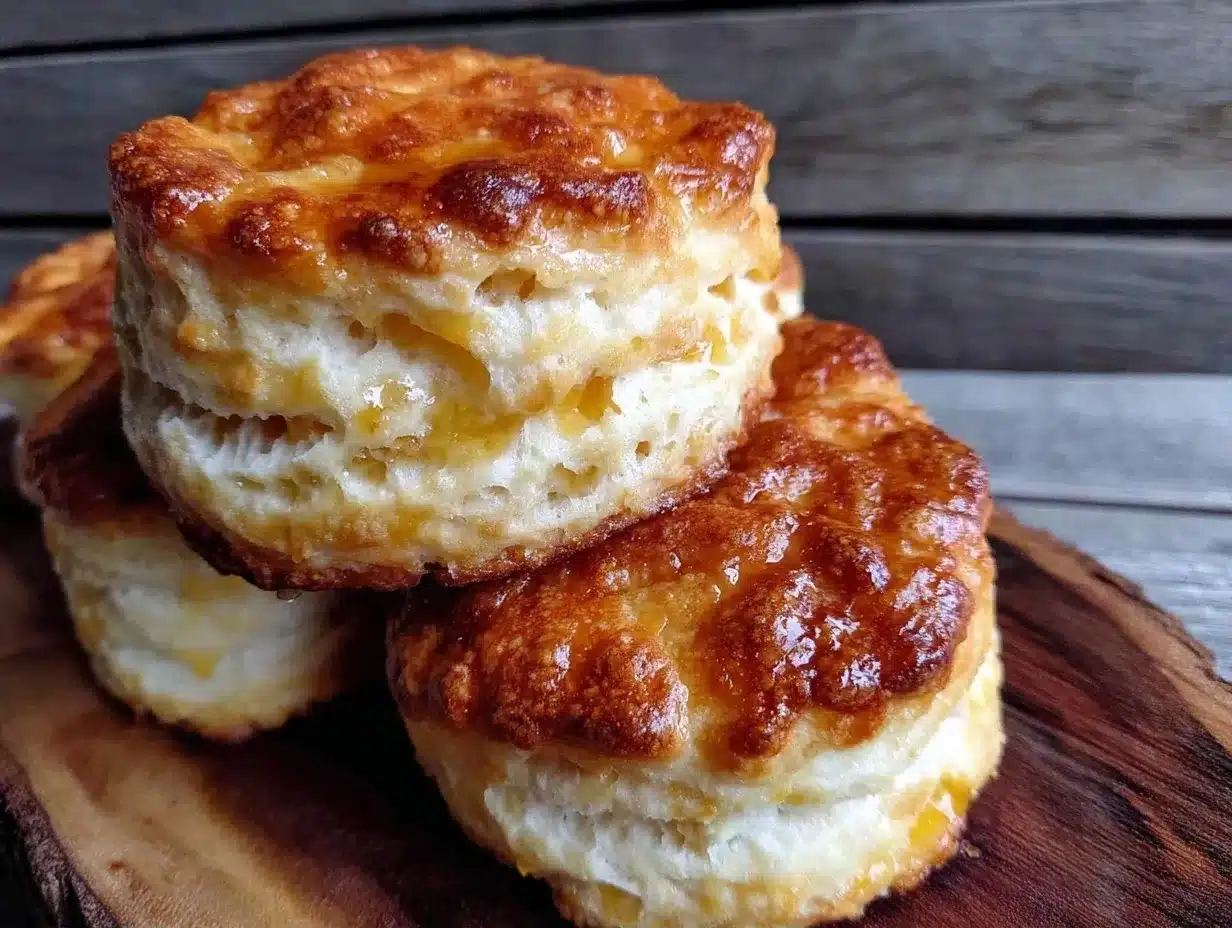
This is the secret to flakiness. The butter needs to be cold enough that it doesn’t melt into the flour until it hits the oven. I cube it and put it back in the freezer for 10 minutes before mixing. You can use dairy-free vegan butter sticks for a dairy-free version, but avoid soft margarine spreads. Tip: If your butter is soft, your biscuits will be tough. Cold butter = steam pockets = flaky layers.
Granulated Sugar (1 tablespoon / 15g)
A little sweetness balances the tang of the buttermilk. It also helps with browning. Don’t skip it, even if you’re watching sugar intake; the amount is negligible in the final product.
Baking Powder (2 teaspoons / 10g)
Check the expiration date. Old baking powder is the #1 reason gluten-free biscuits turn out flat. I keep a fresh can in my fridge to ensure it’s active. Tip: If you’re unsure, drop a teaspoon in hot water. It should fizz violently.
Baking Soda (1/2 teaspoon / 3g)
Works in tandem with the acidic buttermilk to create lift. This is crucial for that tall, golden top.
Salt (1 teaspoon / 6g)
Enhances flavor and tightens the crumb. Use fine sea salt for even distribution.
Large Buttermilk (3/4 cup / 180ml, cold)
Real buttermilk is non-negotiable for this buttermilk biscuits recipe. It adds moisture and tang. For dairy-free, mix 3/4 cup dairy-free milk (like oat or almond) with 1 tablespoon lemon juice and let it sit for 5 minutes to curdle. Tip: Keep the buttermilk cold. Warm liquid melts the butter prematurely.
Egg Yolk (1 large, cold)
Acts as a binder and adds richness. If you’re making vegan biscuits, substitute with 1 tablespoon ground flaxseed mixed with 3 tablespoons water, let it gel for 5 minutes.
Tools Needed
You don’t need fancy equipment. Here’s what I use to make these buttermilk biscuits efficiently.
- 2-Quart Mixing Bowl — I use a large ceramic bowl. It’s heavy enough not to slide while I mix.
- Pastry Blender or Fork — I use a fork to cut in the butter. It’s faster for small batches and easier to clean.
- 2-Inch Biscuit Cutter — A sharp cutter makes clean edges. Dull edges seal the layers together, preventing rise. I use a simple metal ring.
- Baking Sheet with Parchment Paper — Parchment prevents sticking and ensures even browning. I never grease the pan directly.
- Wire Cooling Rack — Essential for keeping the bottoms crisp. Placing them on a plate traps steam and makes them soggy.
How to Make Flaky Buttermilk Biscuits
Let’s get baking. This process is quick, but it requires attention to temperature and technique. Follow these steps exactly for the best buttermilk biscuits.
Step 1: Prep and Preheat (5 minutes)
Preheat your oven to 425°F (220°C). Line a baking sheet with parchment paper. This is crucial because gluten-free dough is stickier than wheat dough. Cube your butter and return it to the freezer. Measure out your buttermilk and keep it in the fridge until the last moment. Cold everything is the golden rule here.
Step 2: Mix Dry Ingredients (2 minutes)
In your large bowl, whisk together the gluten-free flour, sugar, baking powder, baking soda, and salt. Make sure there are no lumps of baking powder. This ensures even rising. Whisk for a full minute to aerate the flour.
Step 3: Cut in the Butter (3 minutes)
Add the cold, cubed butter to the flour mixture. Use a pastry blender or a fork to cut the butter into the flour. You want pea-sized chunks of butter remaining. Don’t over-mix! If the butter is completely incorporated, you’ll lose the flaky layers. The mixture should look like coarse meal with visible butter bits. Watch for: If the butter starts to soften, put the bowl in the fridge for 5 minutes.
Step 4: Add Wet Ingredients (2 minutes)
Make a well in the center of the dry mixture. Pour in the cold buttermilk and the cold egg yolk. Stir gently with a wooden spoon or spatula just until the dough comes together. It will look shaggy and messy. Do not overmix. Overmixing develops the starches and makes tough biscuits. The dough should be soft but not sticky to the touch. If it’s too wet, add a tablespoon more flour.
Step 5: Fold and Pat (3 minutes)
Turn the dough onto a lightly floured surface (use your GF flour blend). Gently pat it into a 1-inch thick circle. Do not knead! Kneading develops gluten alternatives and makes biscuits dense. If the dough is sticky, dust your hands with flour. Fold the dough in half, pat it down again, and fold once more. This creates layers. Pat it out to 1-inch thickness.
Step 6: Cut and Bake (10-12 minutes)
Use your biscuit cutter to cut out rounds. Press straight down; do not twist the cutter. Twist the cutter seals the edges. Place biscuits 1 inch apart on the prepared baking sheet. For taller biscuits, place them touching each other. Brush the tops with a little extra buttermilk for browning. Bake for 10-12 minutes until golden brown on top and sound hollow when tapped on the bottom. Total time: 20 minutes.
Expert Tips for Perfect Gluten-Free Biscuits
Here’s everything I learned from making this buttermilk biscuits recipe too many times.
The Game-Changers
Keep Everything Cold
This is the #1 mistake. I once let the butter sit out to “soften slightly,” and the biscuits turned into dense bricks. The cold butter creates steam pockets as it melts in the oven, lifting the biscuit. If your kitchen is hot, chill your bowl before mixing.
Don’t Overwork the Dough
Gluten-free flours absorb water differently. Once you add the liquid, stop mixing. The dough will look rough. That’s good. Smooth dough means overmixed dough. Rough dough means flaky biscuits.
Use a Heavy Hand with the Cutter
When cutting, press down firmly and lift straight up. Gliding the cutter through the dough can drag the layers, causing them to stick together. Clean cuts mean clean layers.
Common Problems & Solutions
- Biscuits are flat: Your baking powder was old, or the dough was warm when it went into the oven. Check your leaveners and chill the dough.
- Biscuits are crumbly: Too much flour or not enough liquid. Gluten-free dough should be softer than wheat dough. Add a splash of buttermilk if it’s too dry.
- Biscuits are gummy: Underbaked. Gluten-free baked goods often look done before they are. Use a toothpick test; it should come out clean, not wet.
Pro Tricks
For extra tall biscuits, place them touching in the pan. The sides will support each other as they rise, creating a bakery-style tower. For individual servings, these pair wonderfully with a one-pot taco pasta for a complete meal.
Recipe Variations
Once you’ve nailed the basic version, here’s how to mix up your buttermilk biscuits.
Cheese and Herb Biscuits
Add 1/2 cup shredded cheddar cheese and 1 tablespoon chopped chives to the dry ingredients. The fat in the cheese adds tenderness. I love these with a creamy slow cooker beef stroganoff for dinner.
Bacon and Cheddar
Cook 4 slices of bacon until crisp, crumble, and fold into the dough. Add 1/2 cup sharp cheddar. Savory and rich.
Vegan Buttermilk Biscuits
Use vegan butter sticks (cold) and dairy-free buttermilk. Substitute the egg yolk with 1 tablespoon ground flaxseed mixed with 3 tablespoons water. The texture is slightly denser but still delicious.
Serving & Storage
Serving:
Serve warm with salted butter, honey, or jam. They are perfect for brunch alongside sourdough discard chocolate chip cookies for a sweet treat later in the day. They also pair beautifully with a budget-friendly fall chai latte.
Storage:
Store in an airtight container at room temperature for up to 2 days. Gluten-free baked goods stale faster than wheat ones, so eat them fresh! Reheat in the oven at 350°F for 5 minutes to restore crispness. They do not freeze well raw. Bake them first, then freeze baked biscuits for up to 3 months. Thaw and reheat in the toaster oven.
Nutrition Information
I’m not a nutritionist, but here’s the breakdown per biscuit (makes 8 biscuits):
| Nutrient | Amount |
|---|---|
| Calories | 210 |
| Protein | 4g |
| Carbs | 22g |
| Fiber | 2g |
| Fat | 12g |
| Sodium | 350mg |
My Take:
These are comfort food. They have butter and flour. They are not diet food. But they are gluten-free, which means you can enjoy them without the digestive discomfort. They are better than store-bought frozen biscuits, which often contain preservatives and weird oils.
Final Thoughts
Making gluten-free buttermilk biscuits doesn’t have to be intimidating. It just requires cold ingredients and a gentle touch. I remember the first time I made these, I was so worried they’d fail. Instead, they became a centerpiece of my weekend brunches. They are proof that dietary needs don’t mean missing out on the foods you love.
If you make this, drop a comment! I love hearing how your buttermilk biscuits turn out. Do you add cheese? Honey? Let me know. Happy cooking!
FAQs
Can I use self-rising gluten-free flour?
Yes, but adjust the salt and baking powder. If using self-rising, omit the added baking powder and baking soda, and reduce the salt to 1/2 teaspoon. Check the package for xanthan gum content.
Why are my biscuits dense?
Most likely, you overmixed the dough or the butter was too warm. Gluten-free dough should be handled minimally. Keep your butter ice-cold and mix just until combined.
Can I make these dairy-free?
Absolutely. Use cold vegan butter sticks and dairy-free buttermilk (oat milk + lemon juice). The texture will be slightly less flaky but still tender and delicious.
How do I store leftover biscuits?
Store in an airtight container at room temperature for 2 days. Reheat in the oven to restore crispness. Do not refrigerate, as it makes them stale faster.
Can I freeze the dough?
I recommend freezing baked biscuits, not raw dough. Raw dough can become soggy when thawed. Freeze baked biscuits in a ziplock bag for up to 3 months.
What if I don’t have buttermilk?
You can make a substitute by adding 1 tablespoon of lemon juice or white vinegar to 1 cup of milk. Let it sit for 5-10 minutes until it curdles. However, real cultured buttermilk provides a better flavor for this buttermilk biscuits recipe.
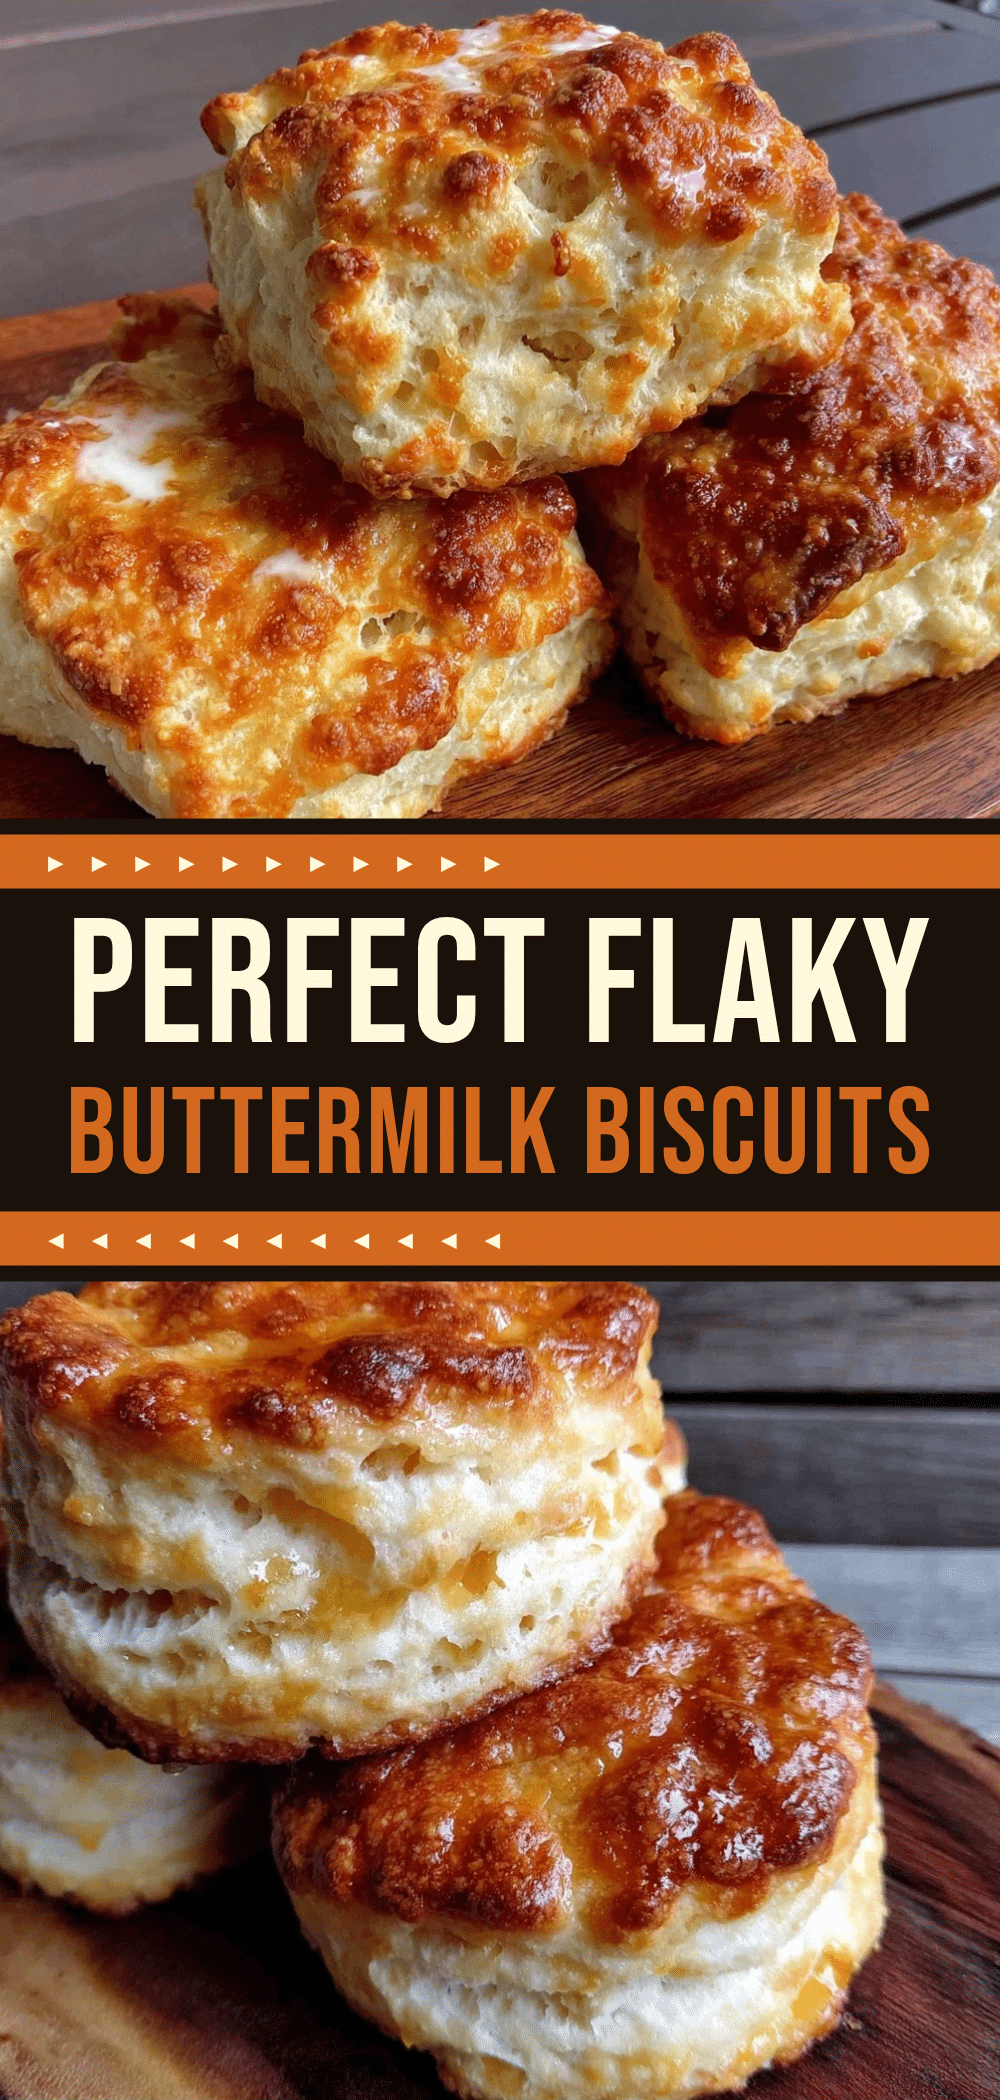
Pin This Recipe!
Buttermilk Biscuits: 20-Min Gluten-Free Baking
- Total Time: 20 minutes
- Yield: 8 servings 1x
Description
Flaky, tender, and ready in just 20 minutes, these gluten-free buttermilk biscuits use cold butter and minimal handling to achieve a bakery-quality texture without gluten.
Ingredients
- 2 cups (250g) Gluten-Free All-Purpose Flour Blend (with xanthan gum)
- 1/2 cup (113g) Unsalted Butter, very cold and cubed
- 1 tablespoon (15g) Granulated Sugar
- 2 teaspoons (10g) Baking Powder
- 1/2 teaspoon (3g) Baking Soda
- 1 teaspoon (6g) Salt
- 3/4 cup (180ml) Buttermilk, cold
- 1 large Egg Yolk, cold
Instructions
- Preheat oven to 425°F (220°C). Line a baking sheet with parchment paper.
- Cube the cold butter and return it to the freezer for 10 minutes. Keep buttermilk and egg yolk cold.
- In a large mixing bowl, whisk together the gluten-free flour, sugar, baking powder, baking soda, and salt for one minute to aerate.
- Add the cold, cubed butter to the dry ingredients. Use a pastry blender or fork to cut the butter into the flour until pea-sized chunks remain.
- Make a well in the center and pour in the cold buttermilk and egg yolk. Stir gently just until the dough comes together; it should look shaggy.
- Turn dough onto a lightly floured surface. Pat into a 1-inch thick circle. Fold in half, pat down, and fold once more to create layers.
- Pat dough to 1-inch thickness. Use a 2-inch biscuit cutter to cut rounds, pressing straight down without twisting.
- Place biscuits 1 inch apart on the baking sheet (touching for taller biscuits). Brush tops with extra buttermilk.
- Bake for 10-12 minutes until golden brown and hollow when tapped.
Notes
Keep all ingredients cold to ensure flakiness. Do not overmix the dough. If using a gluten-free flour blend without xanthan gum, add 1/2 teaspoon. For dairy-free, use vegan butter sticks and dairy-free buttermilk (oat milk + lemon juice). For vegan, substitute egg yolk with 1 tbsp ground flaxseed mixed with 3 tbsp water.
- Prep Time: 10 minutes
- Cook Time: 10-12 minutes
- Category: Breakfast
- Cuisine: American
Nutrition
- Serving Size: 1 biscuit
- Calories: 210
- Sugar: 2
- Sodium: 350
- Fat: 12
- Saturated Fat: 7
- Carbohydrates: 22
- Fiber: 2
- Protein: 4
Keywords: gluten-free biscuits, buttermilk biscuits, gluten-free baking, flaky biscuits, quick breakfast, dairy-free option


